Editor
The Notebook is great for exploratory work, but when you are writing a standalone script, a utility module, or a longer program you want to save as a .py file, the Editor is where you go. It gives you a full-featured code editing environment with Tree-Sitter-powered syntax highlighting, line numbers, code folding, and the ability to run your script and see output in a panel below.
Writing Code
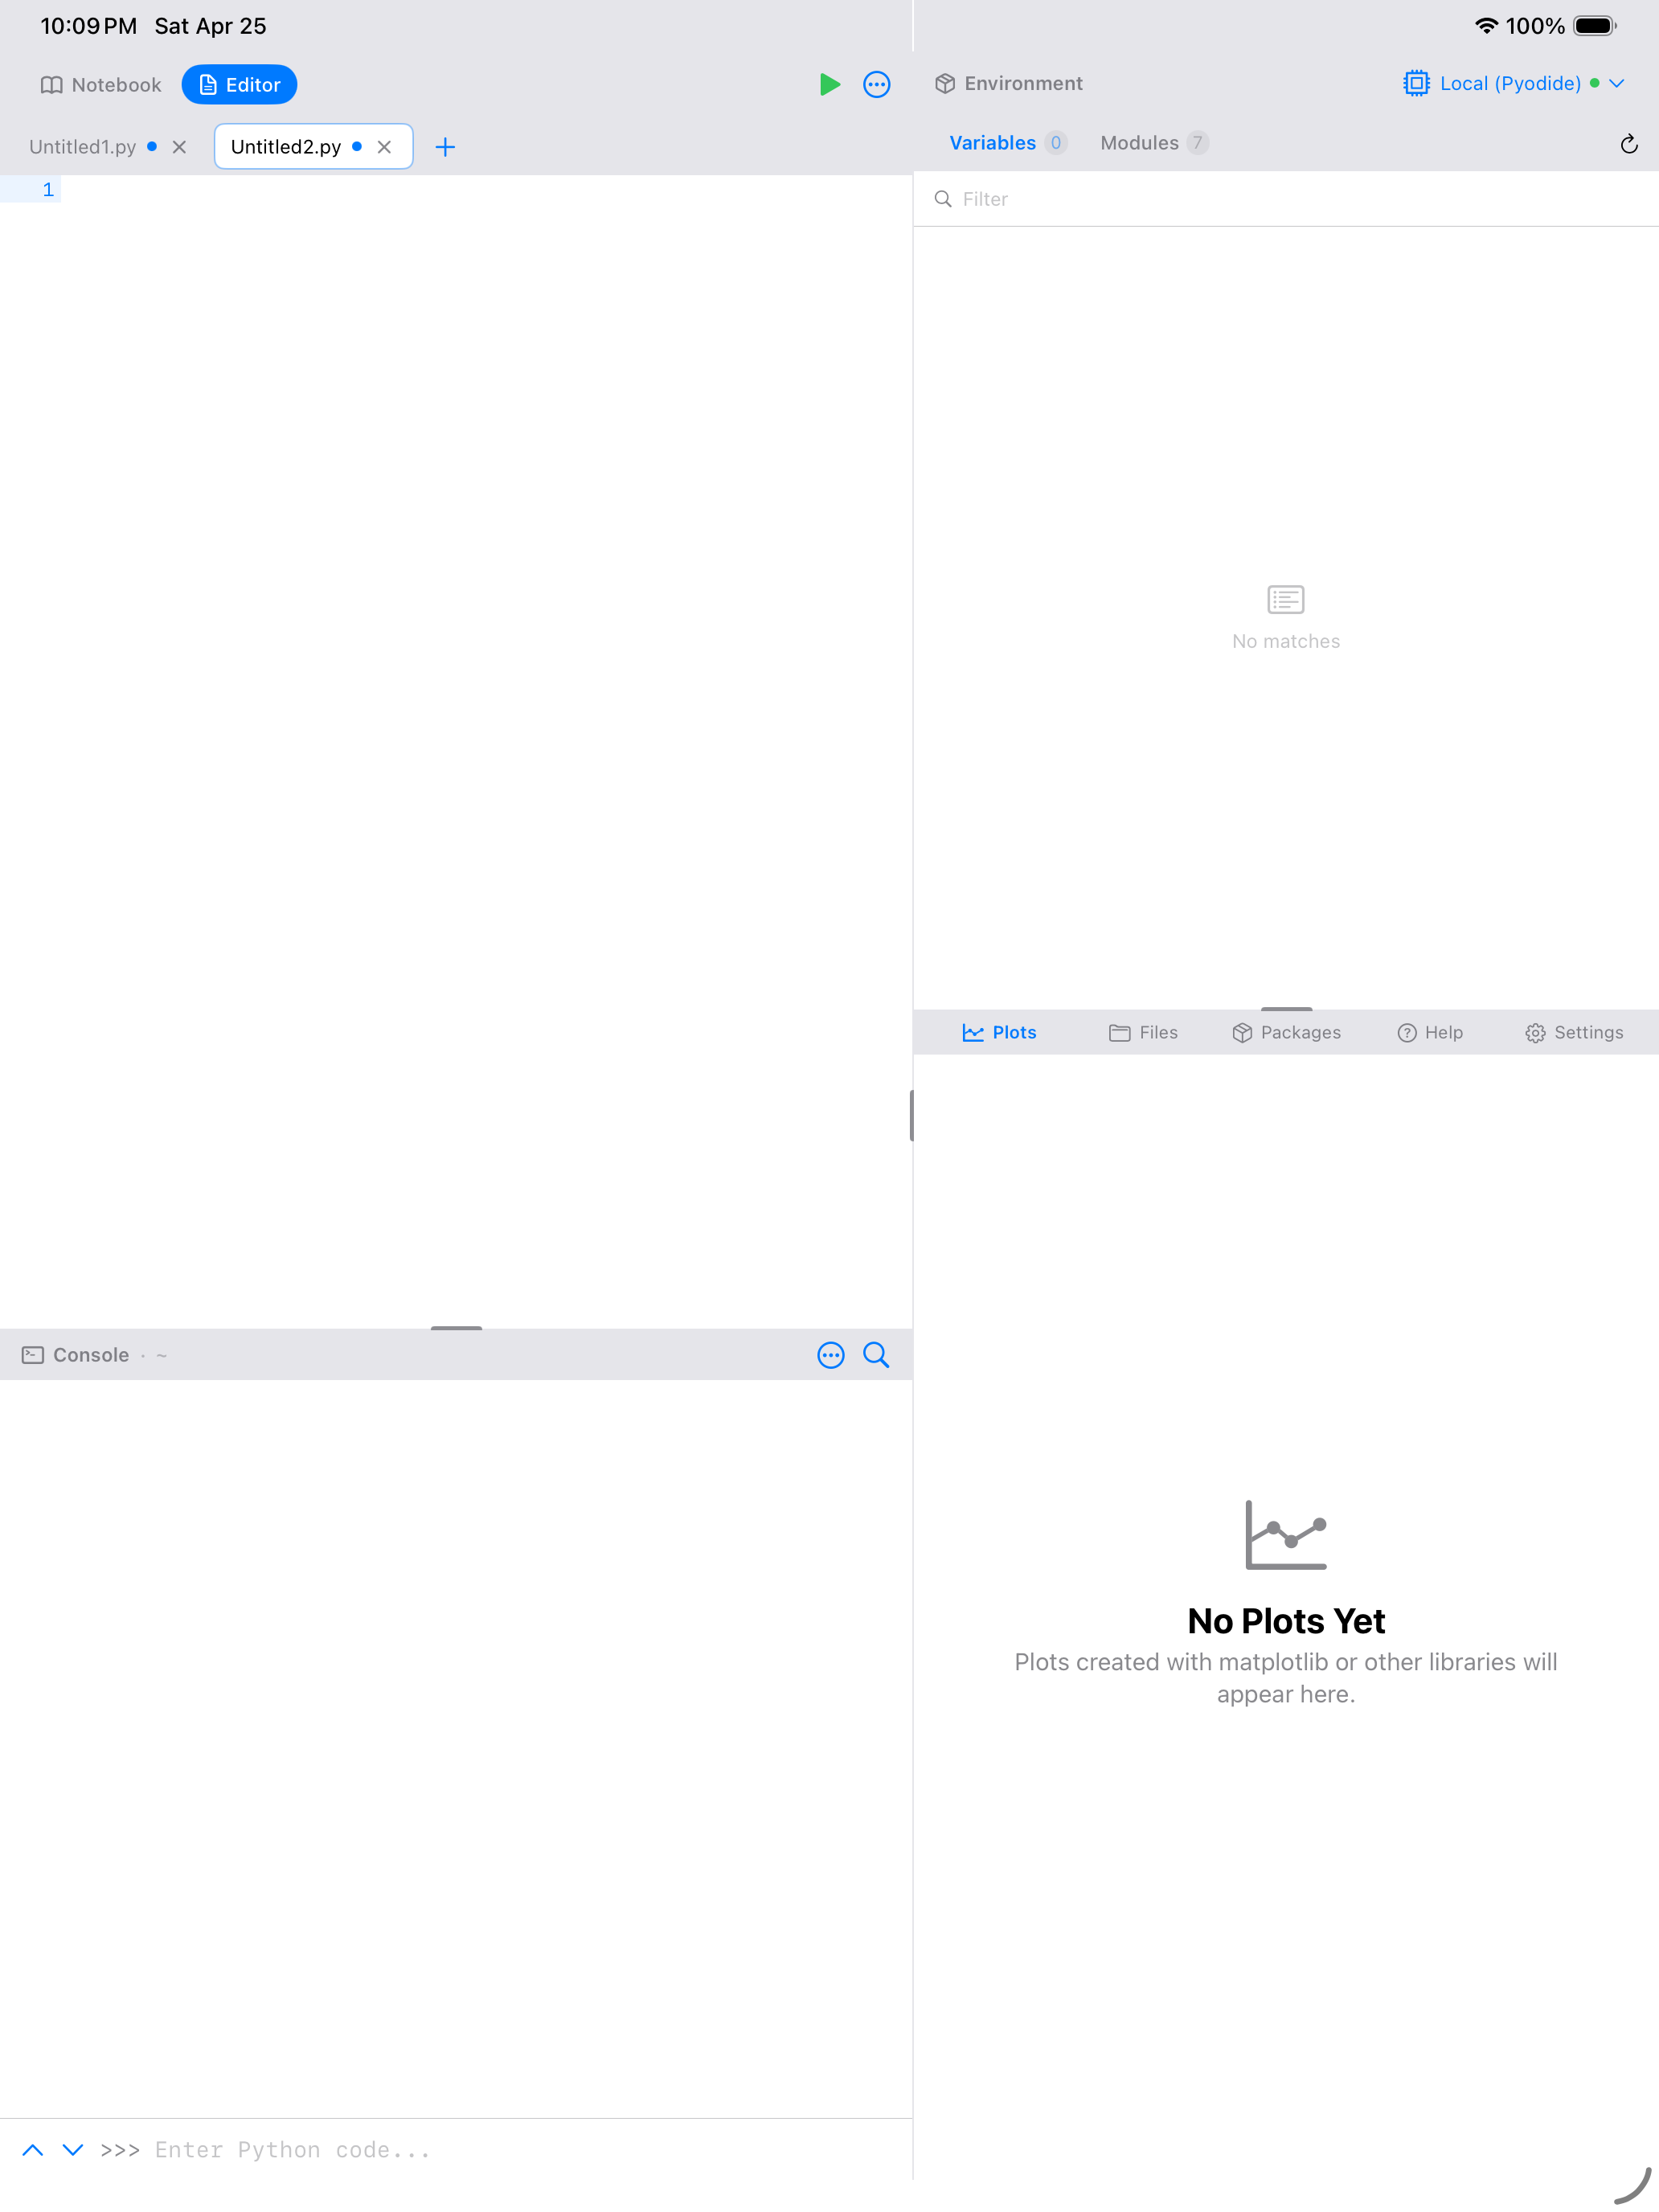
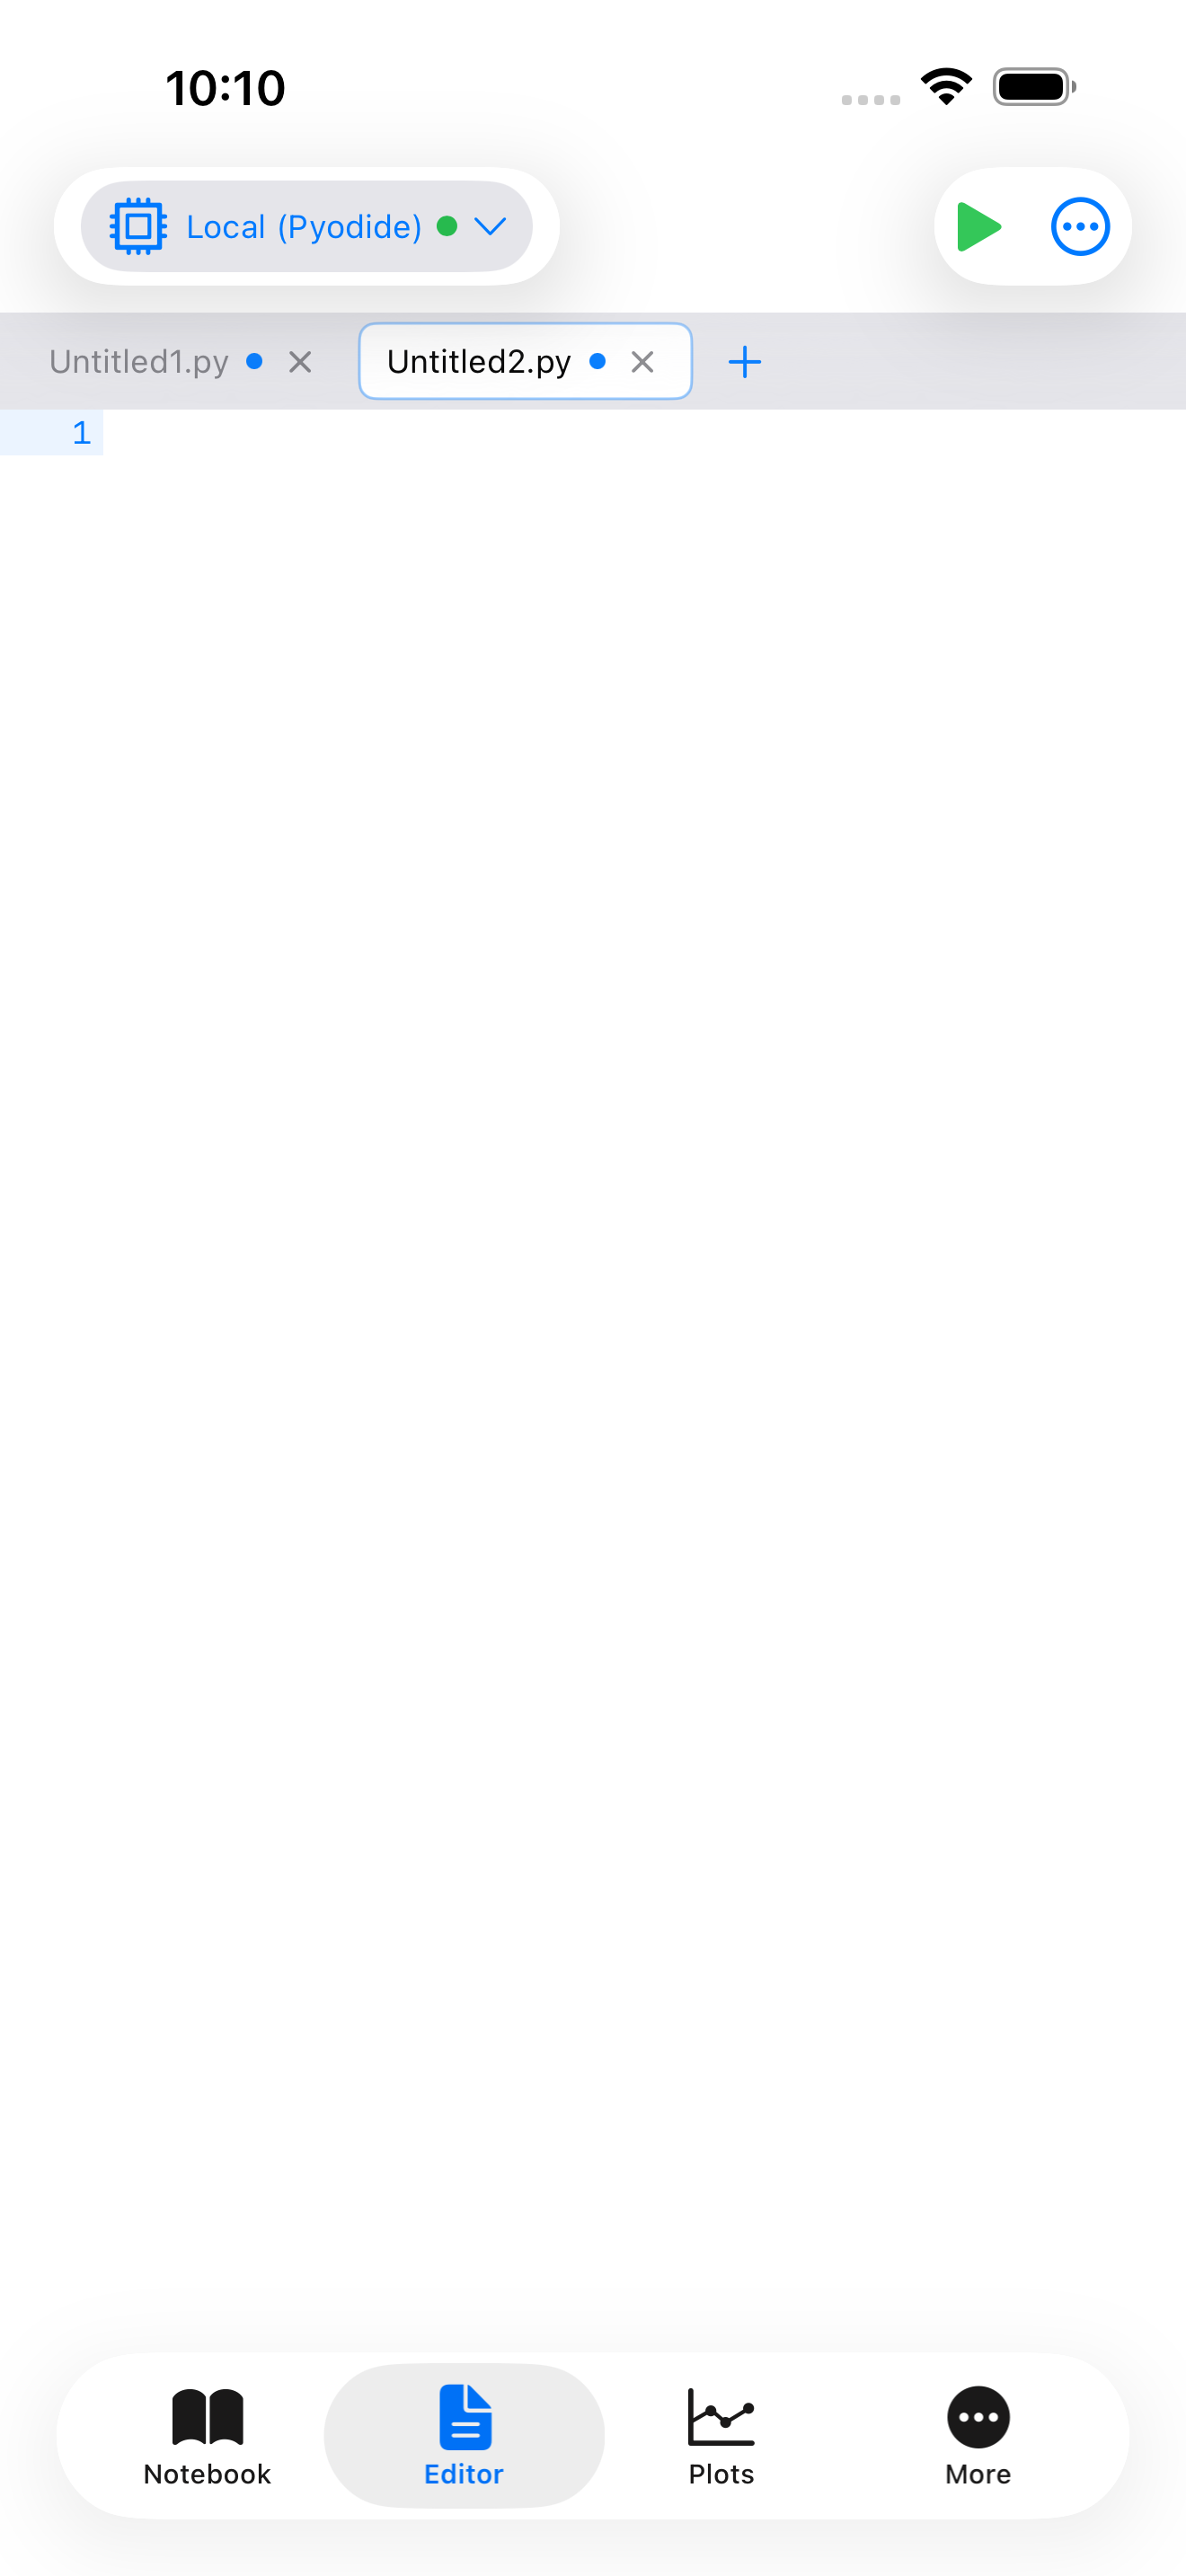
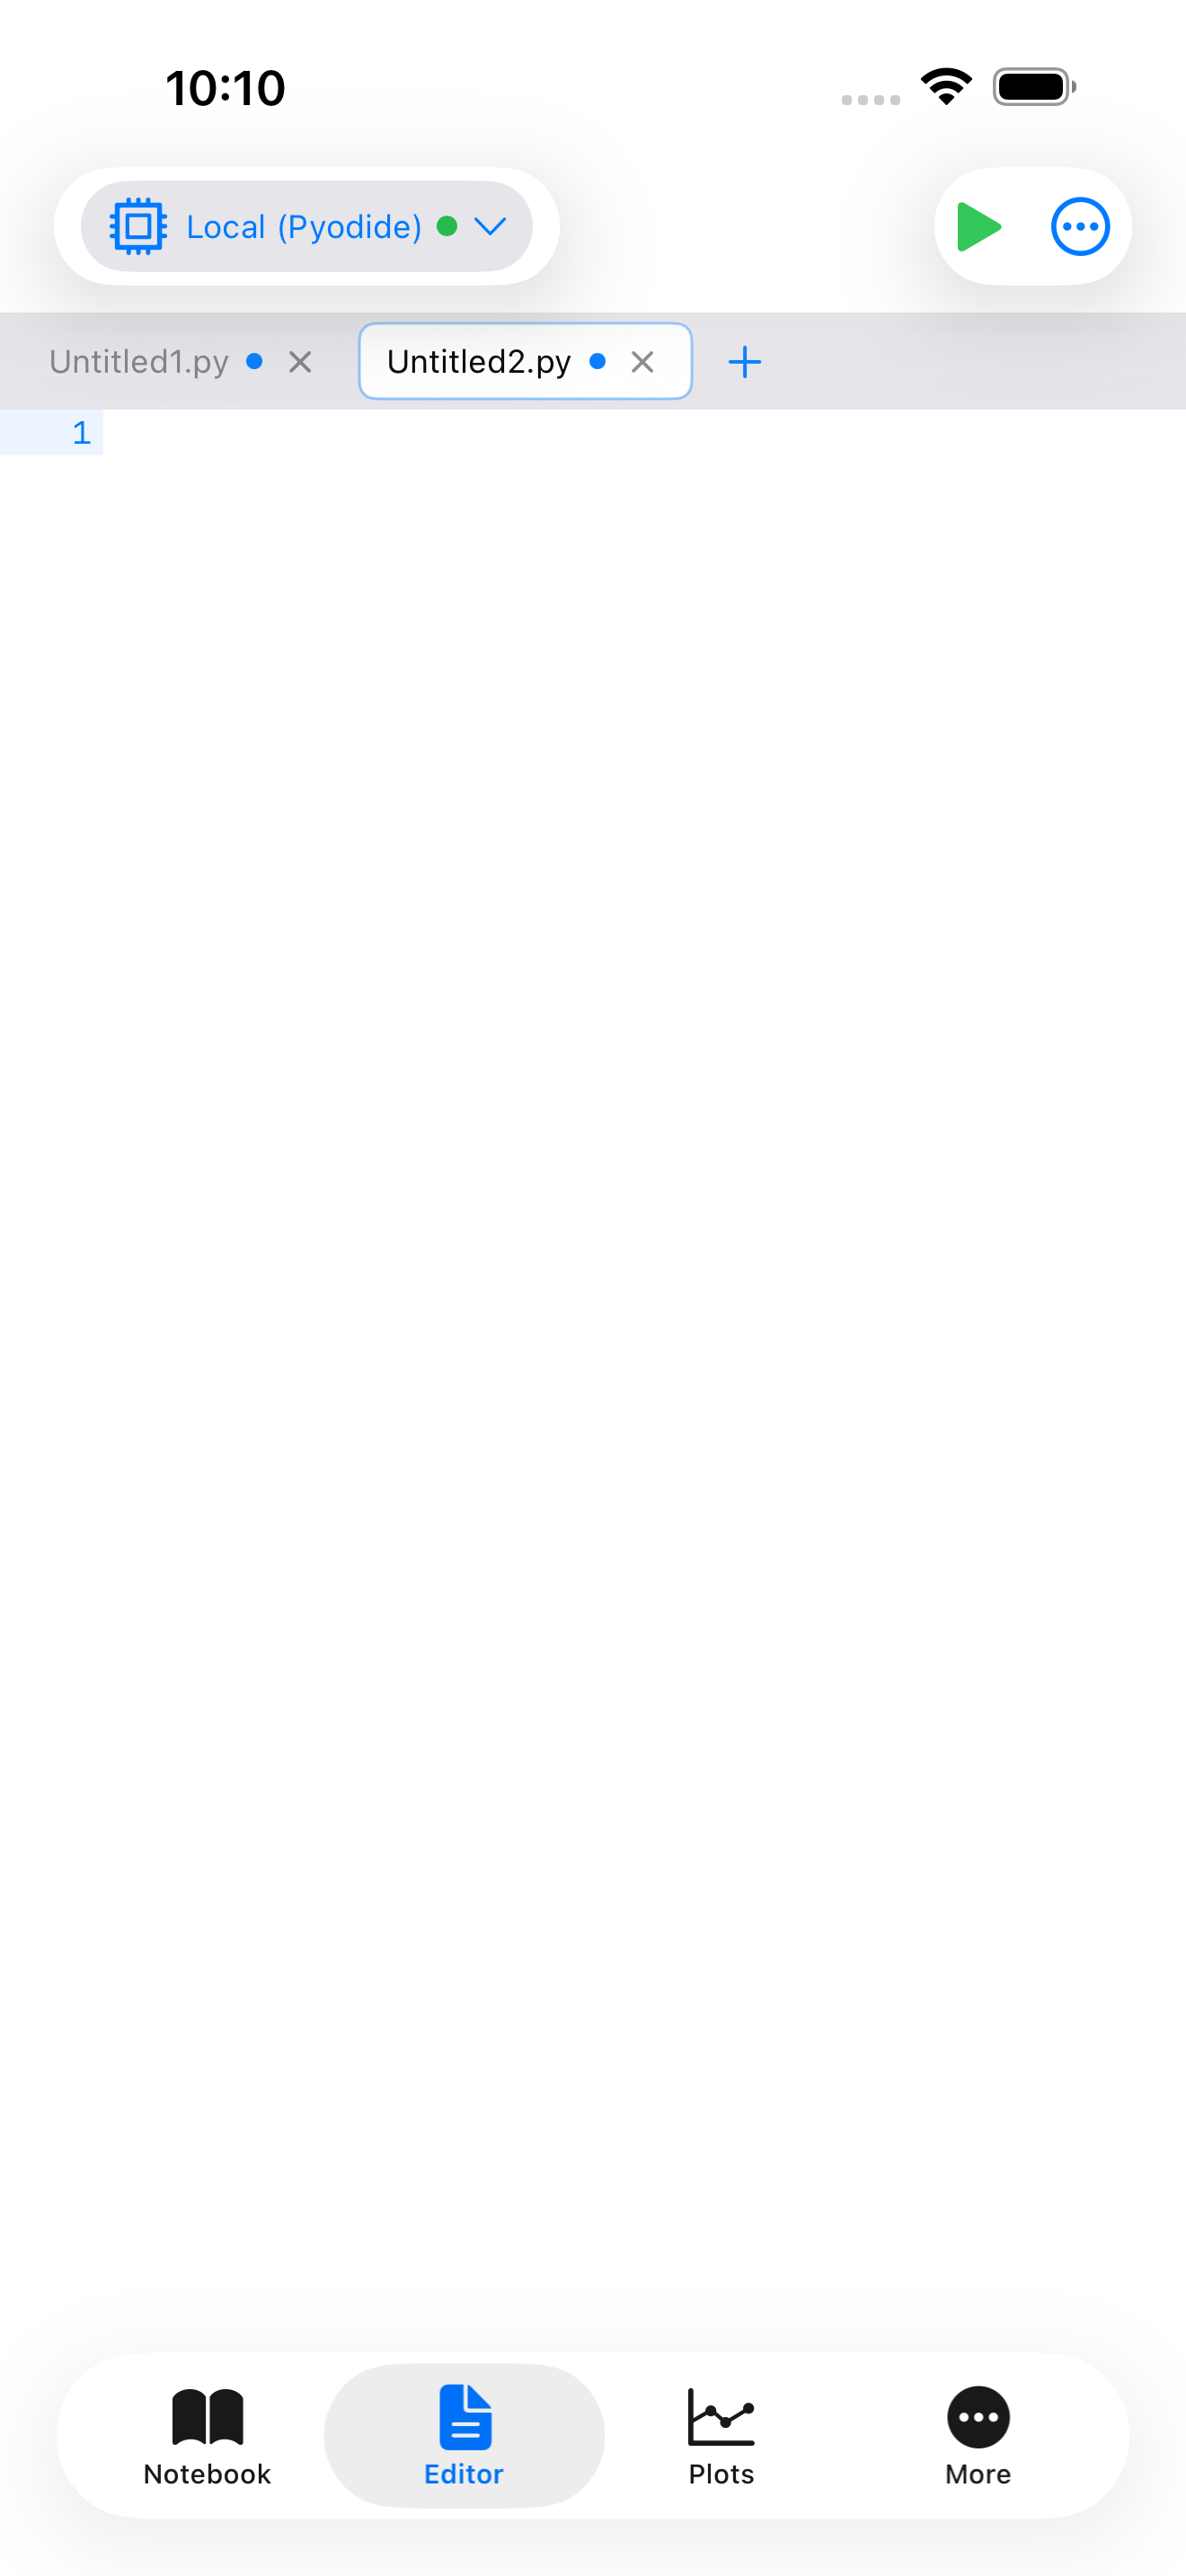
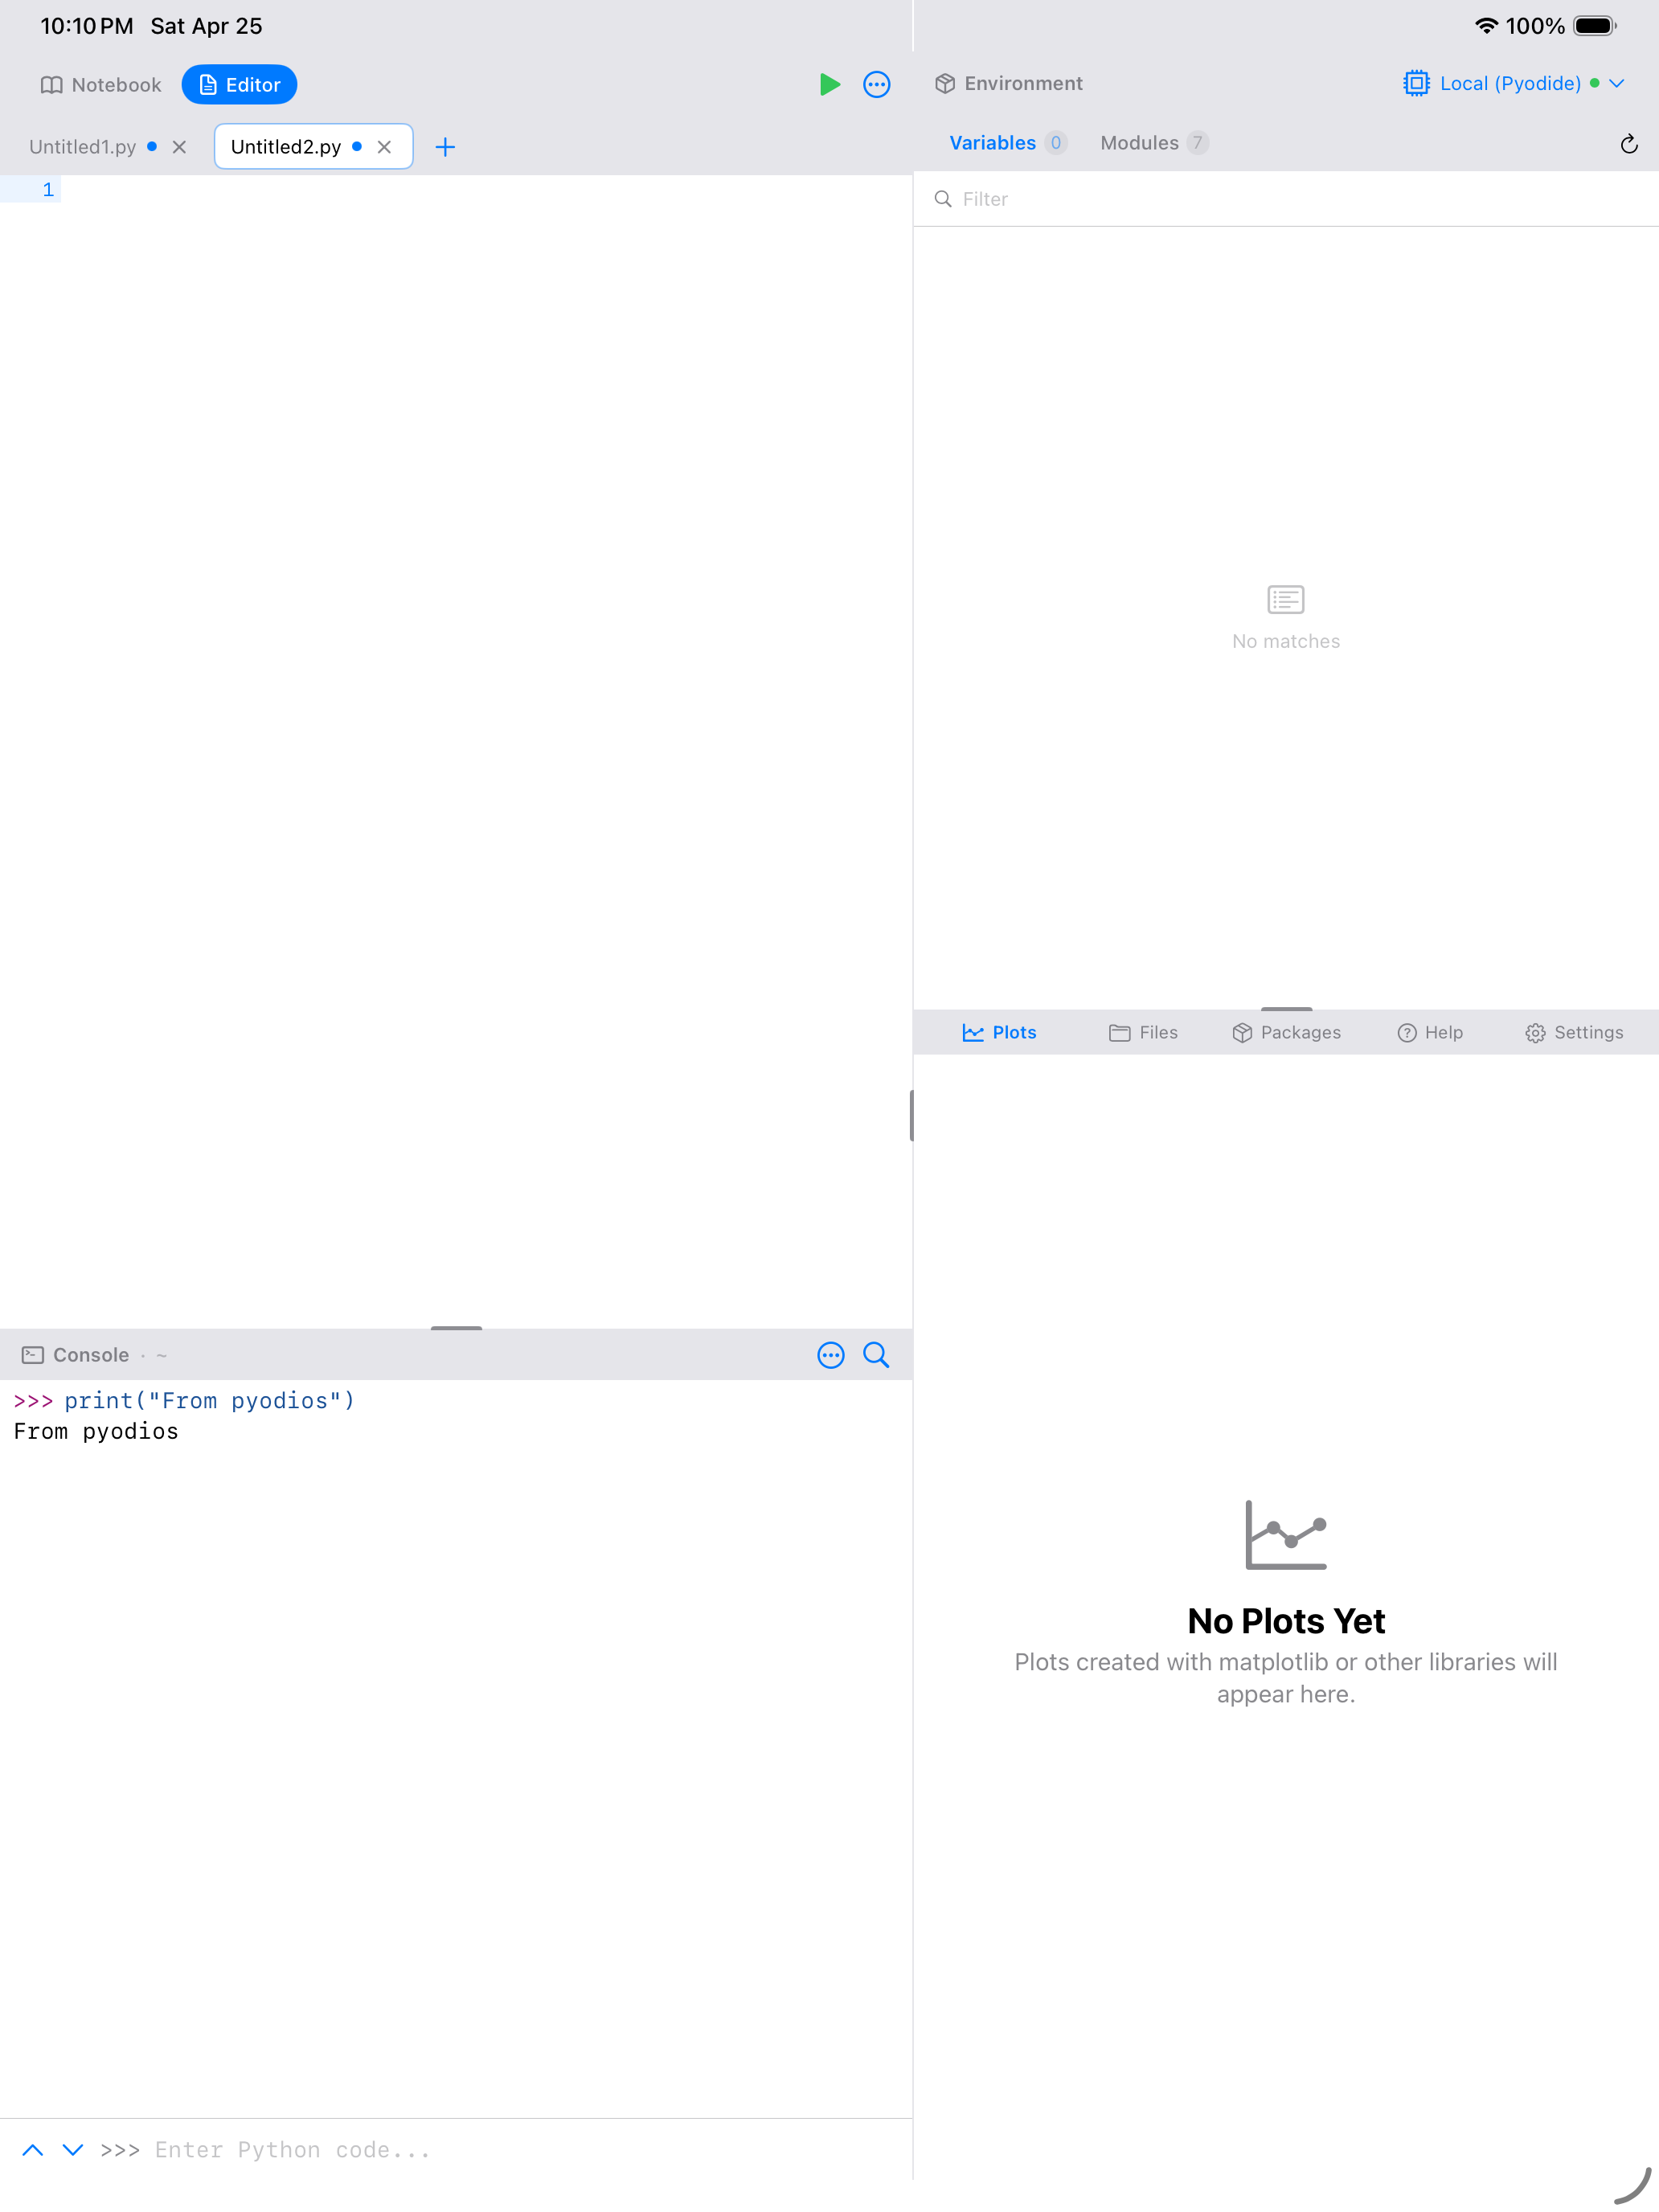
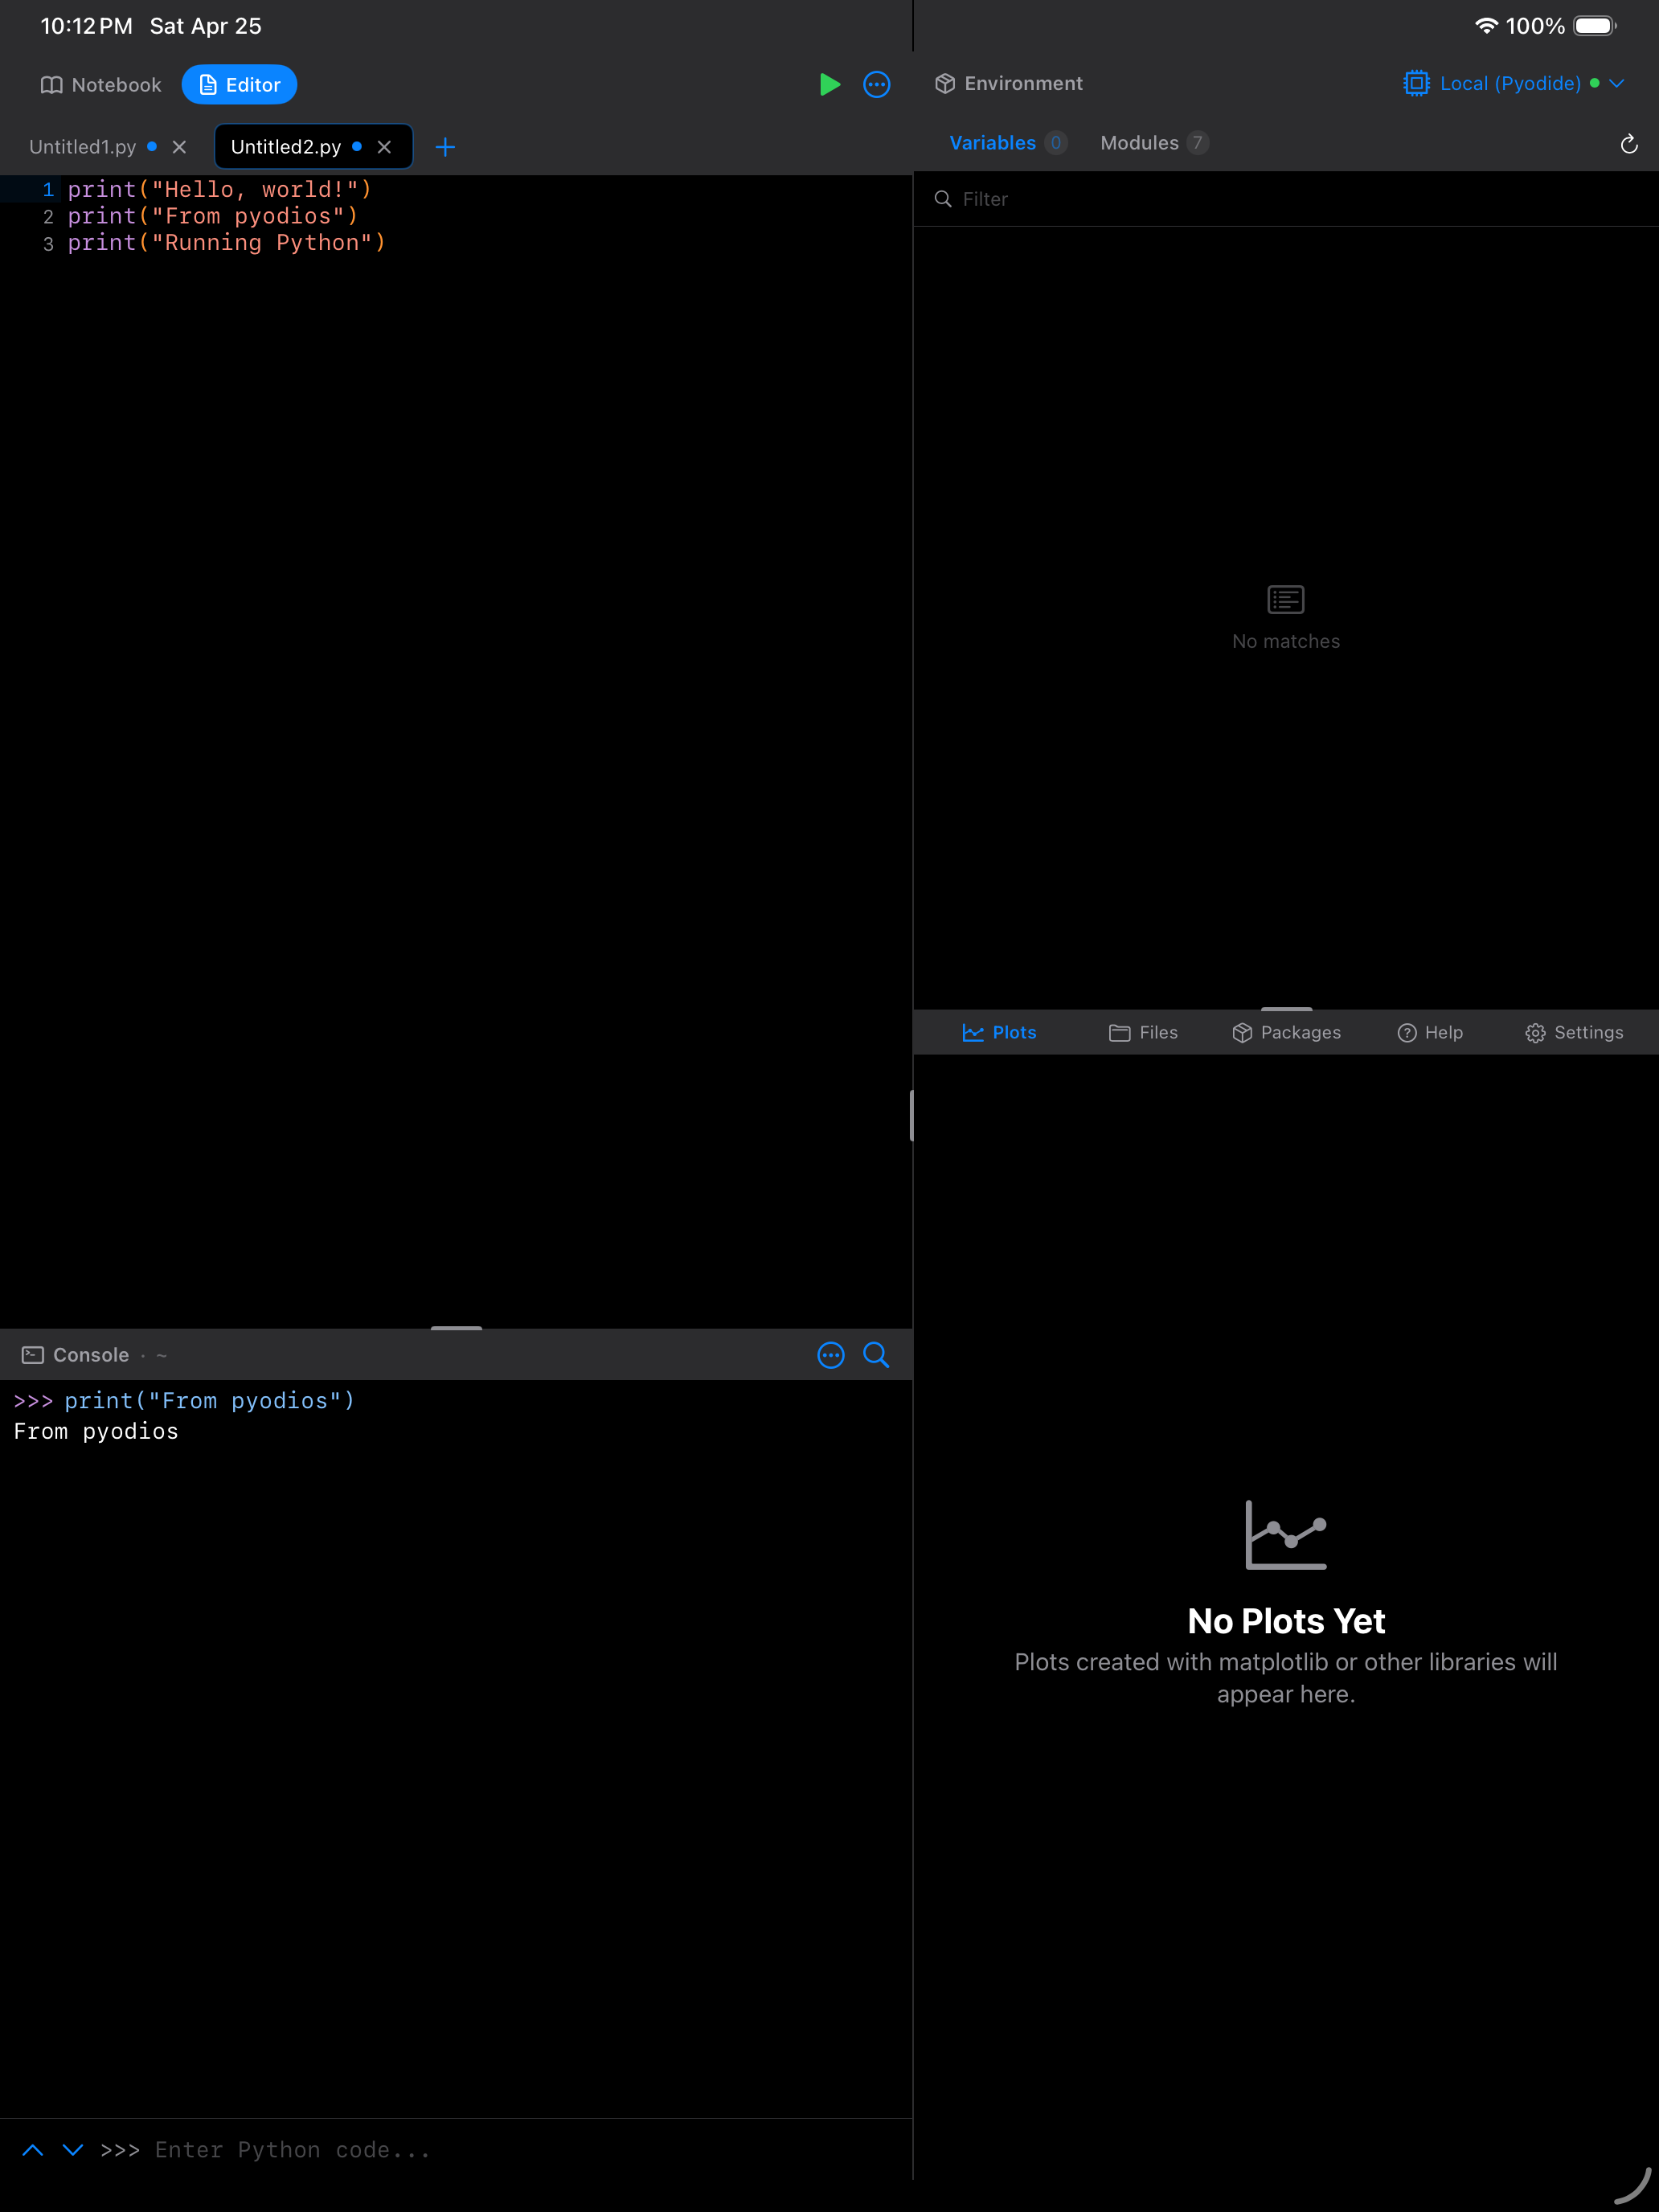
The Editor works like a text editor built specifically for Python. You get a full-screen writing area with line numbers in the left gutter, a current-line highlight so you never lose your place, and syntax highlighting that color-codes your code as you type.
def greet(name, times=1):
    for i in range(times):
        print(f"Hello, {name}!")

greet("Pyodios", times=3)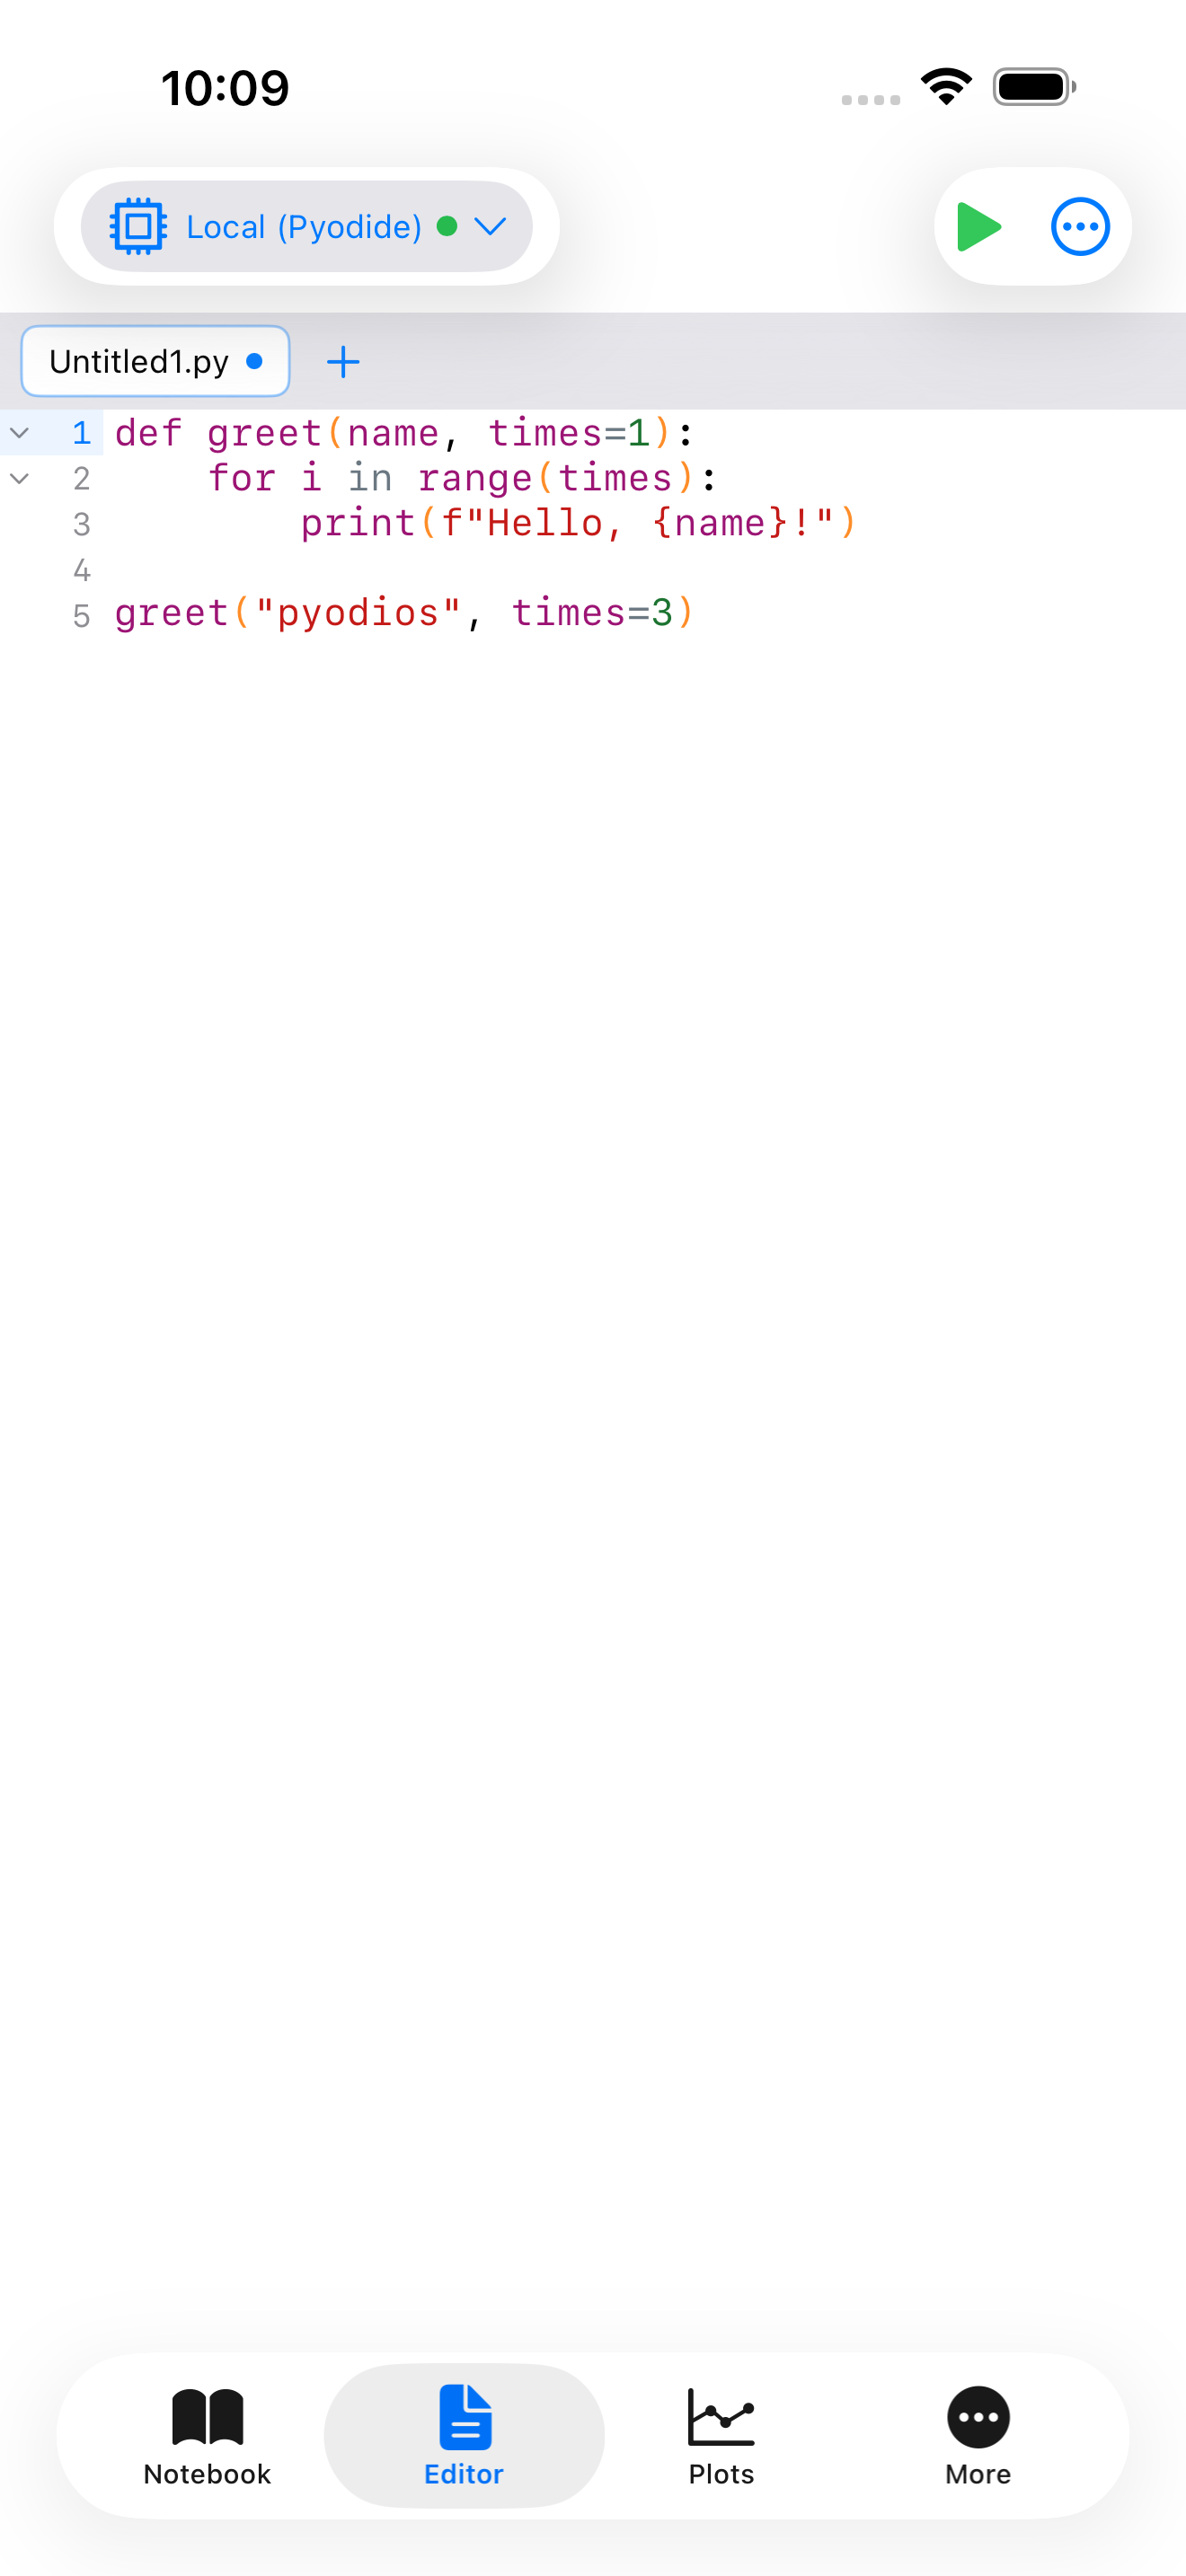
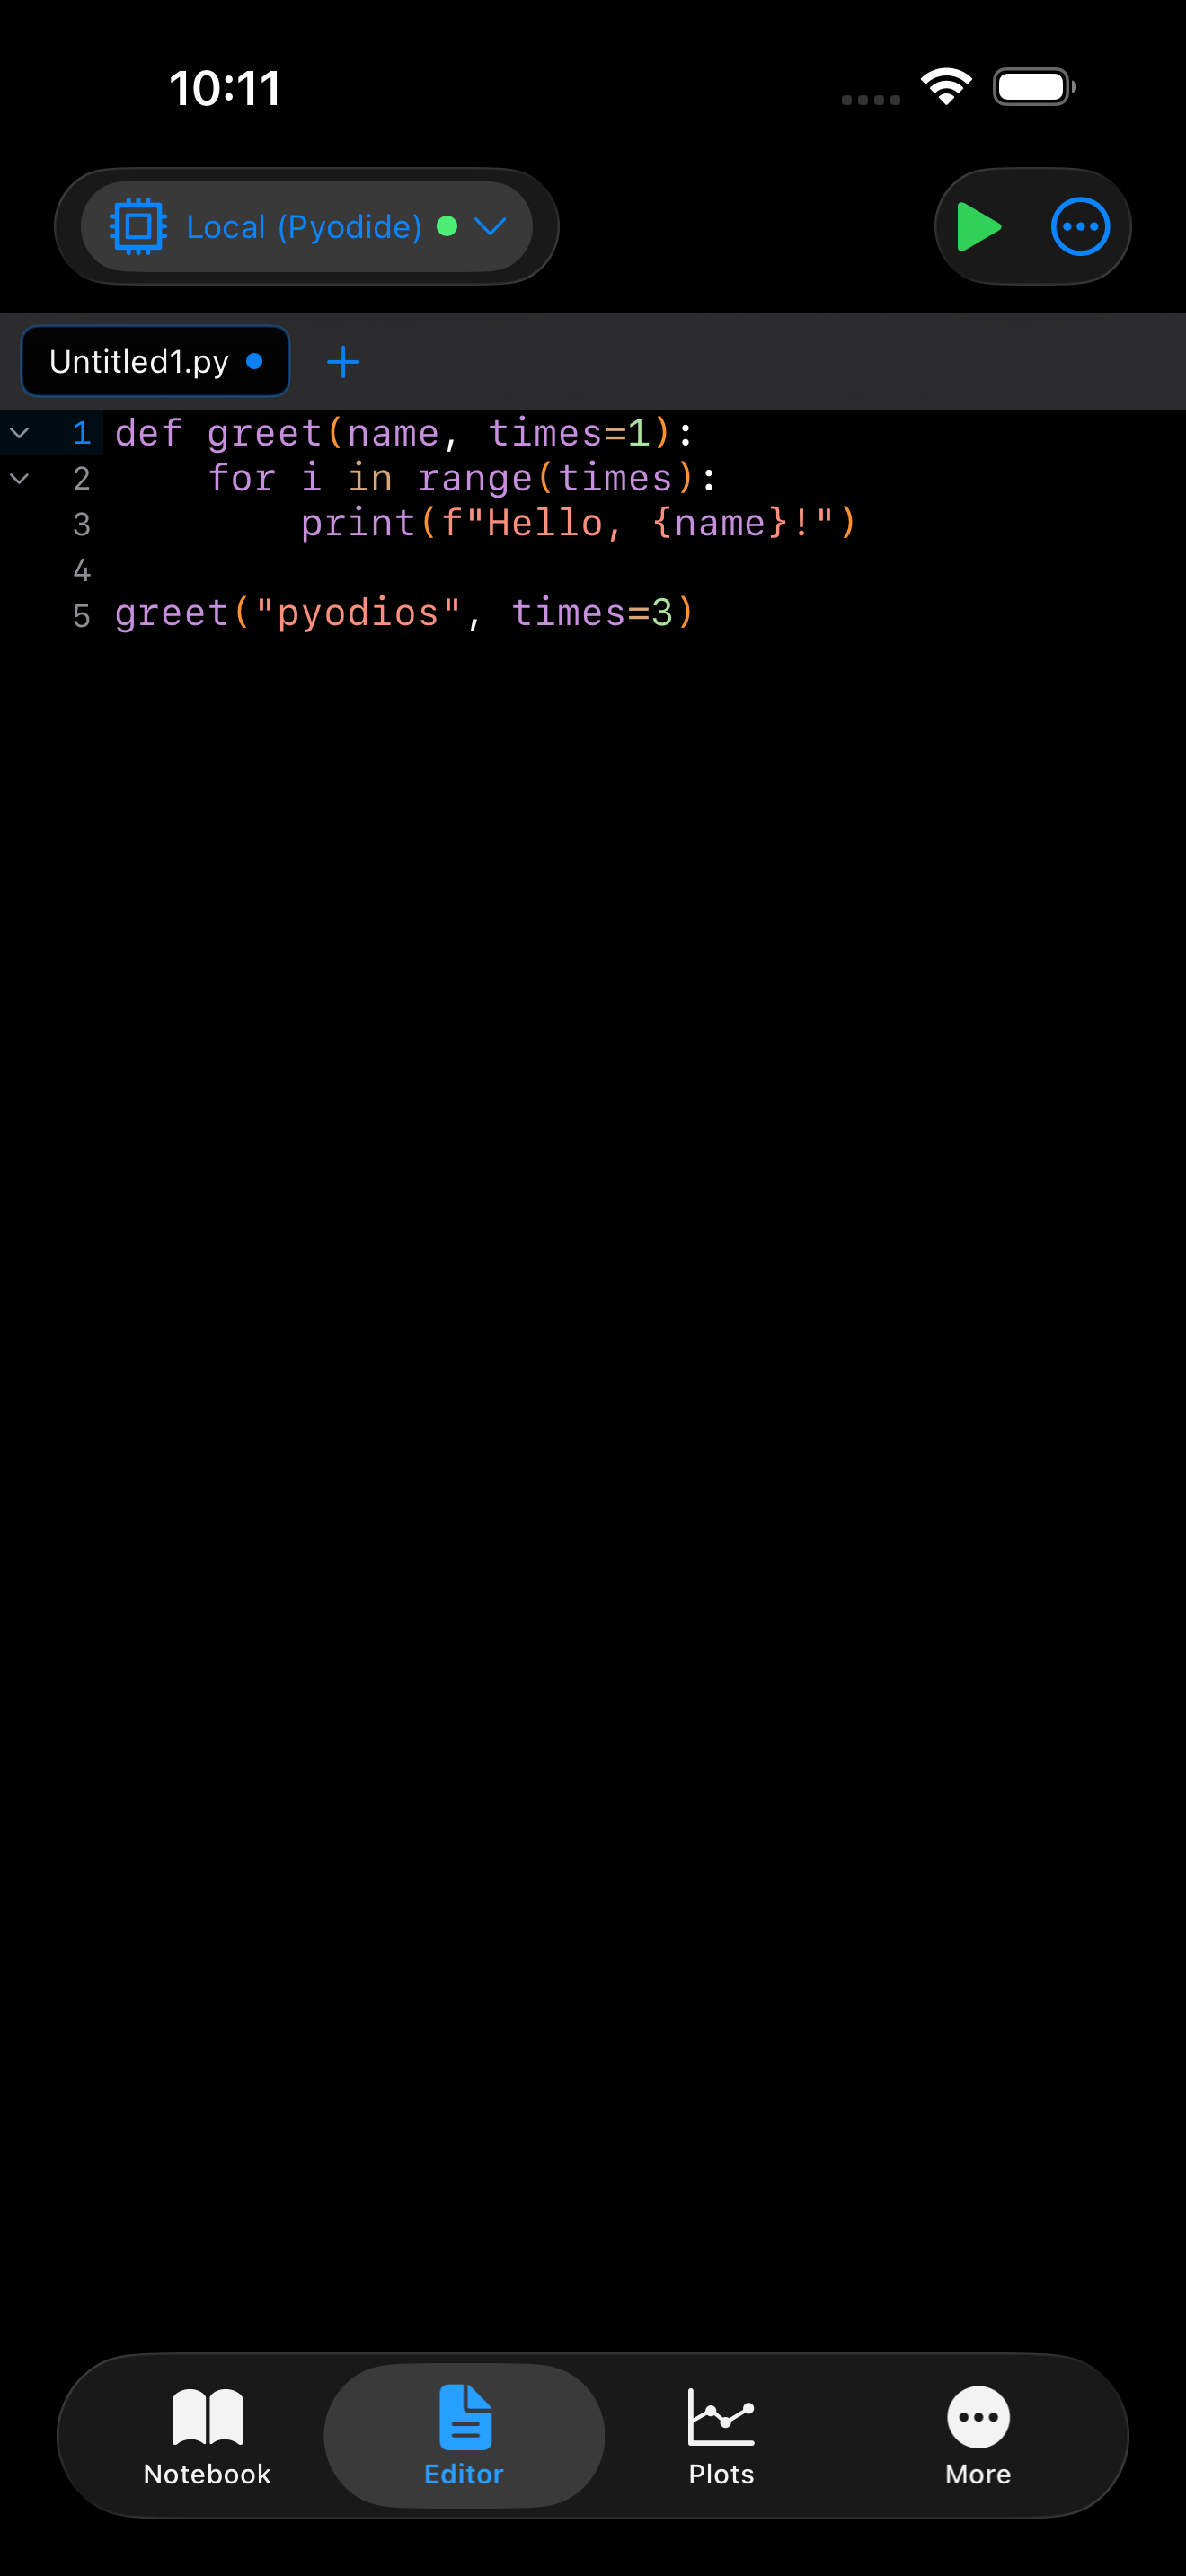
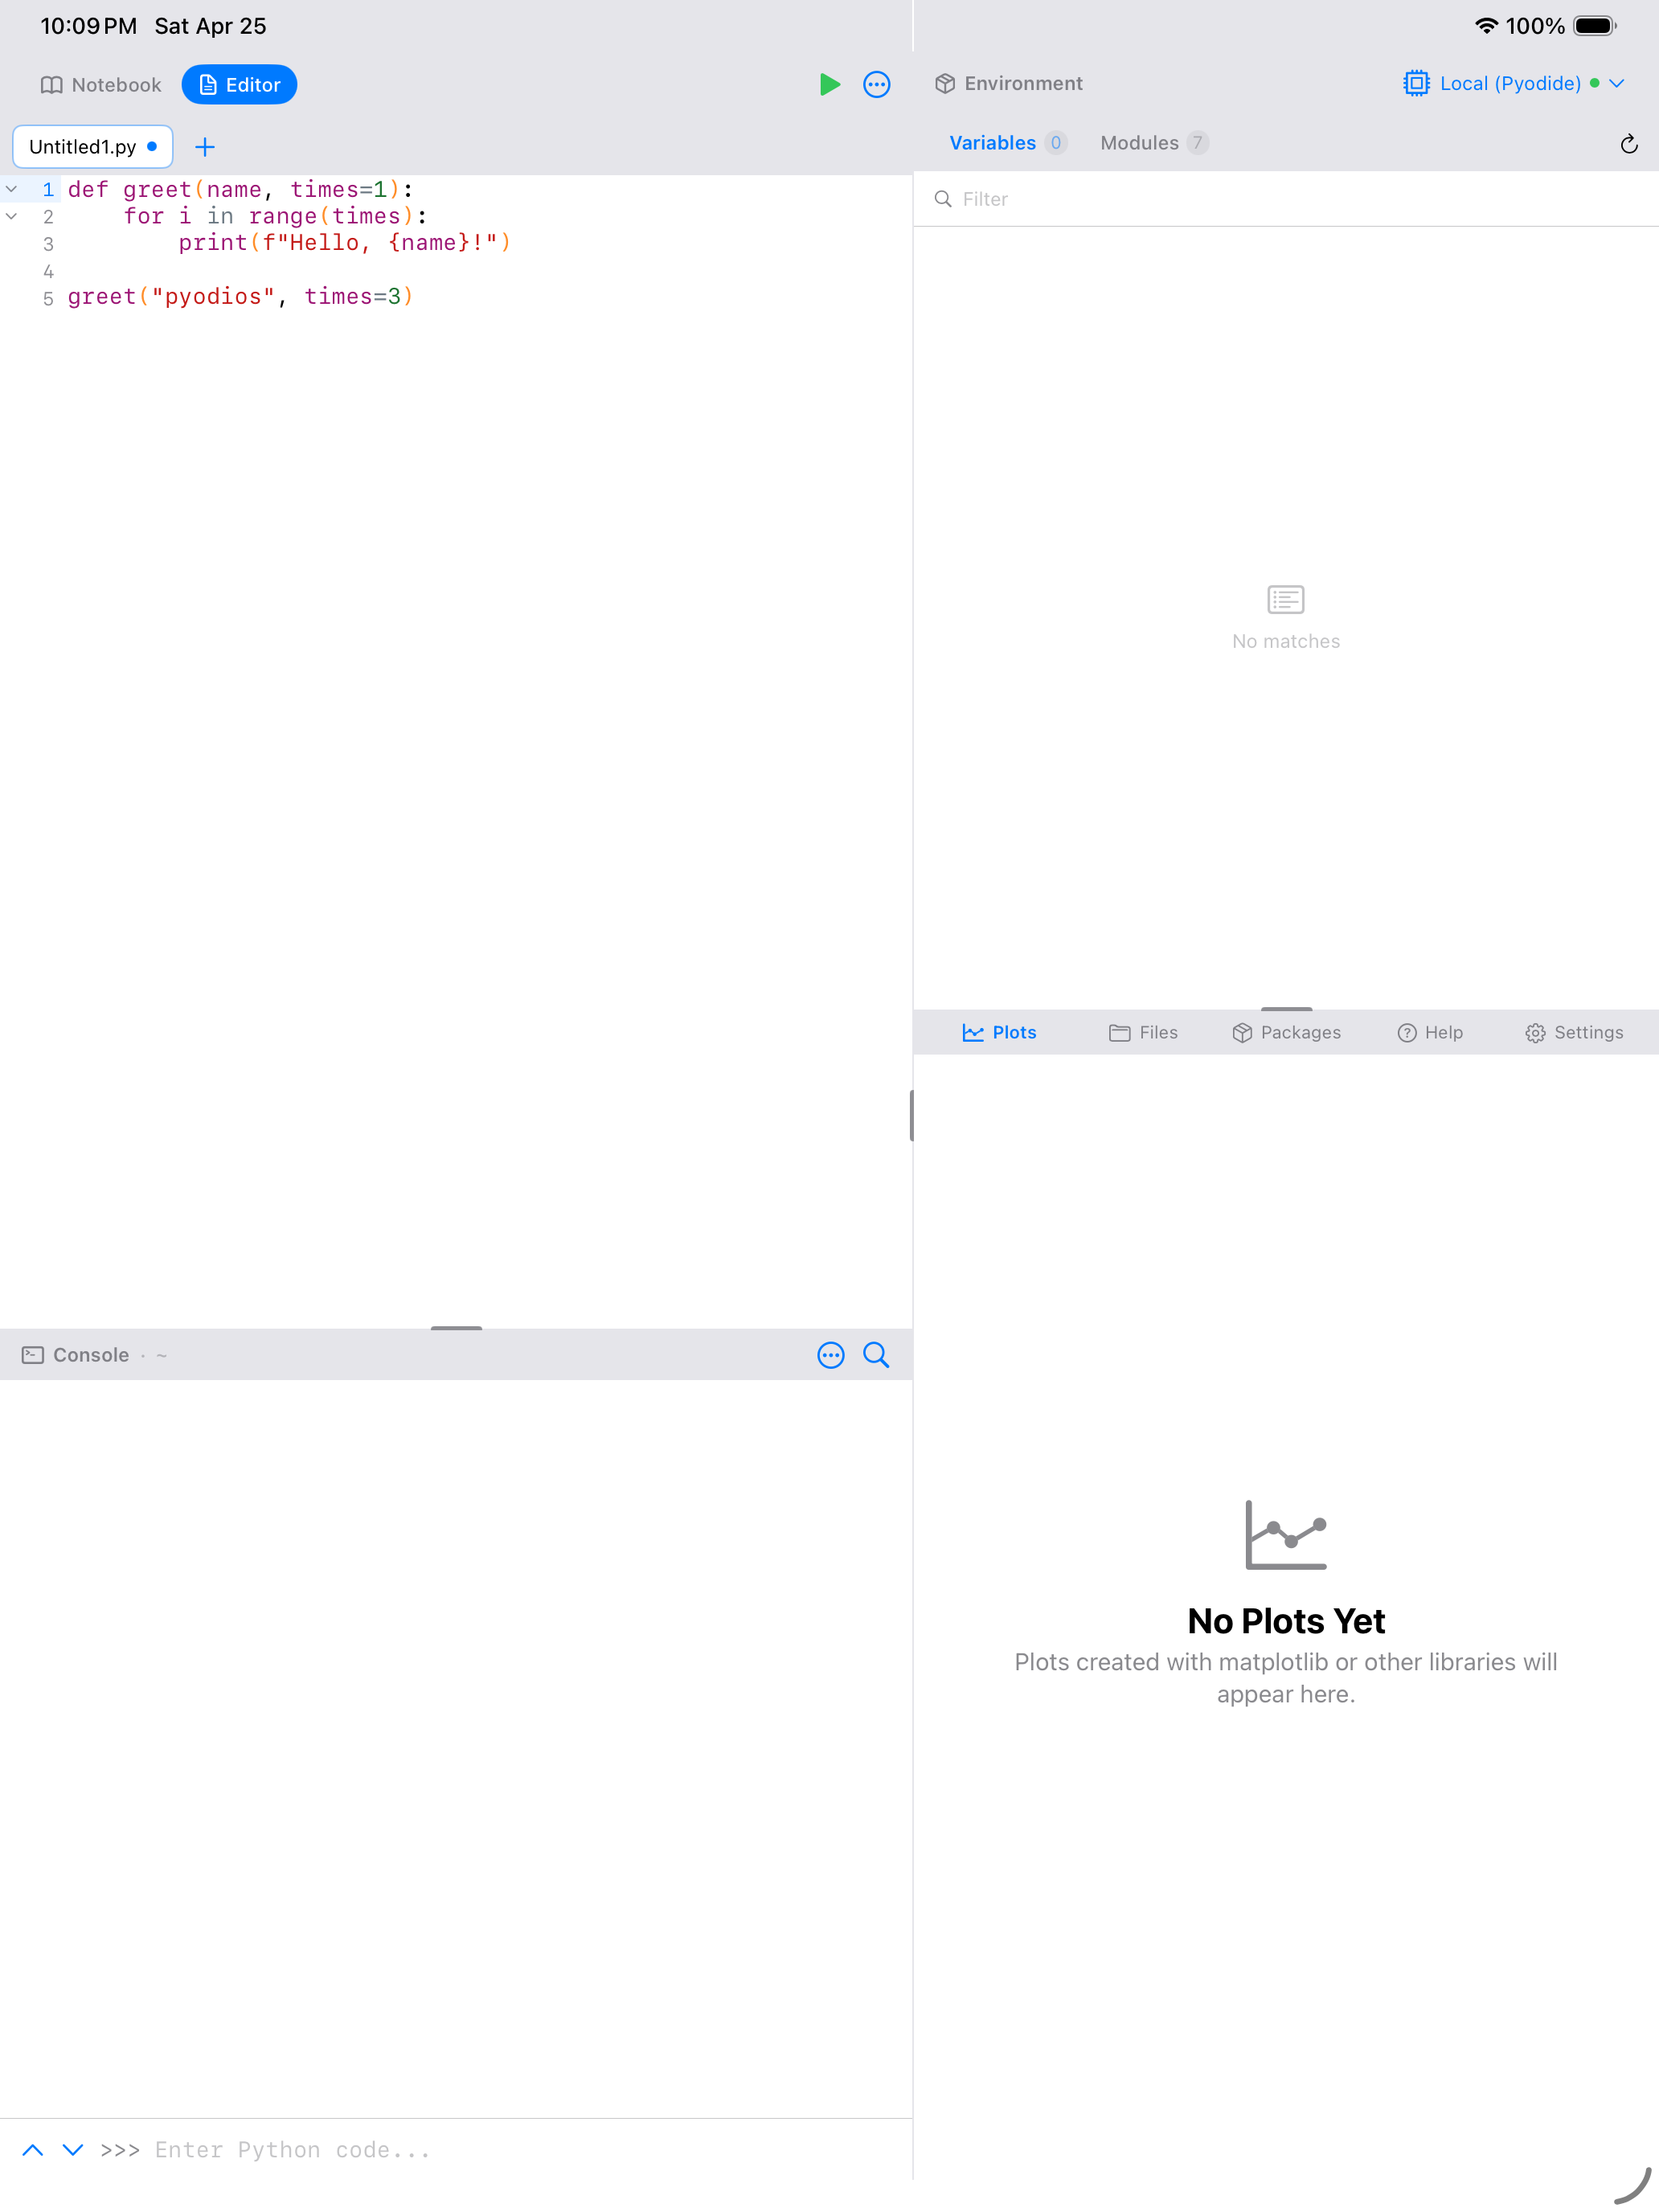
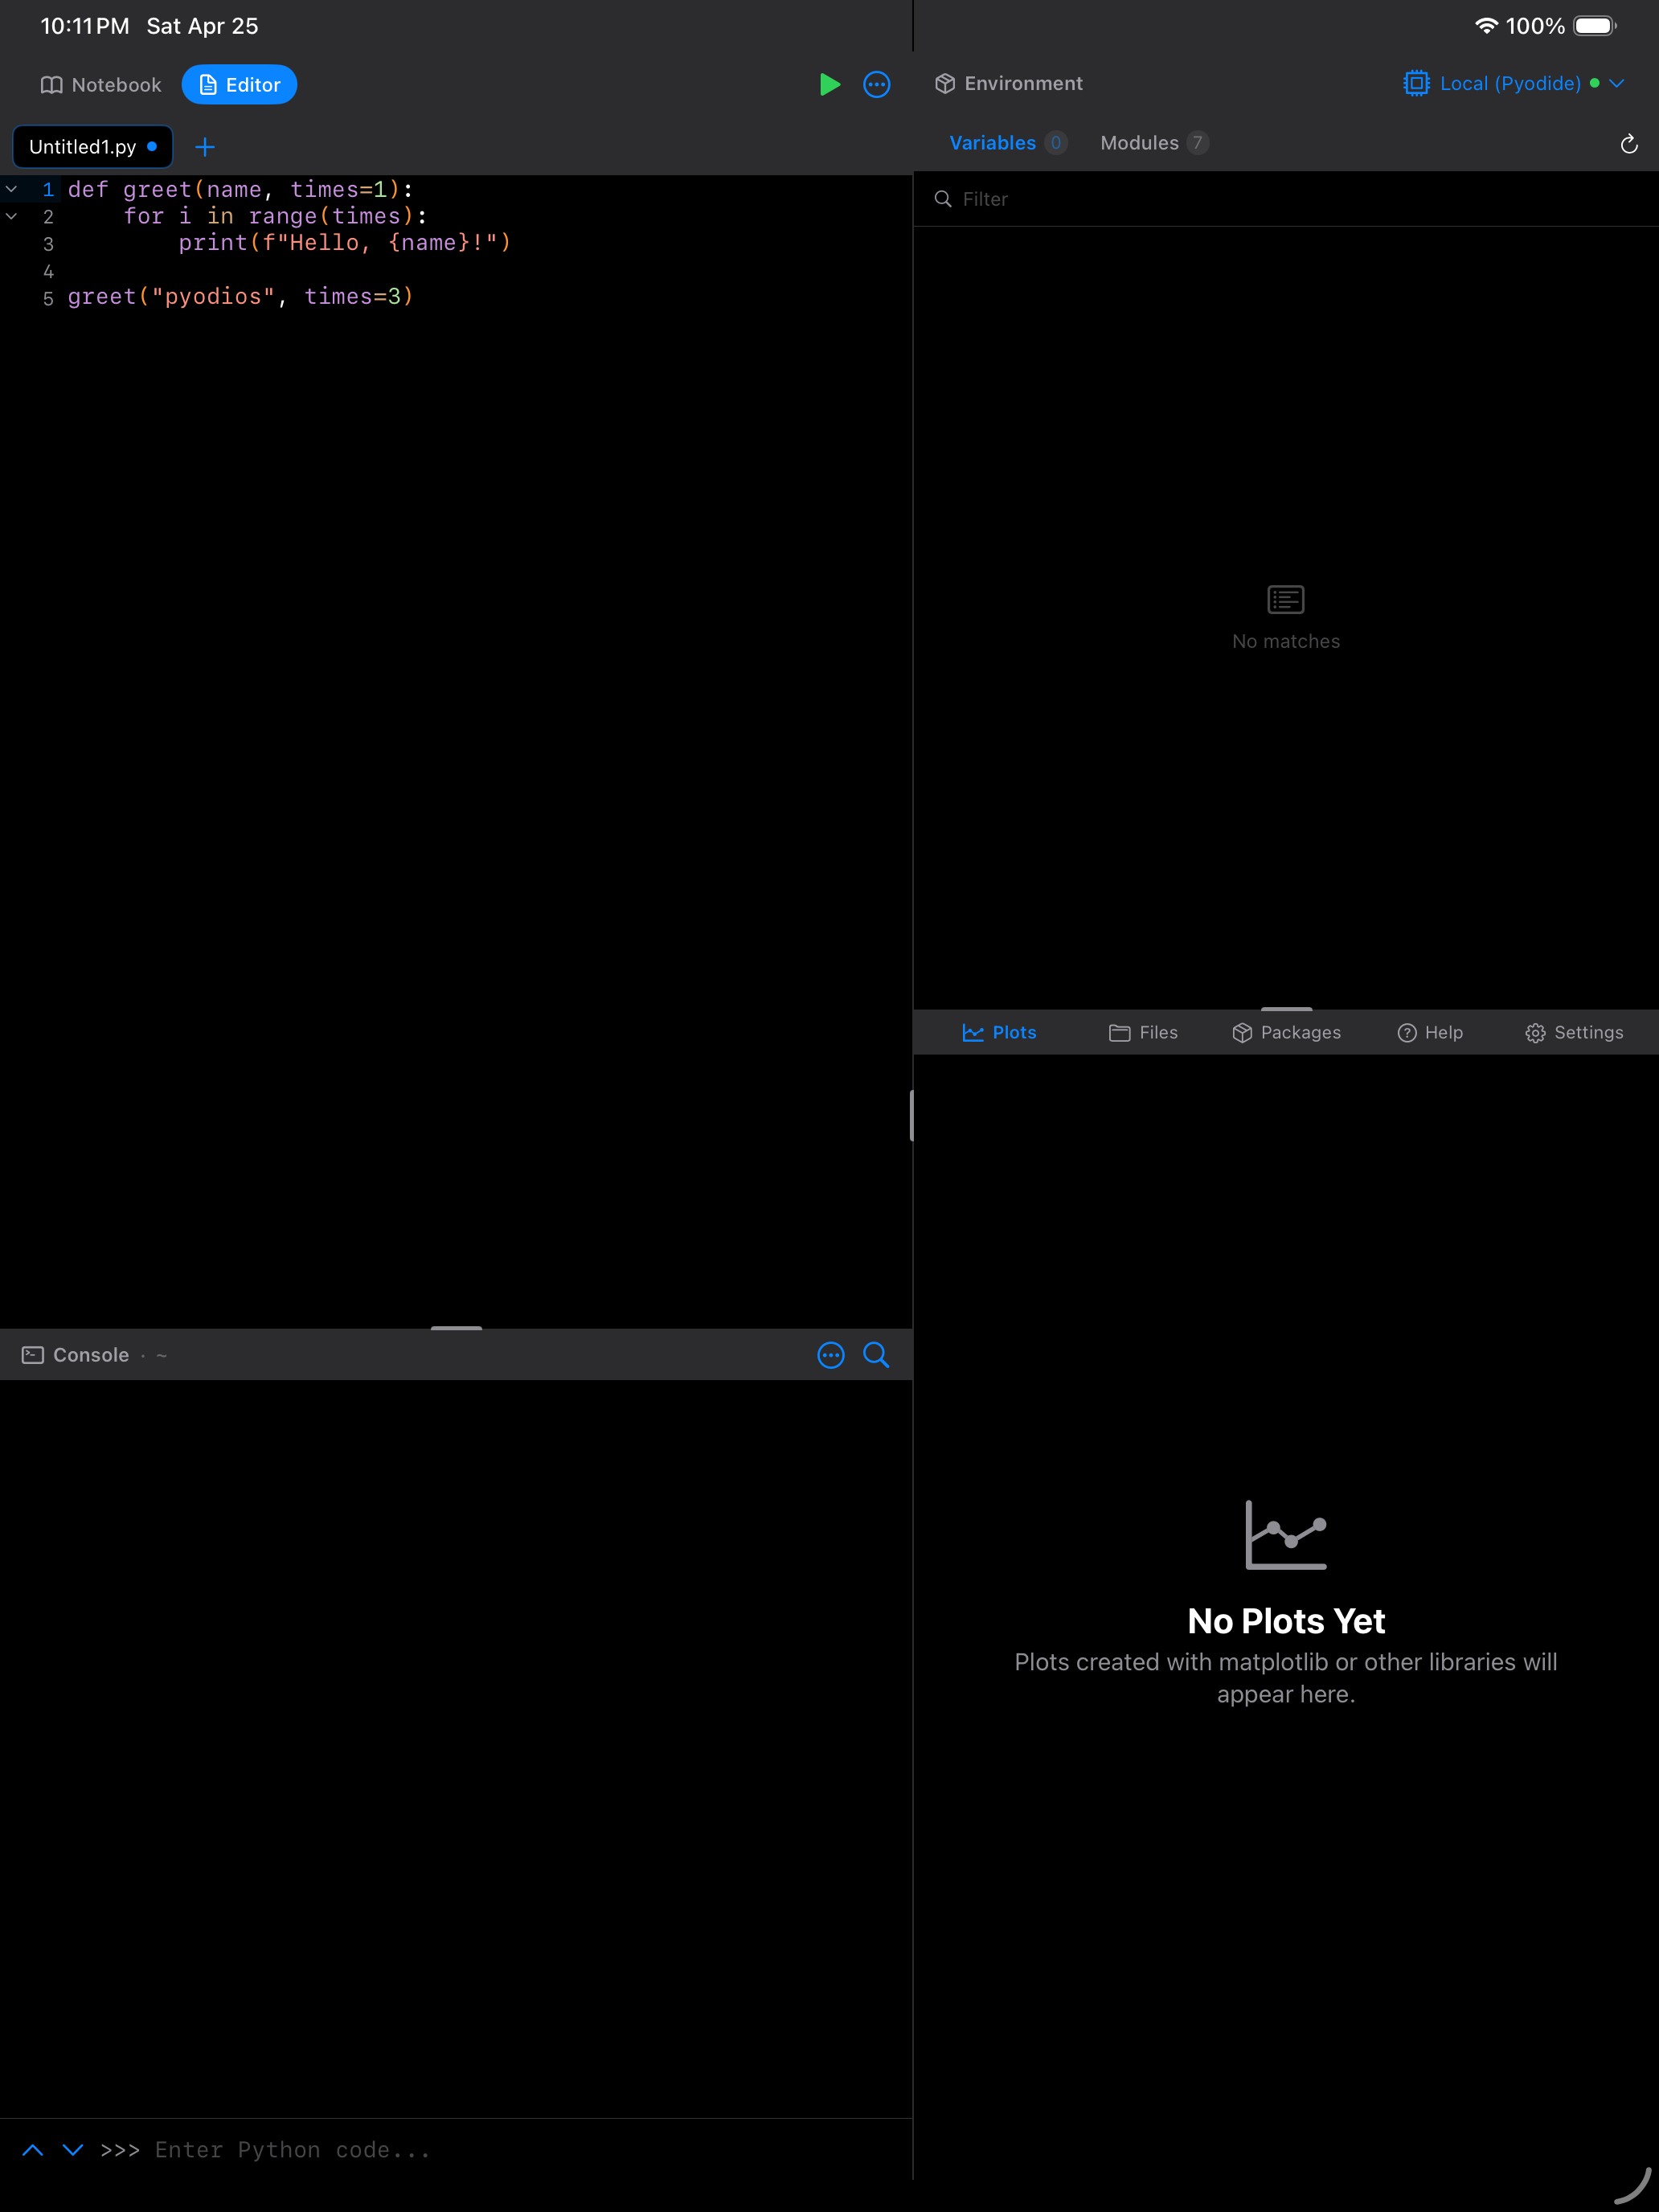
What you are seeing above:
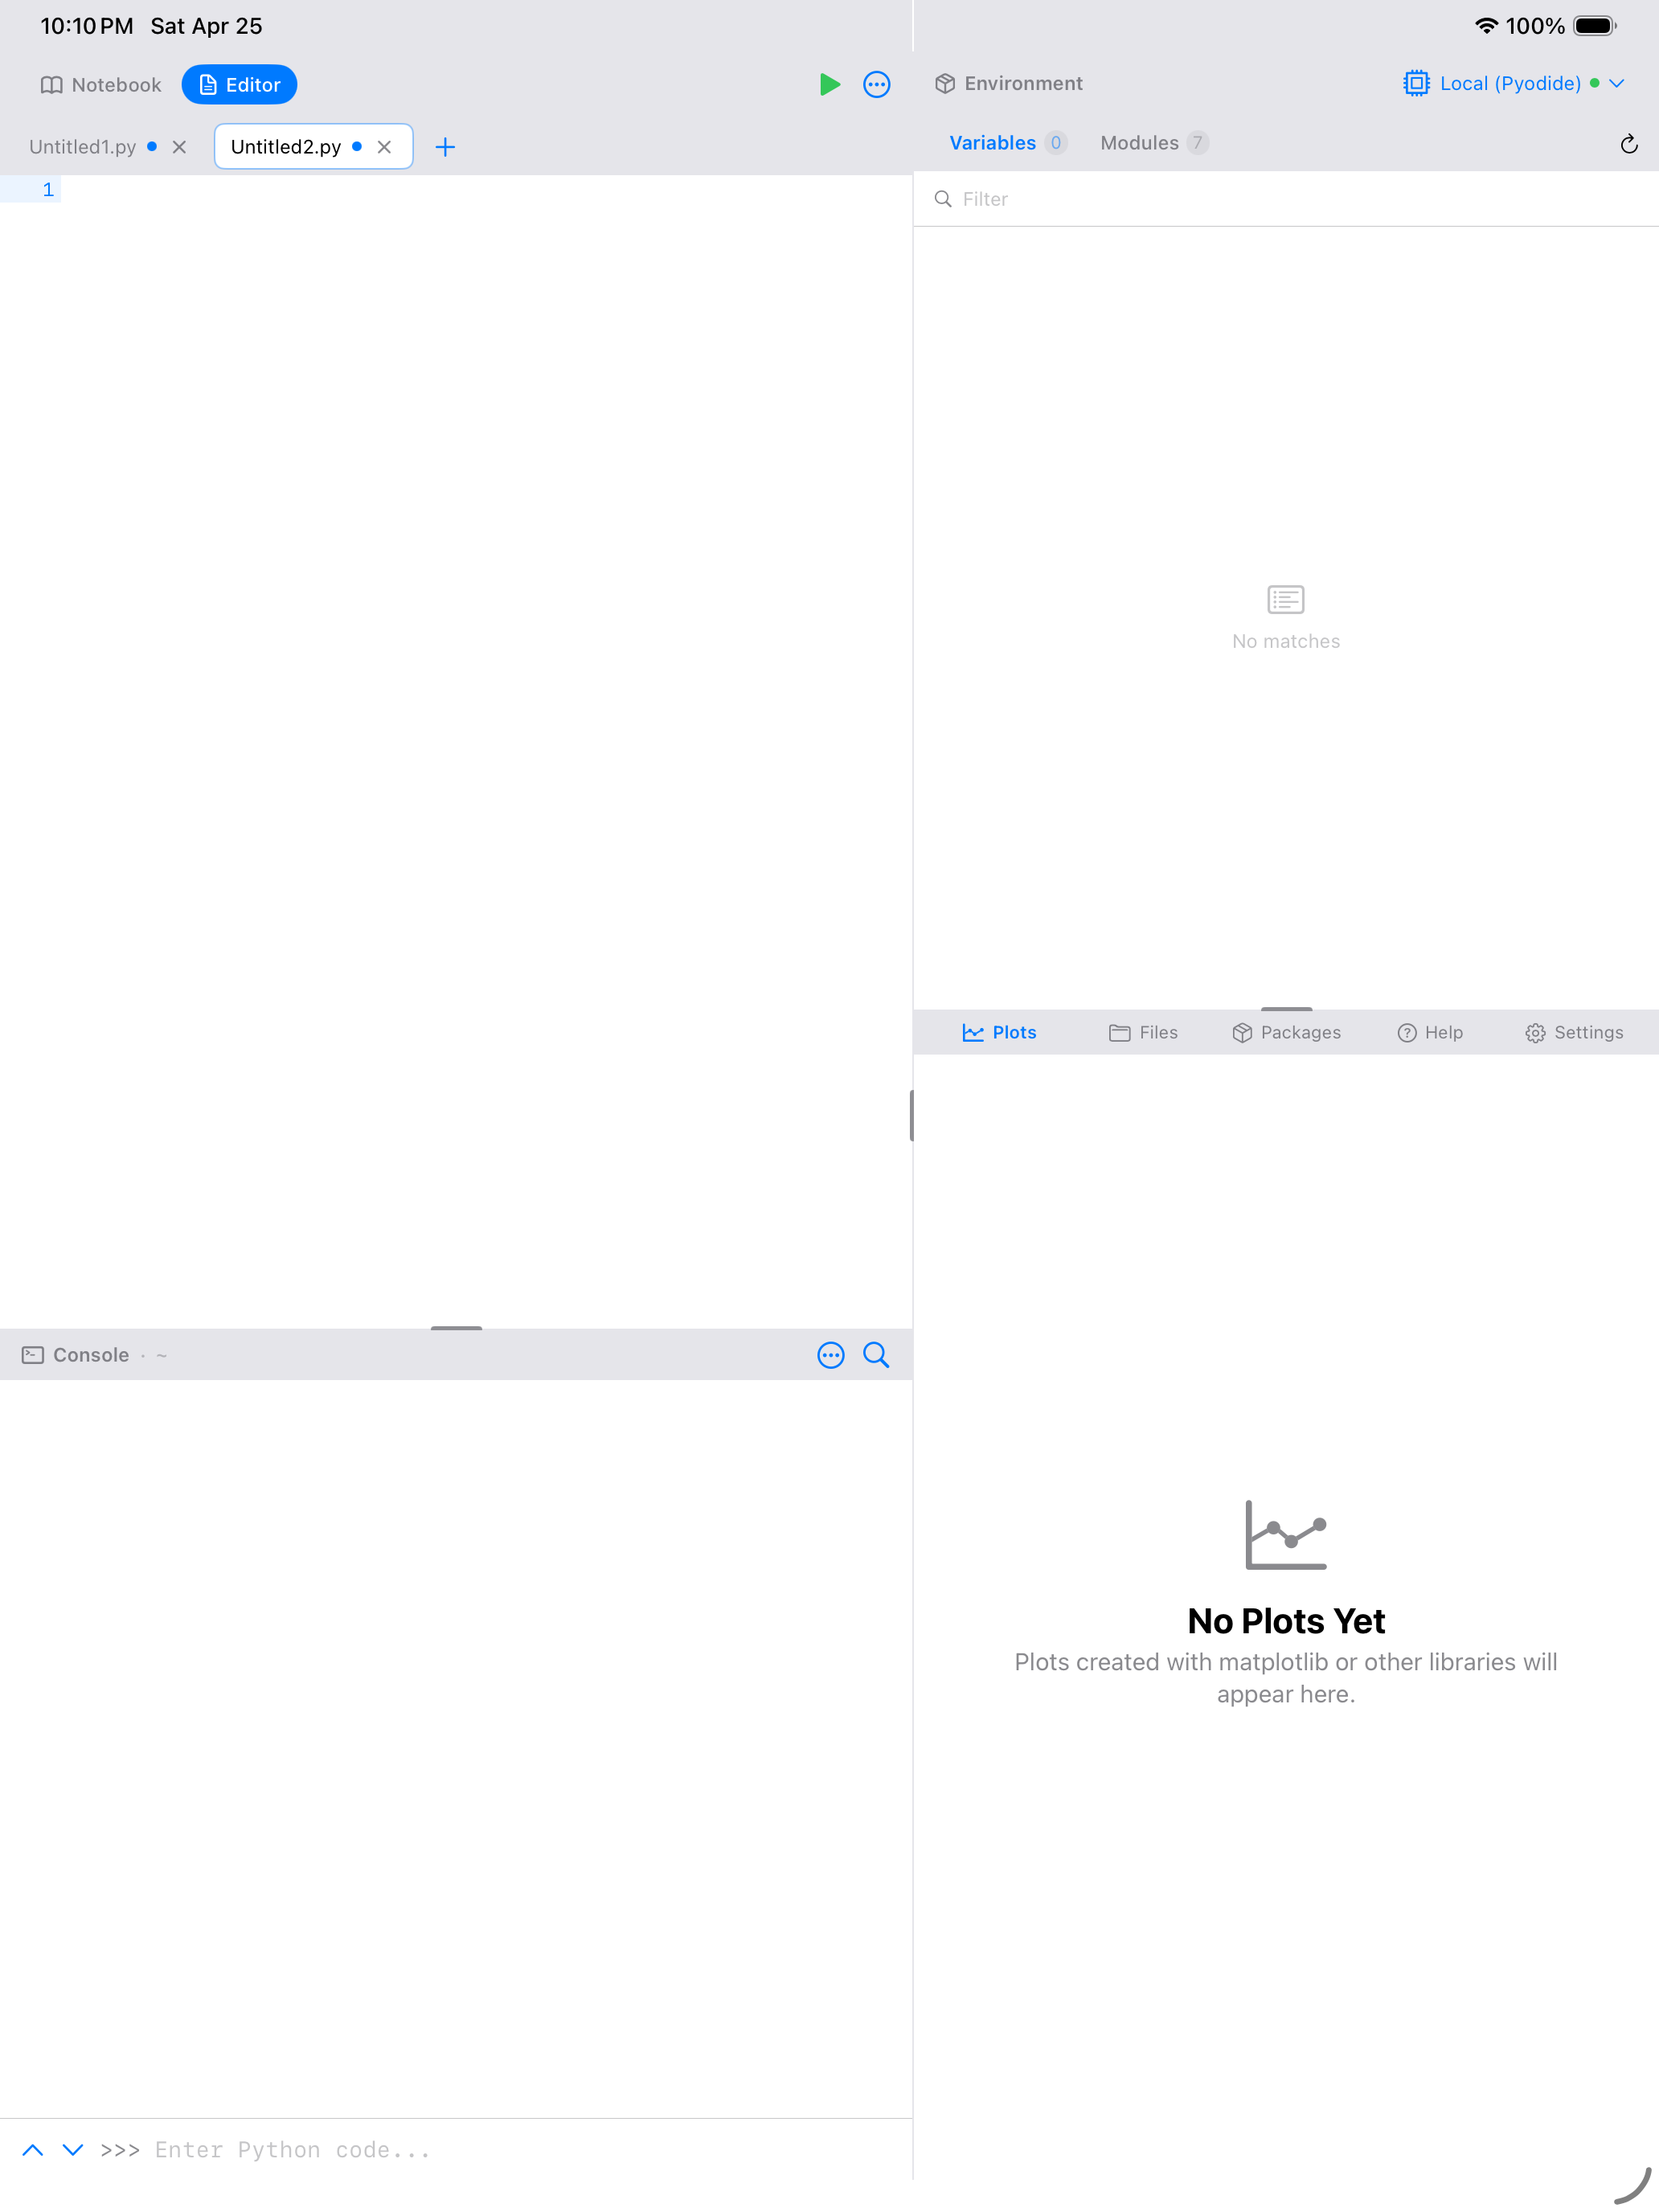
- Tab bar: shows your open files; tap the + button to create a new tab
- Line numbers: displayed in the left gutter for easy reference and debugging
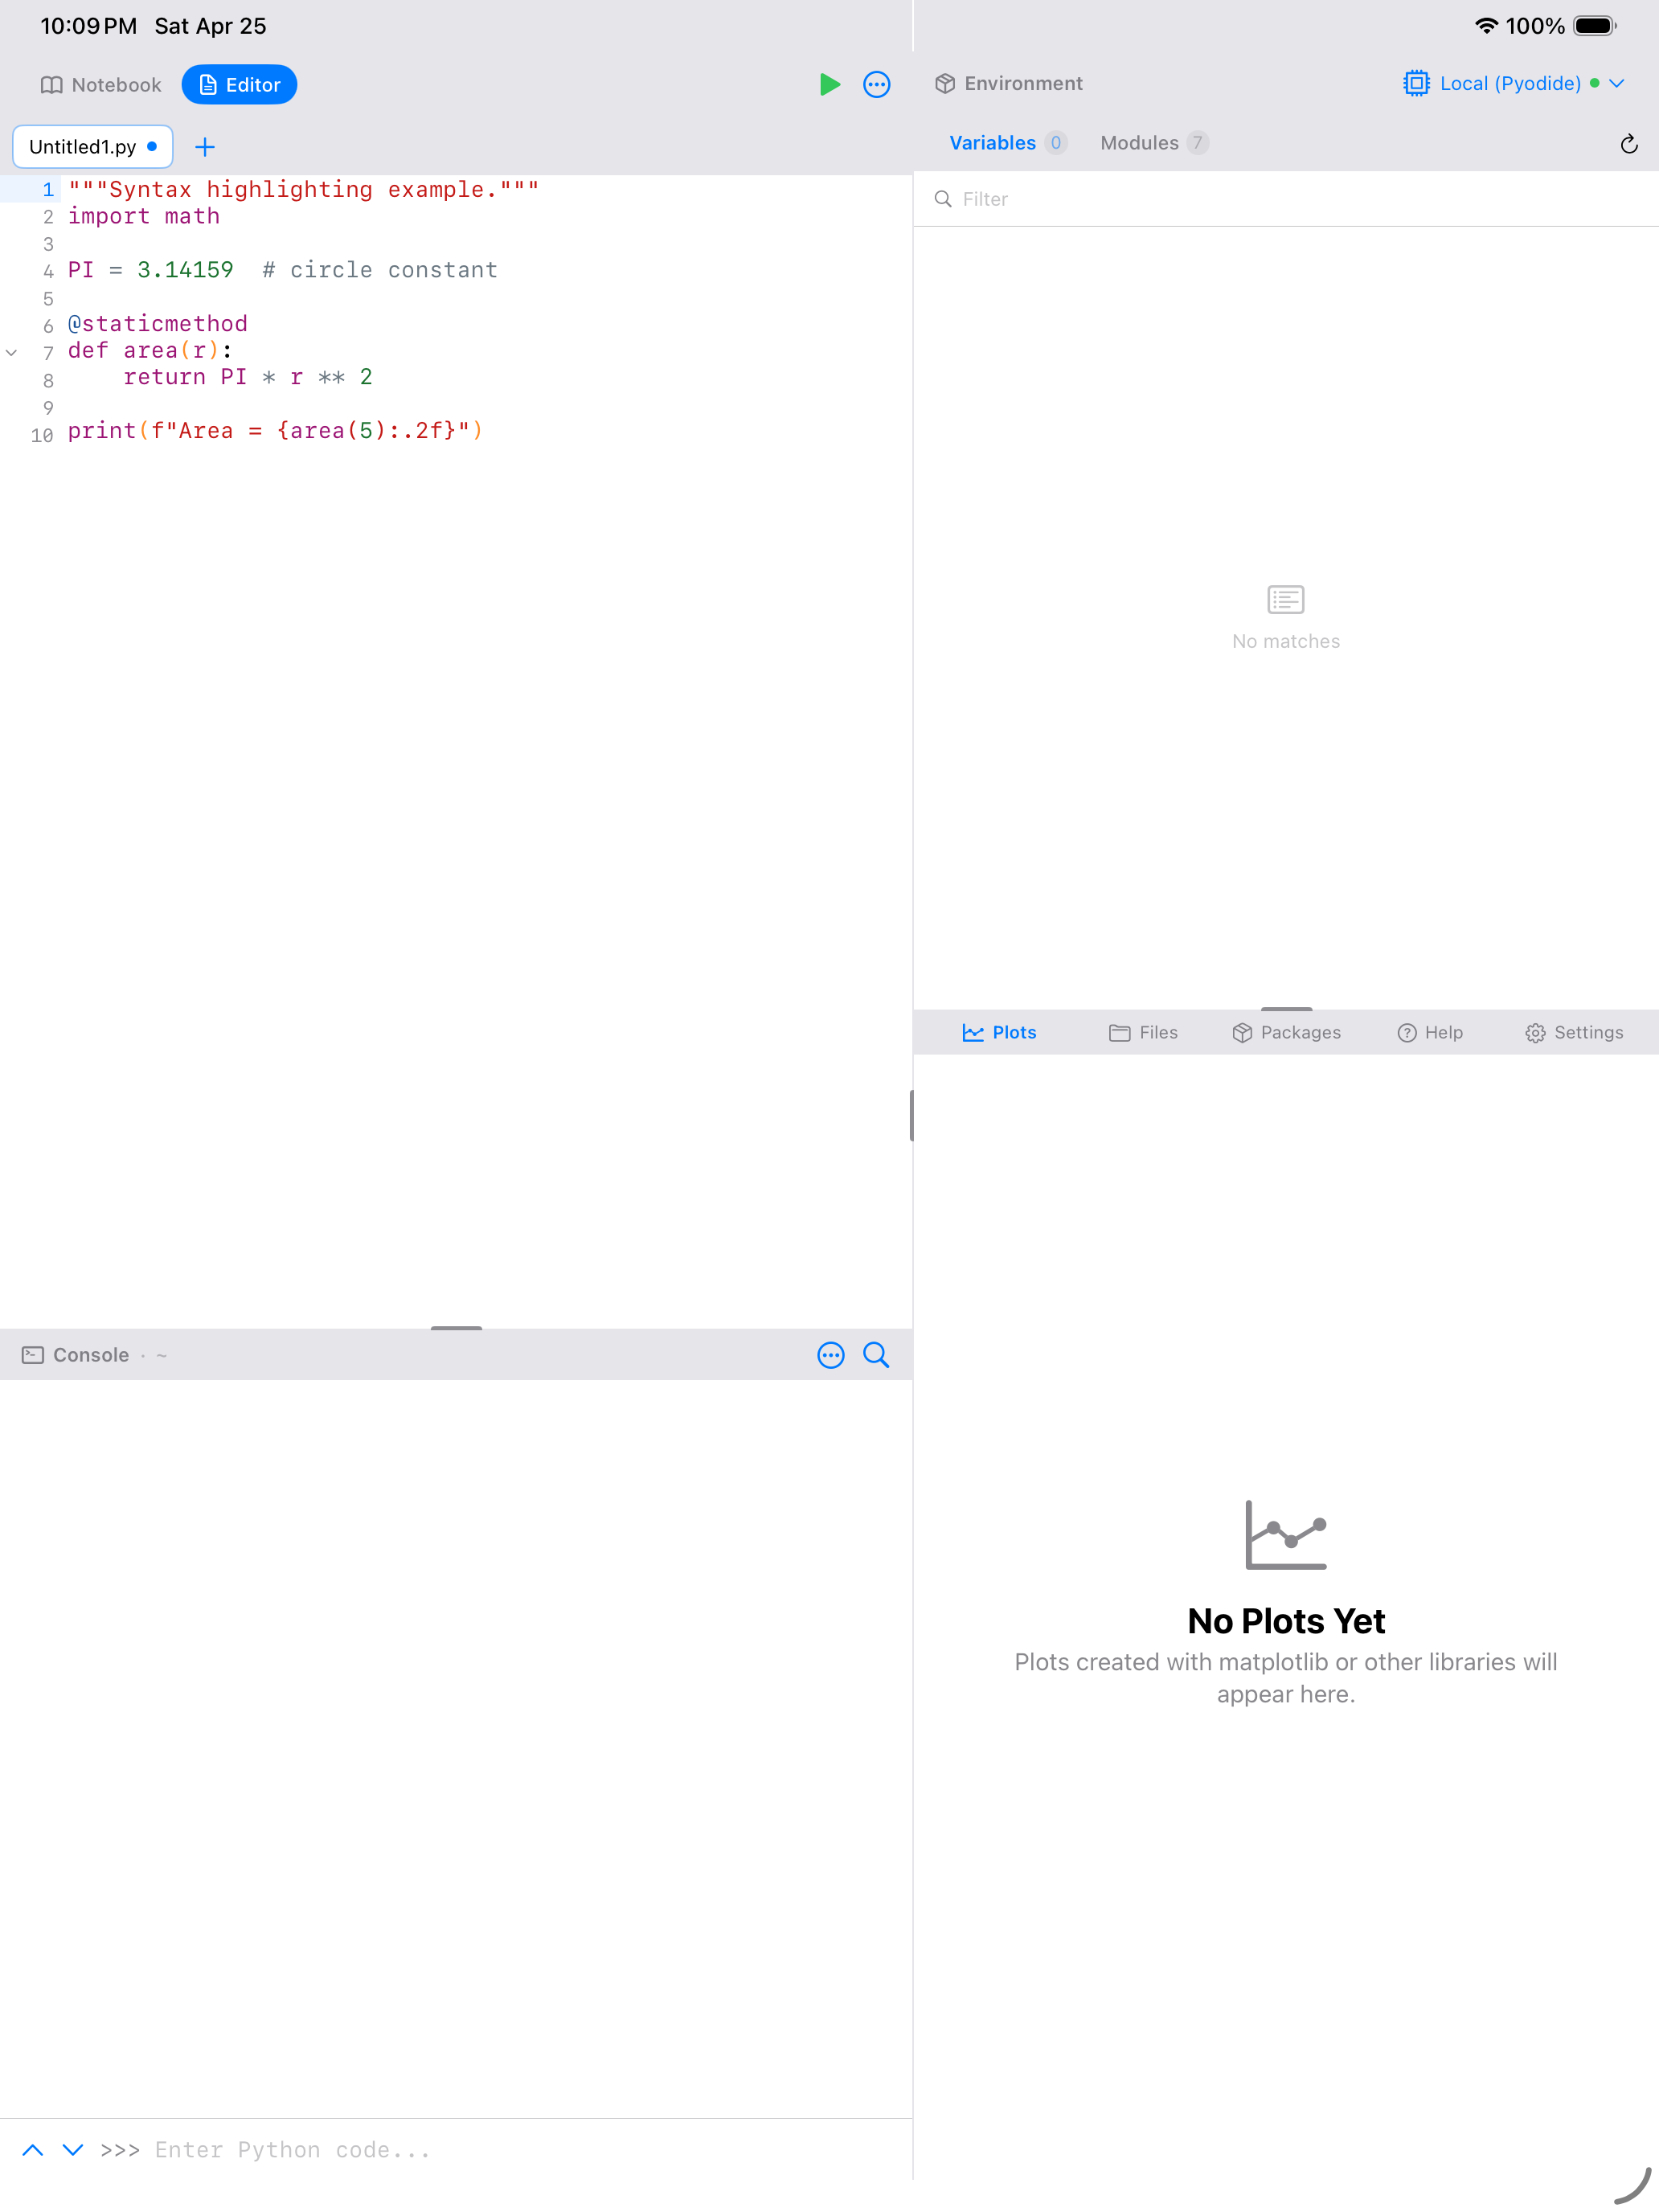
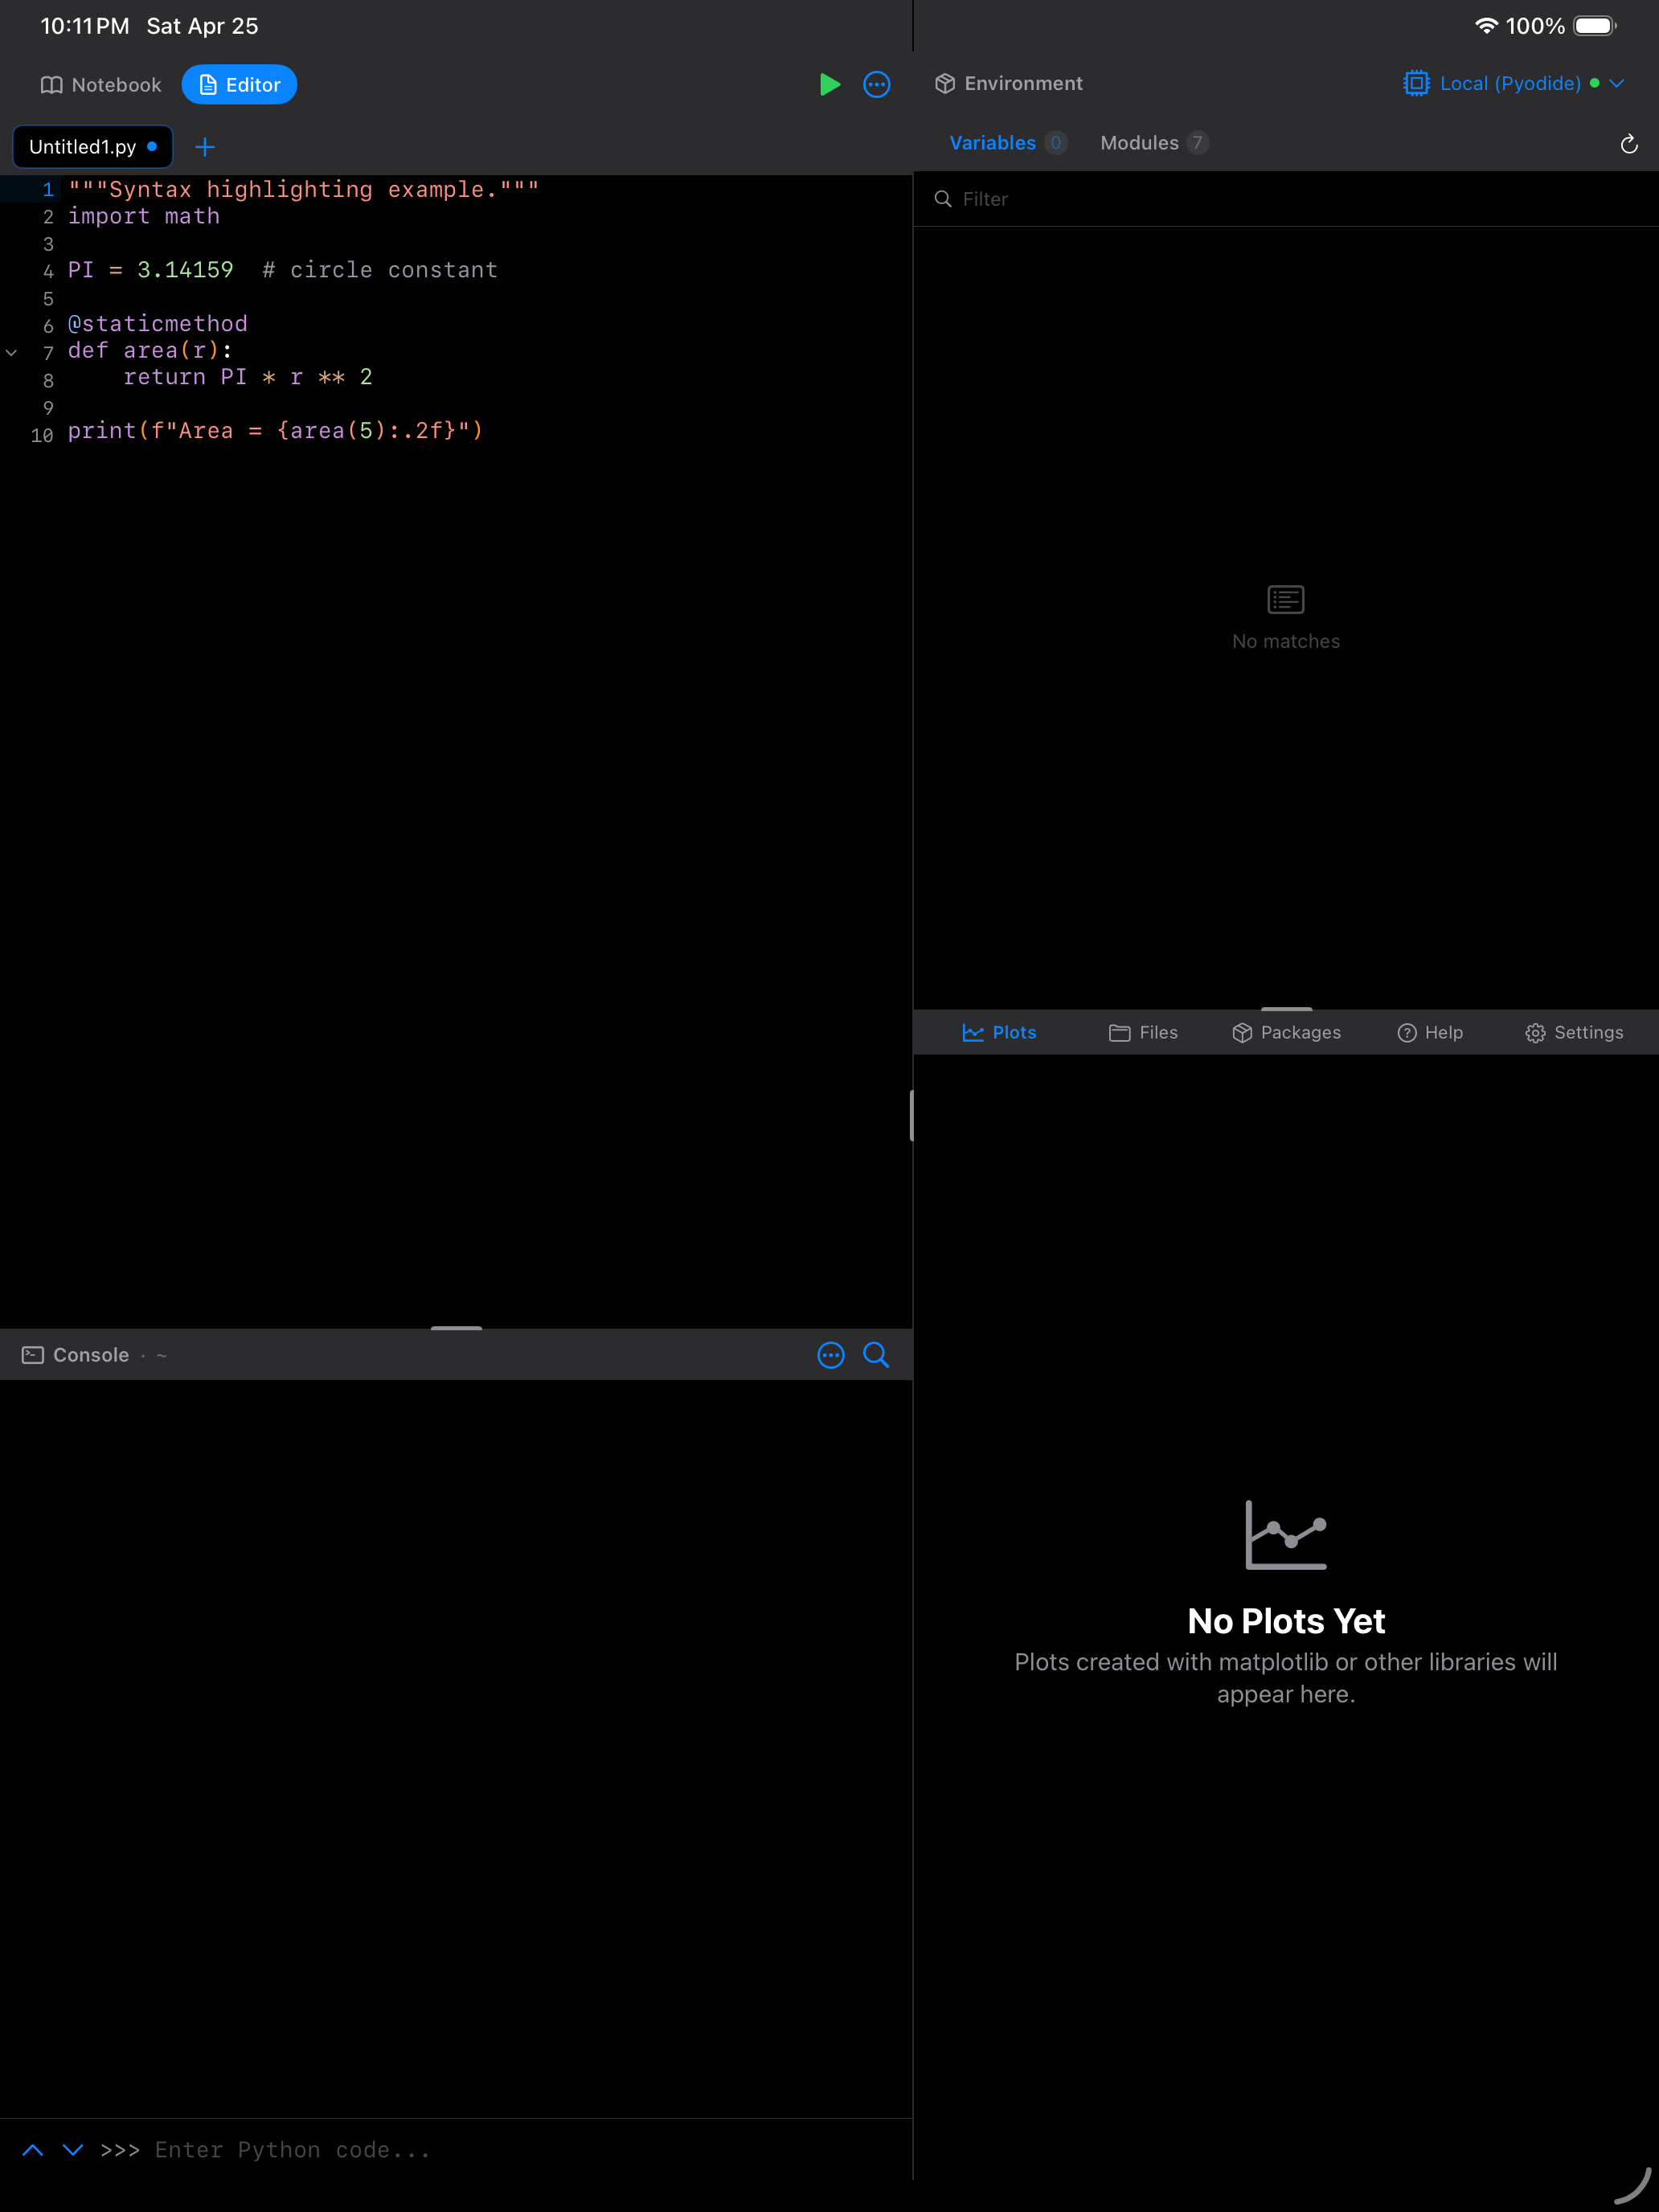
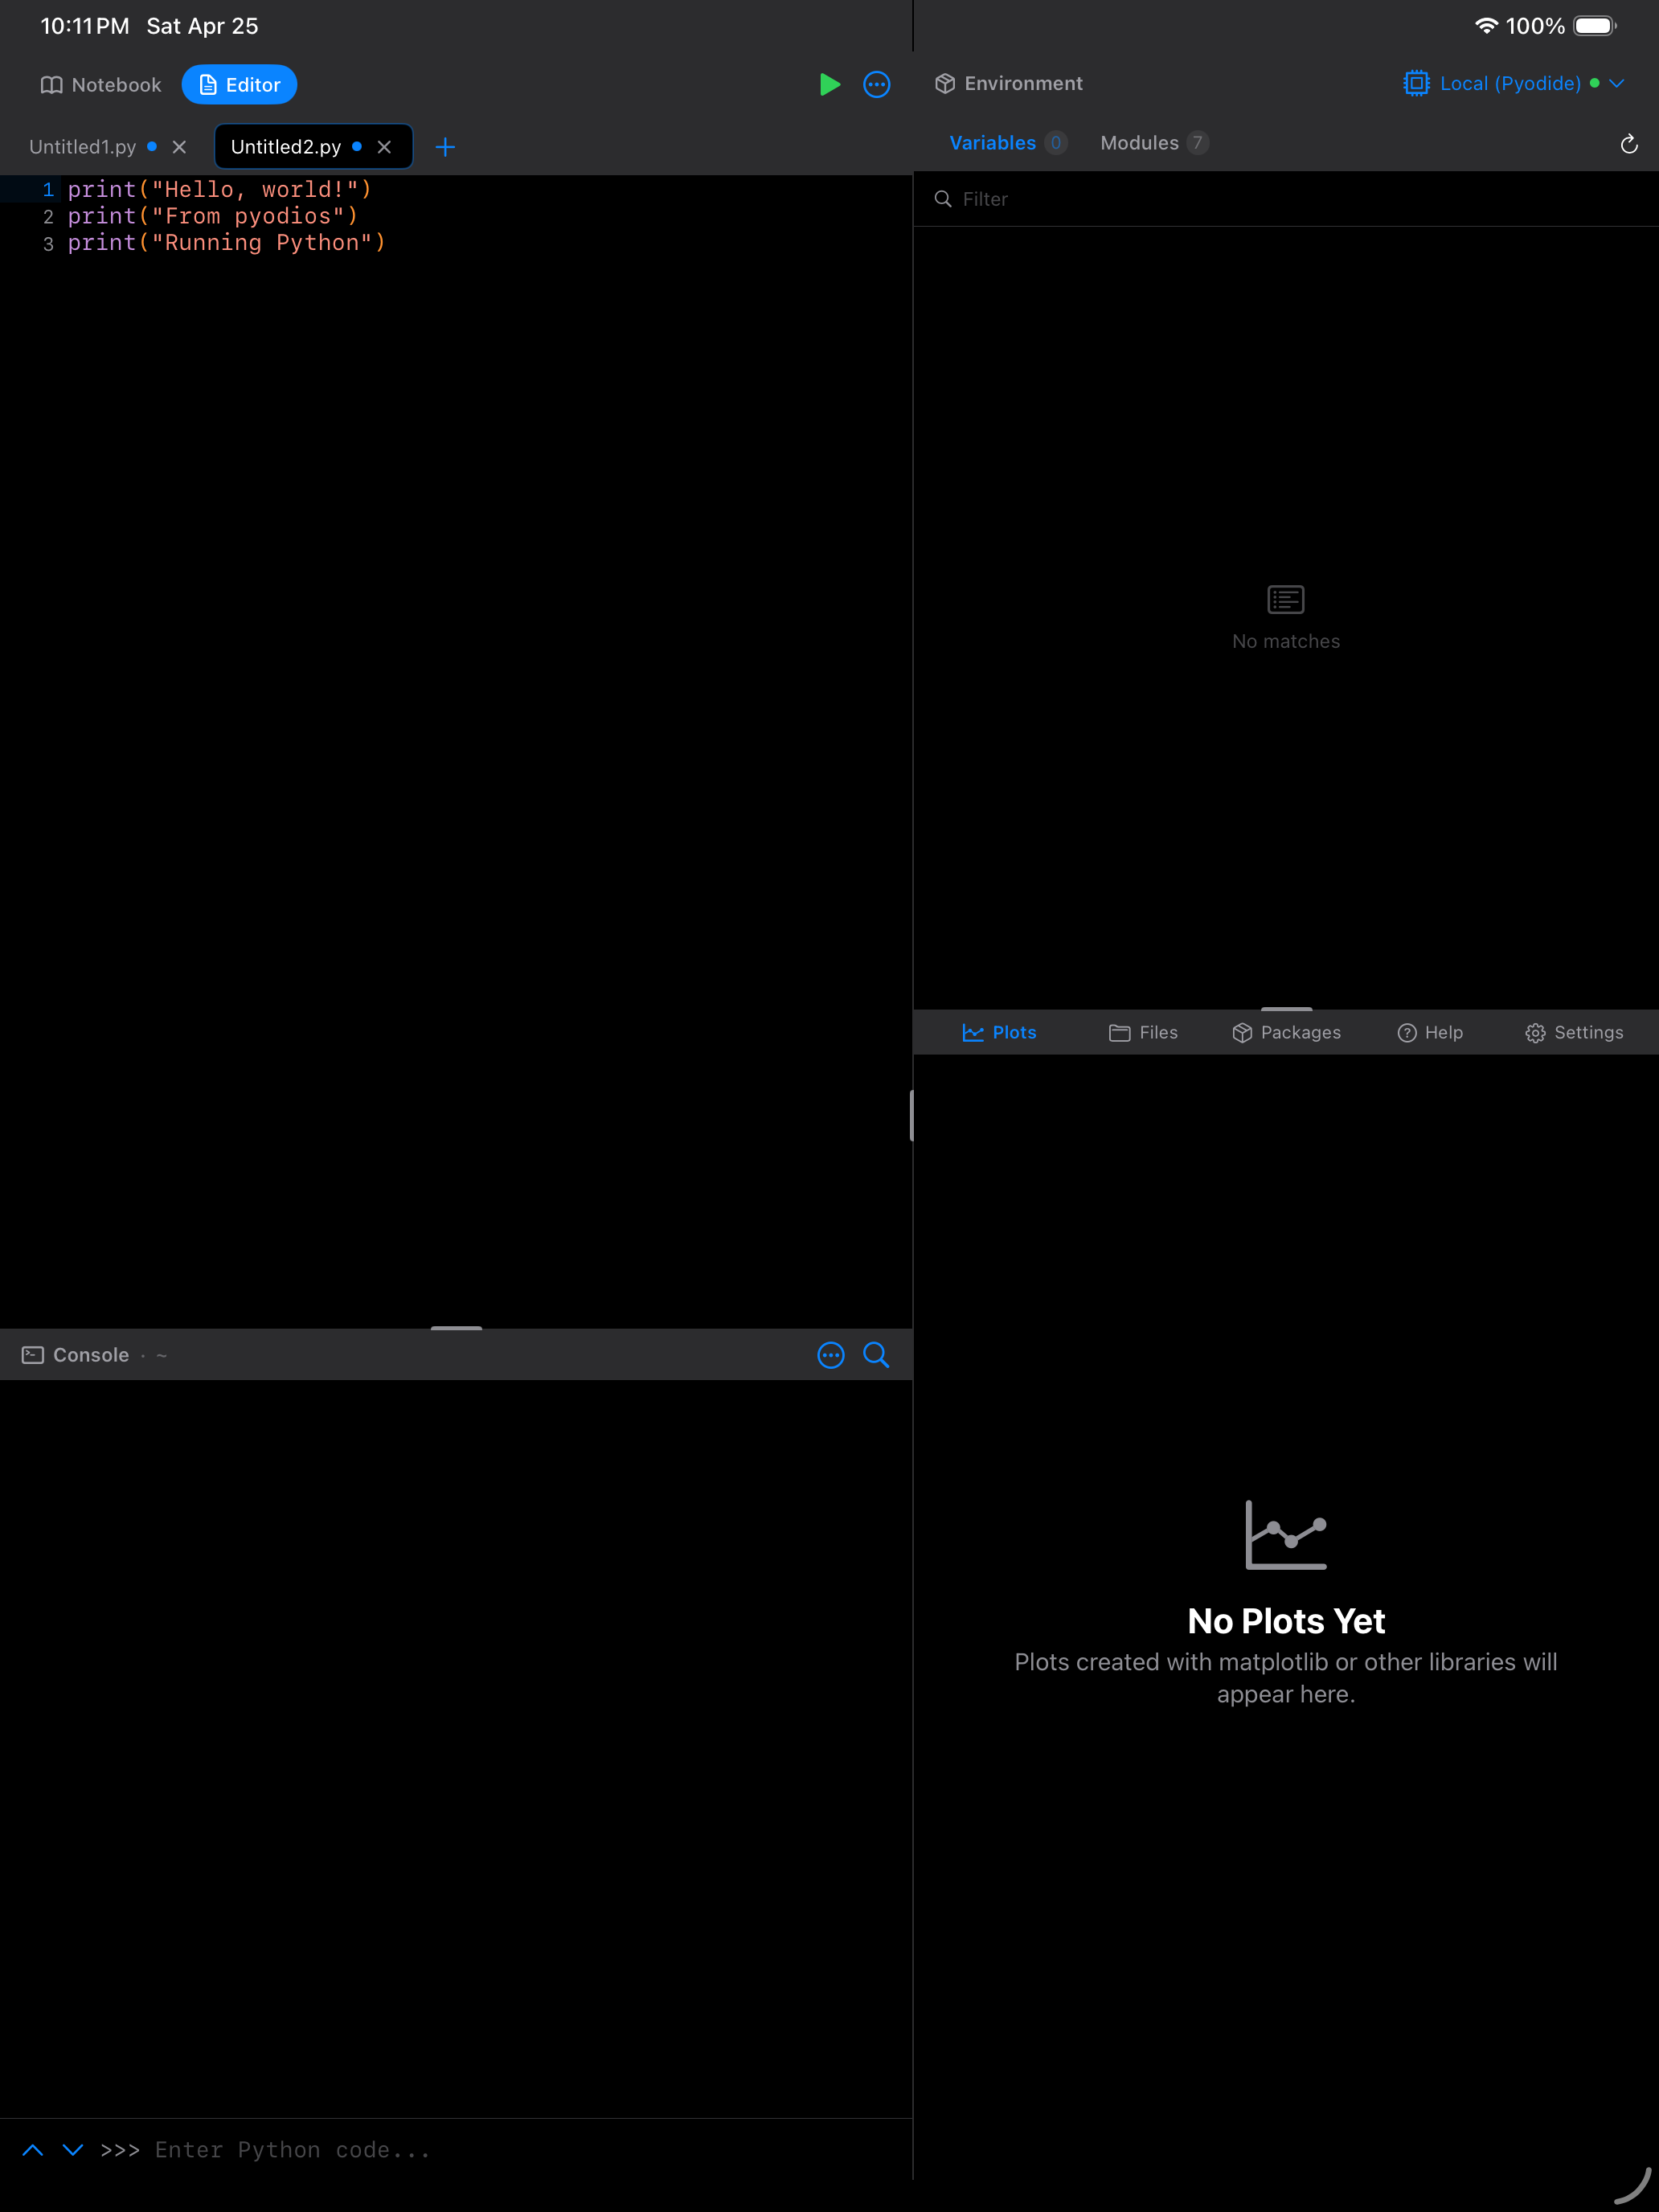
- Syntax highlighting: Python code is color-coded so keywords, strings, functions, and comments are visually distinct
- Output panel: at the bottom, shows results when you run your script
- Toolbar: contains undo/redo, find, editor actions menu, and the run button
Syntax Highlighting
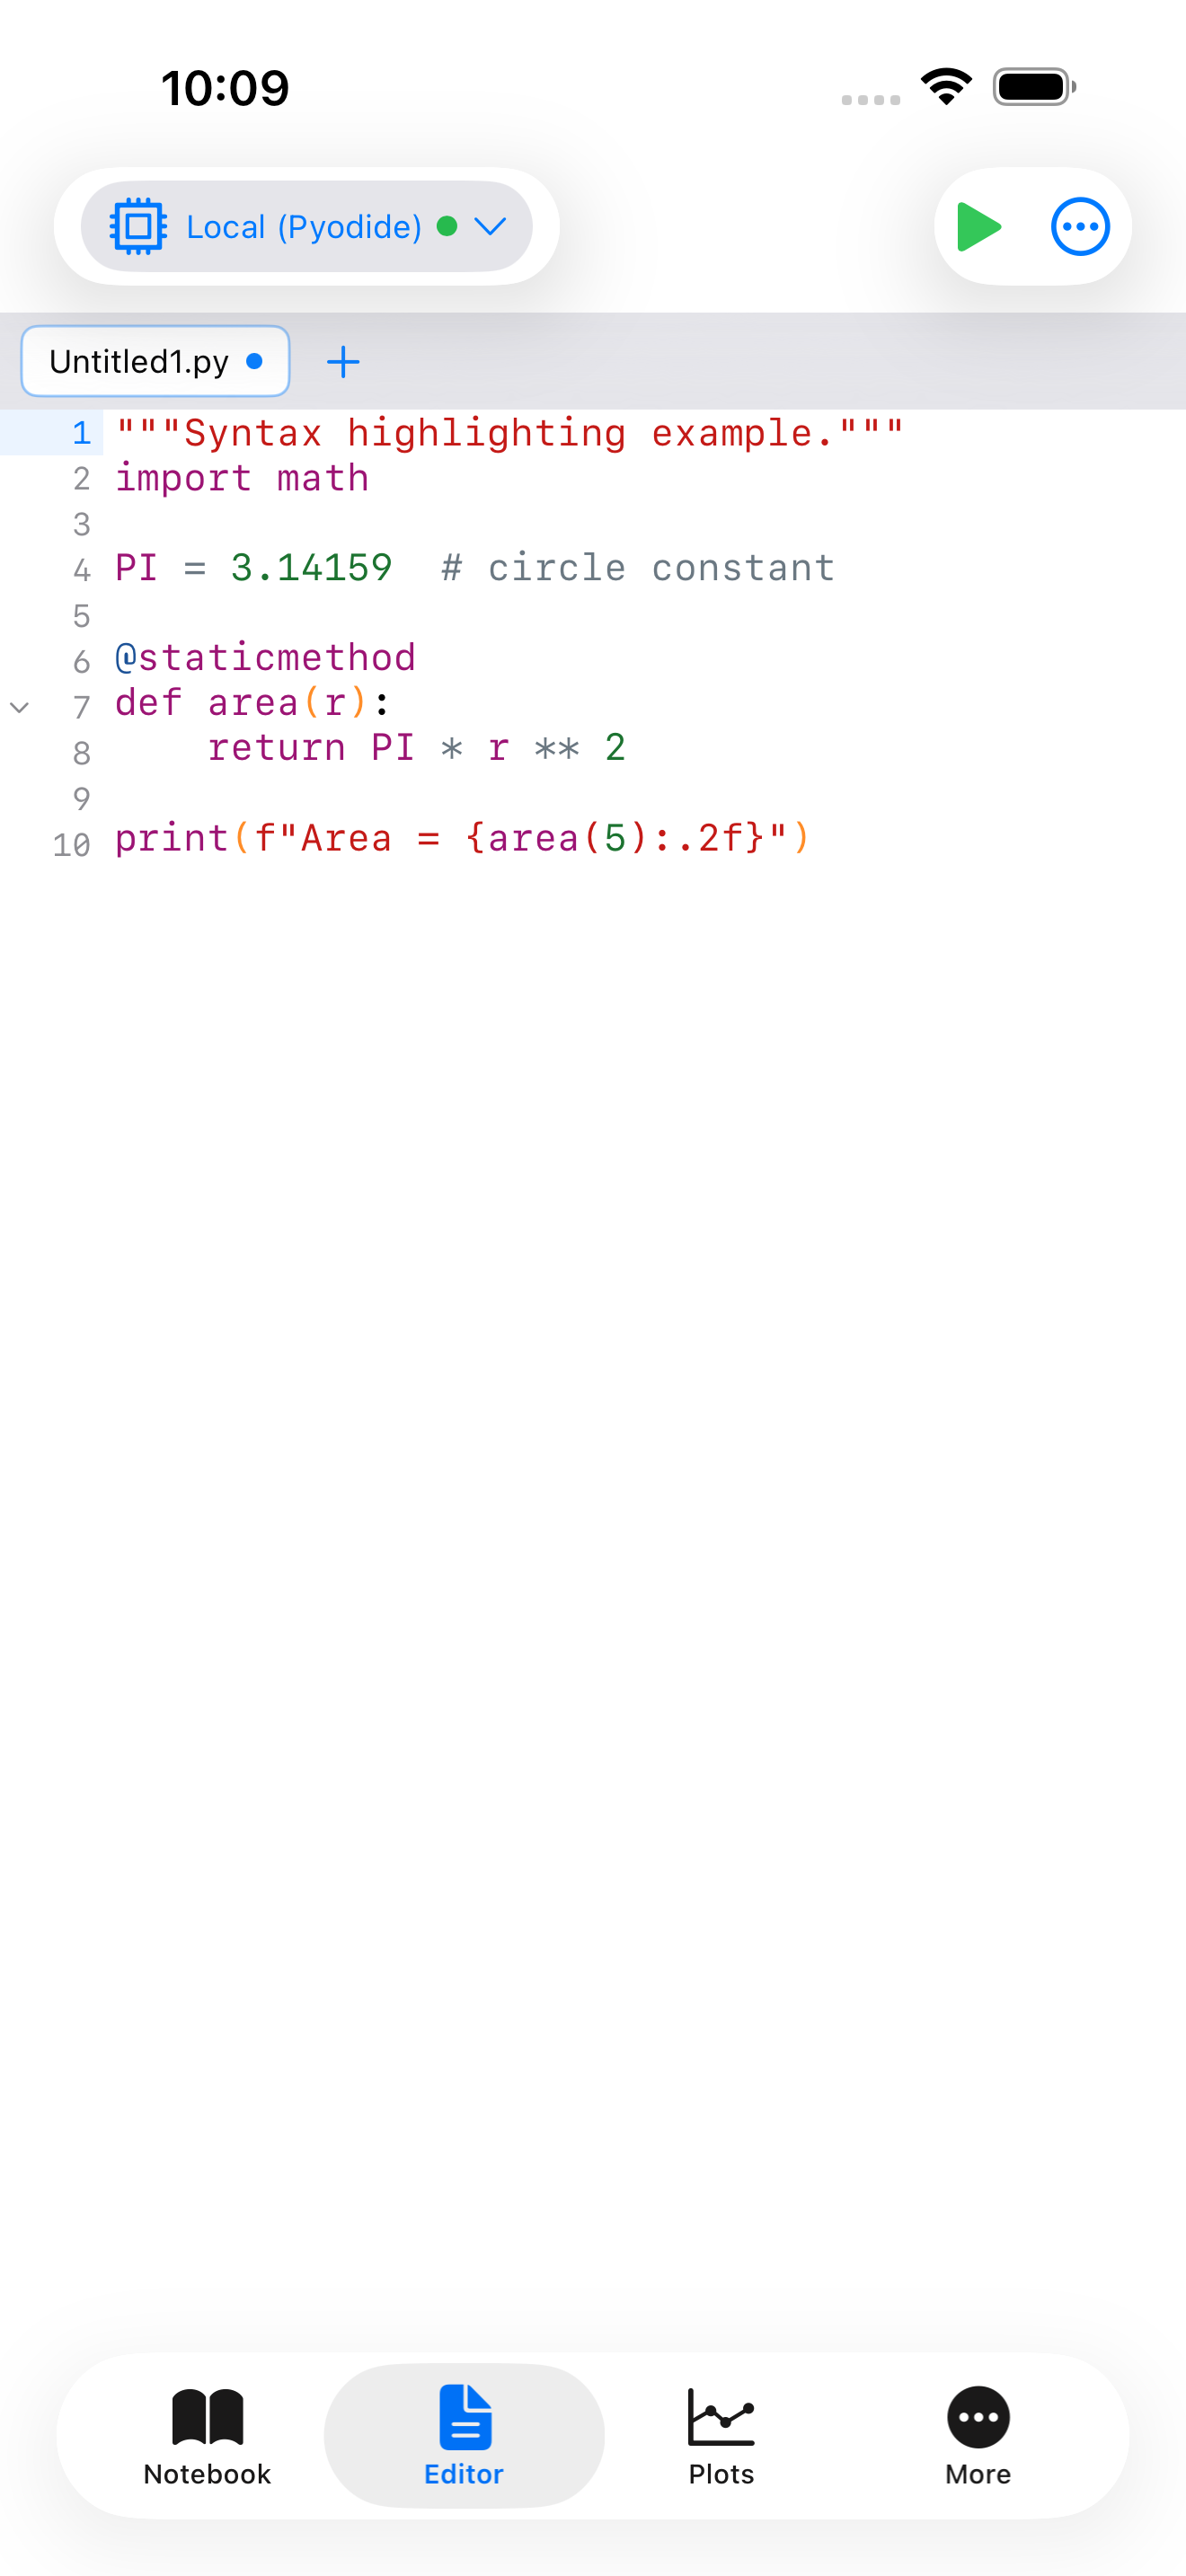
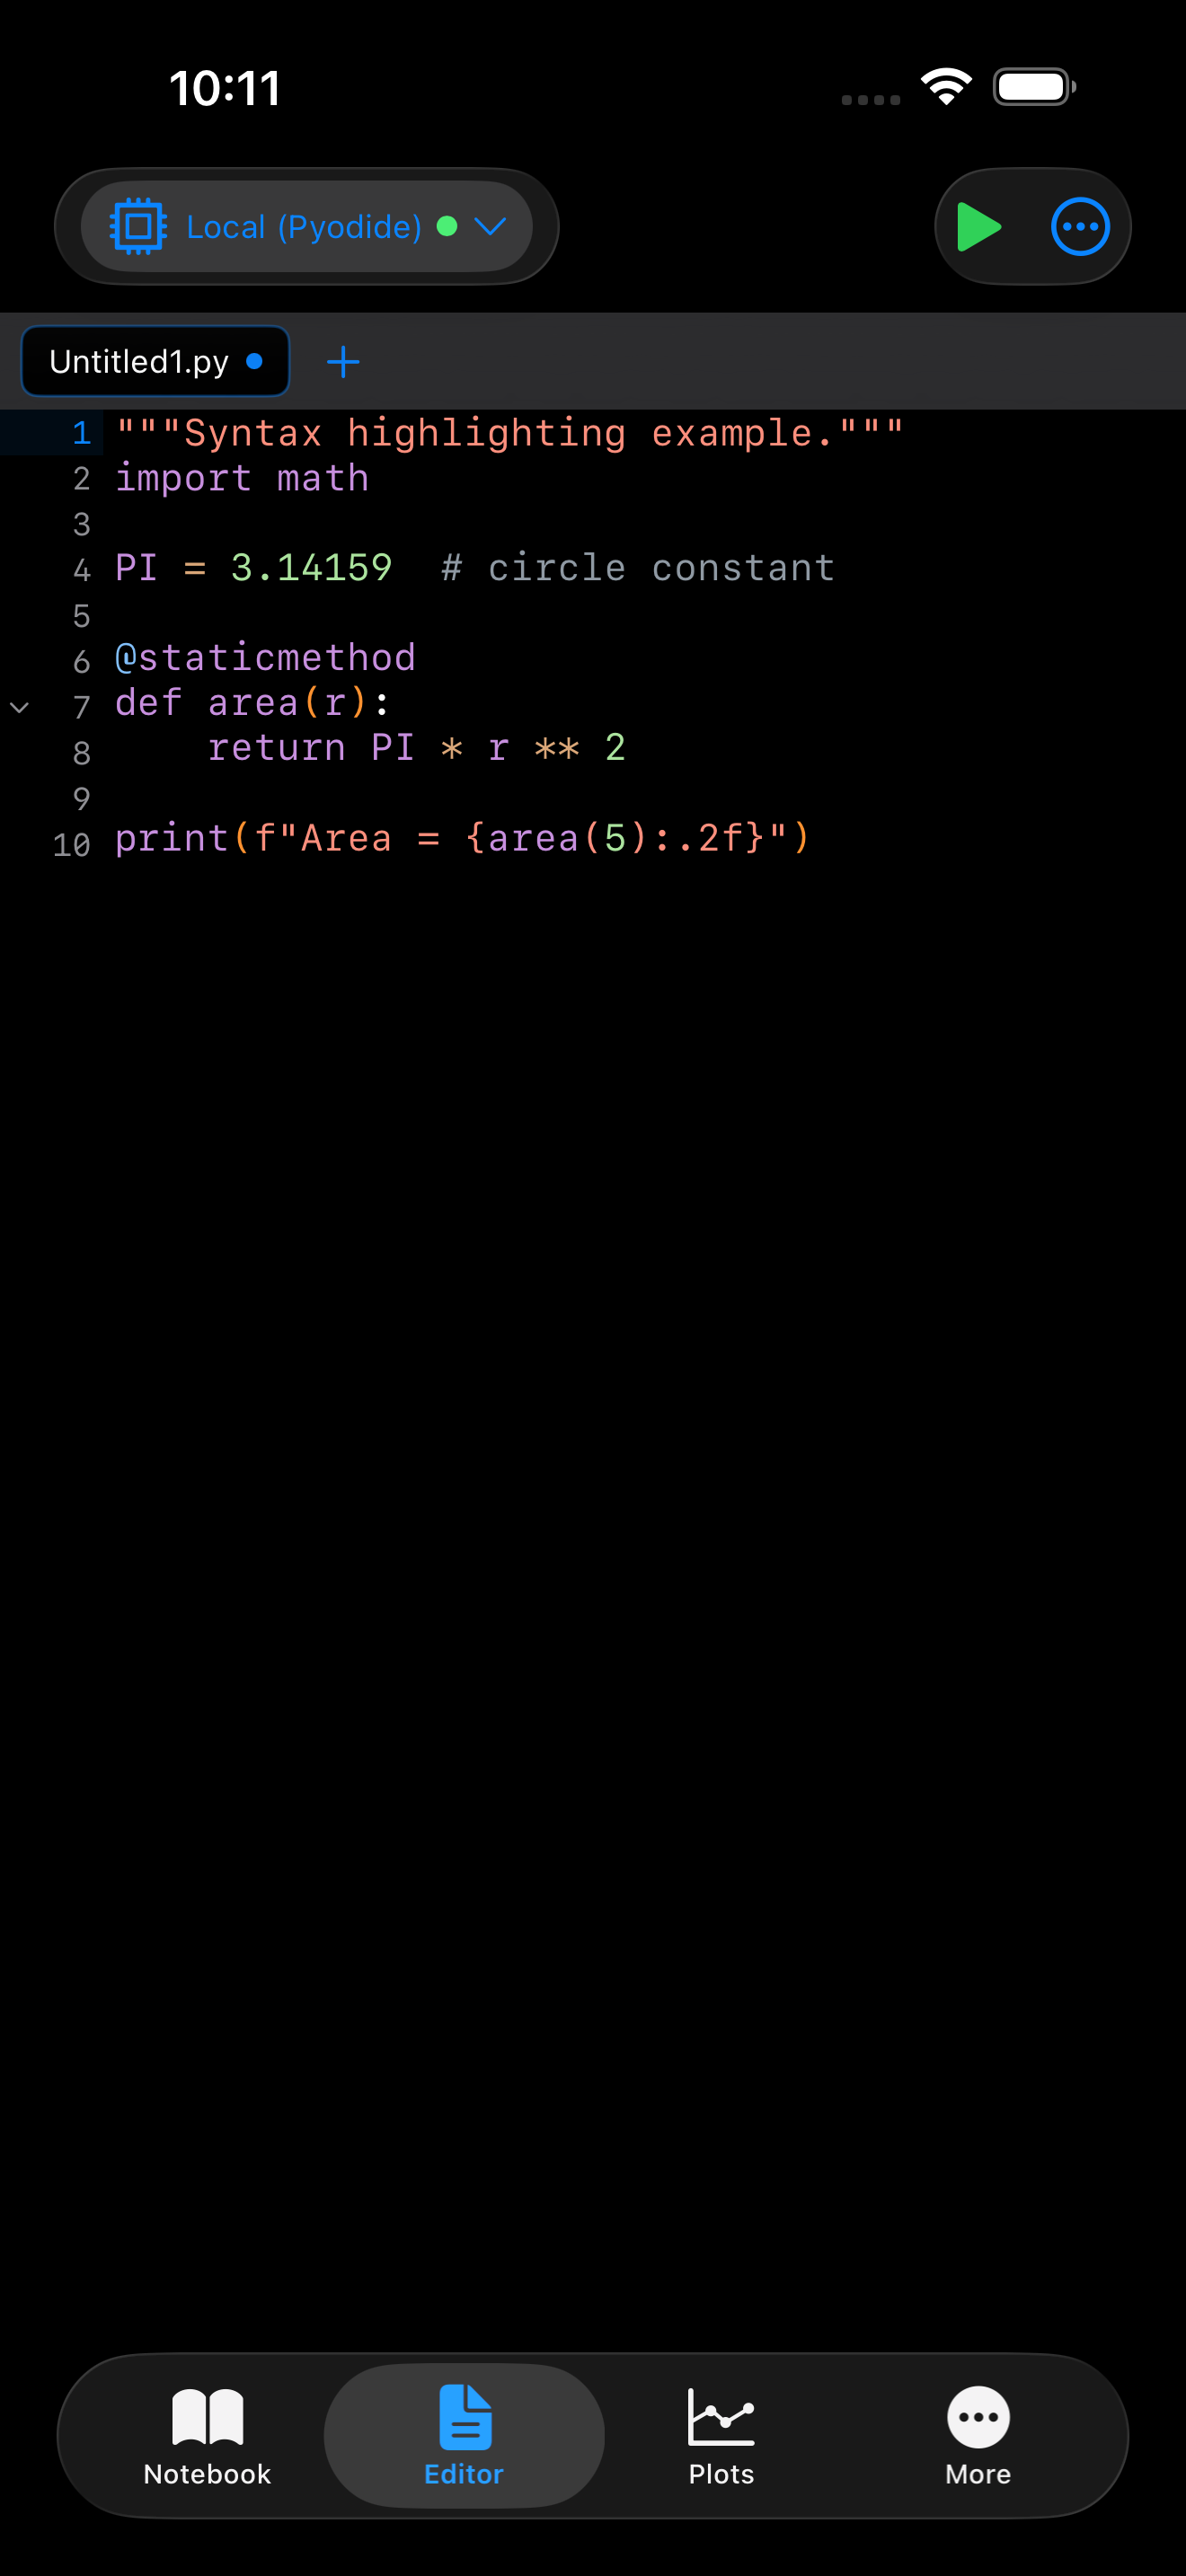
The Editor uses Tree-Sitter for syntax highlighting, which means it understands the structure of your Python code rather than just matching patterns. The highlighting covers:
- Keywords like
if,for,def,class,return, shown in purple - Functions like
print(),len(),range(), shown in blue - Strings like
"hello world"andf"value: {x}", shown in red/coral - Numbers like
42,3.14, shown in green - Comments starting with
#, shown in gray - Decorators like
@staticmethod,@dataclass, highlighted distinctly
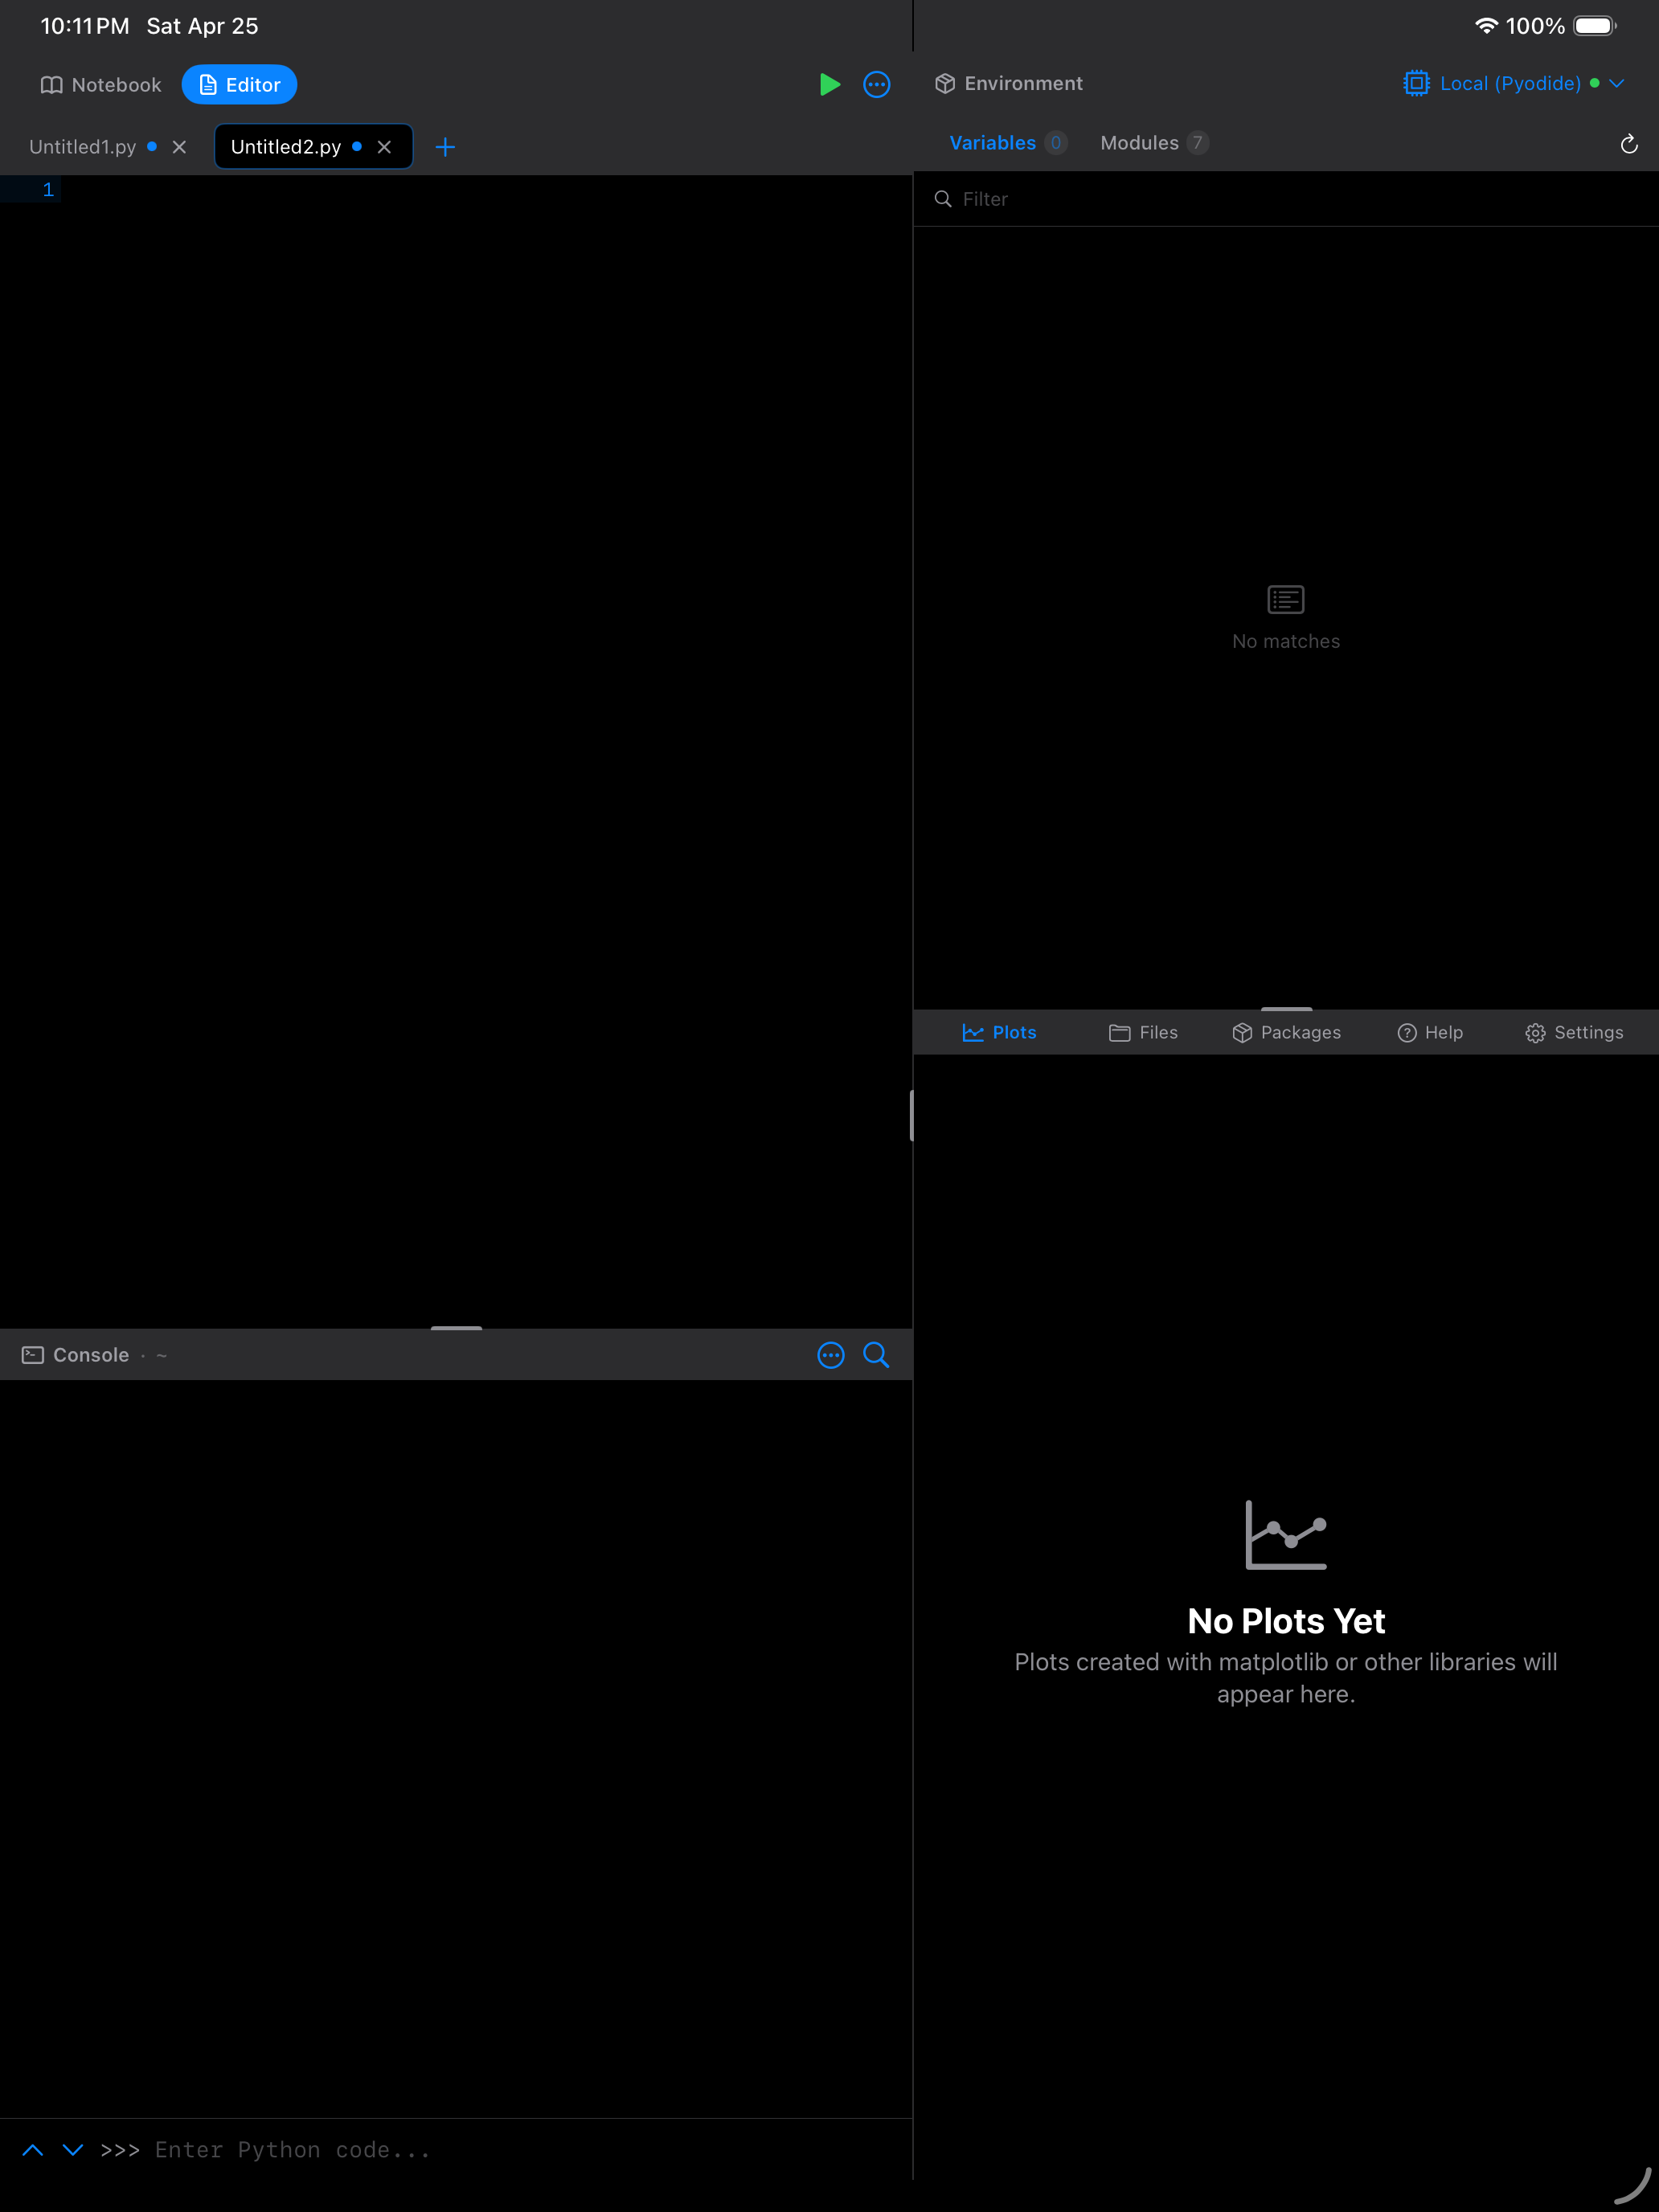
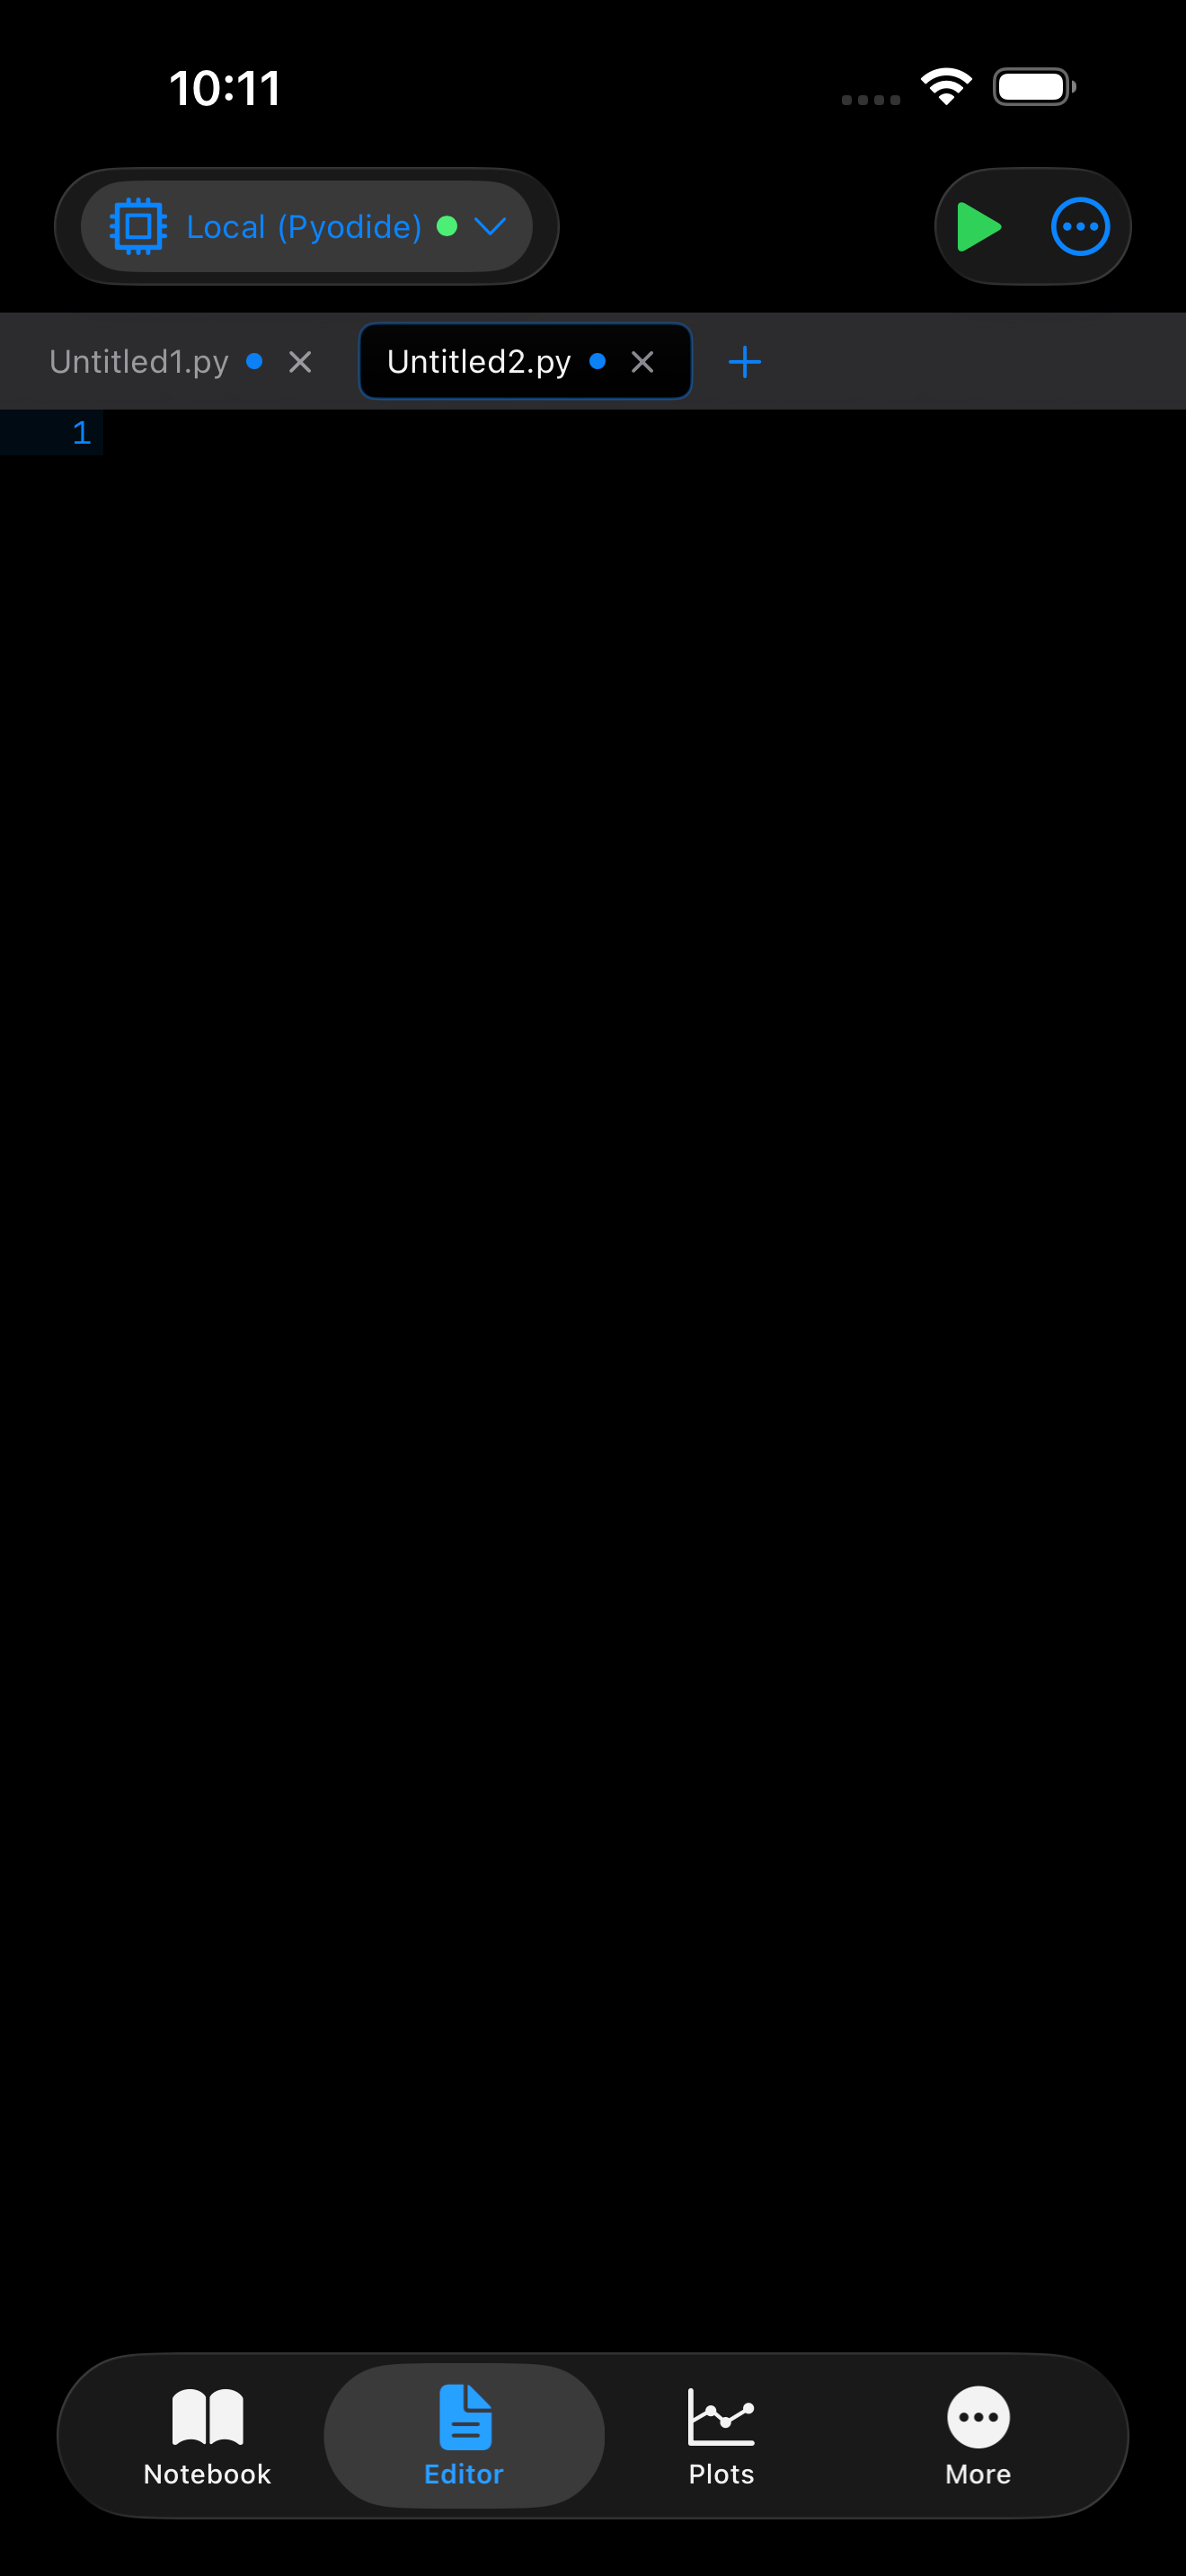
The colors adapt to light and dark mode automatically.
Editor Options
Editor behavior is split across two pages in Settings:
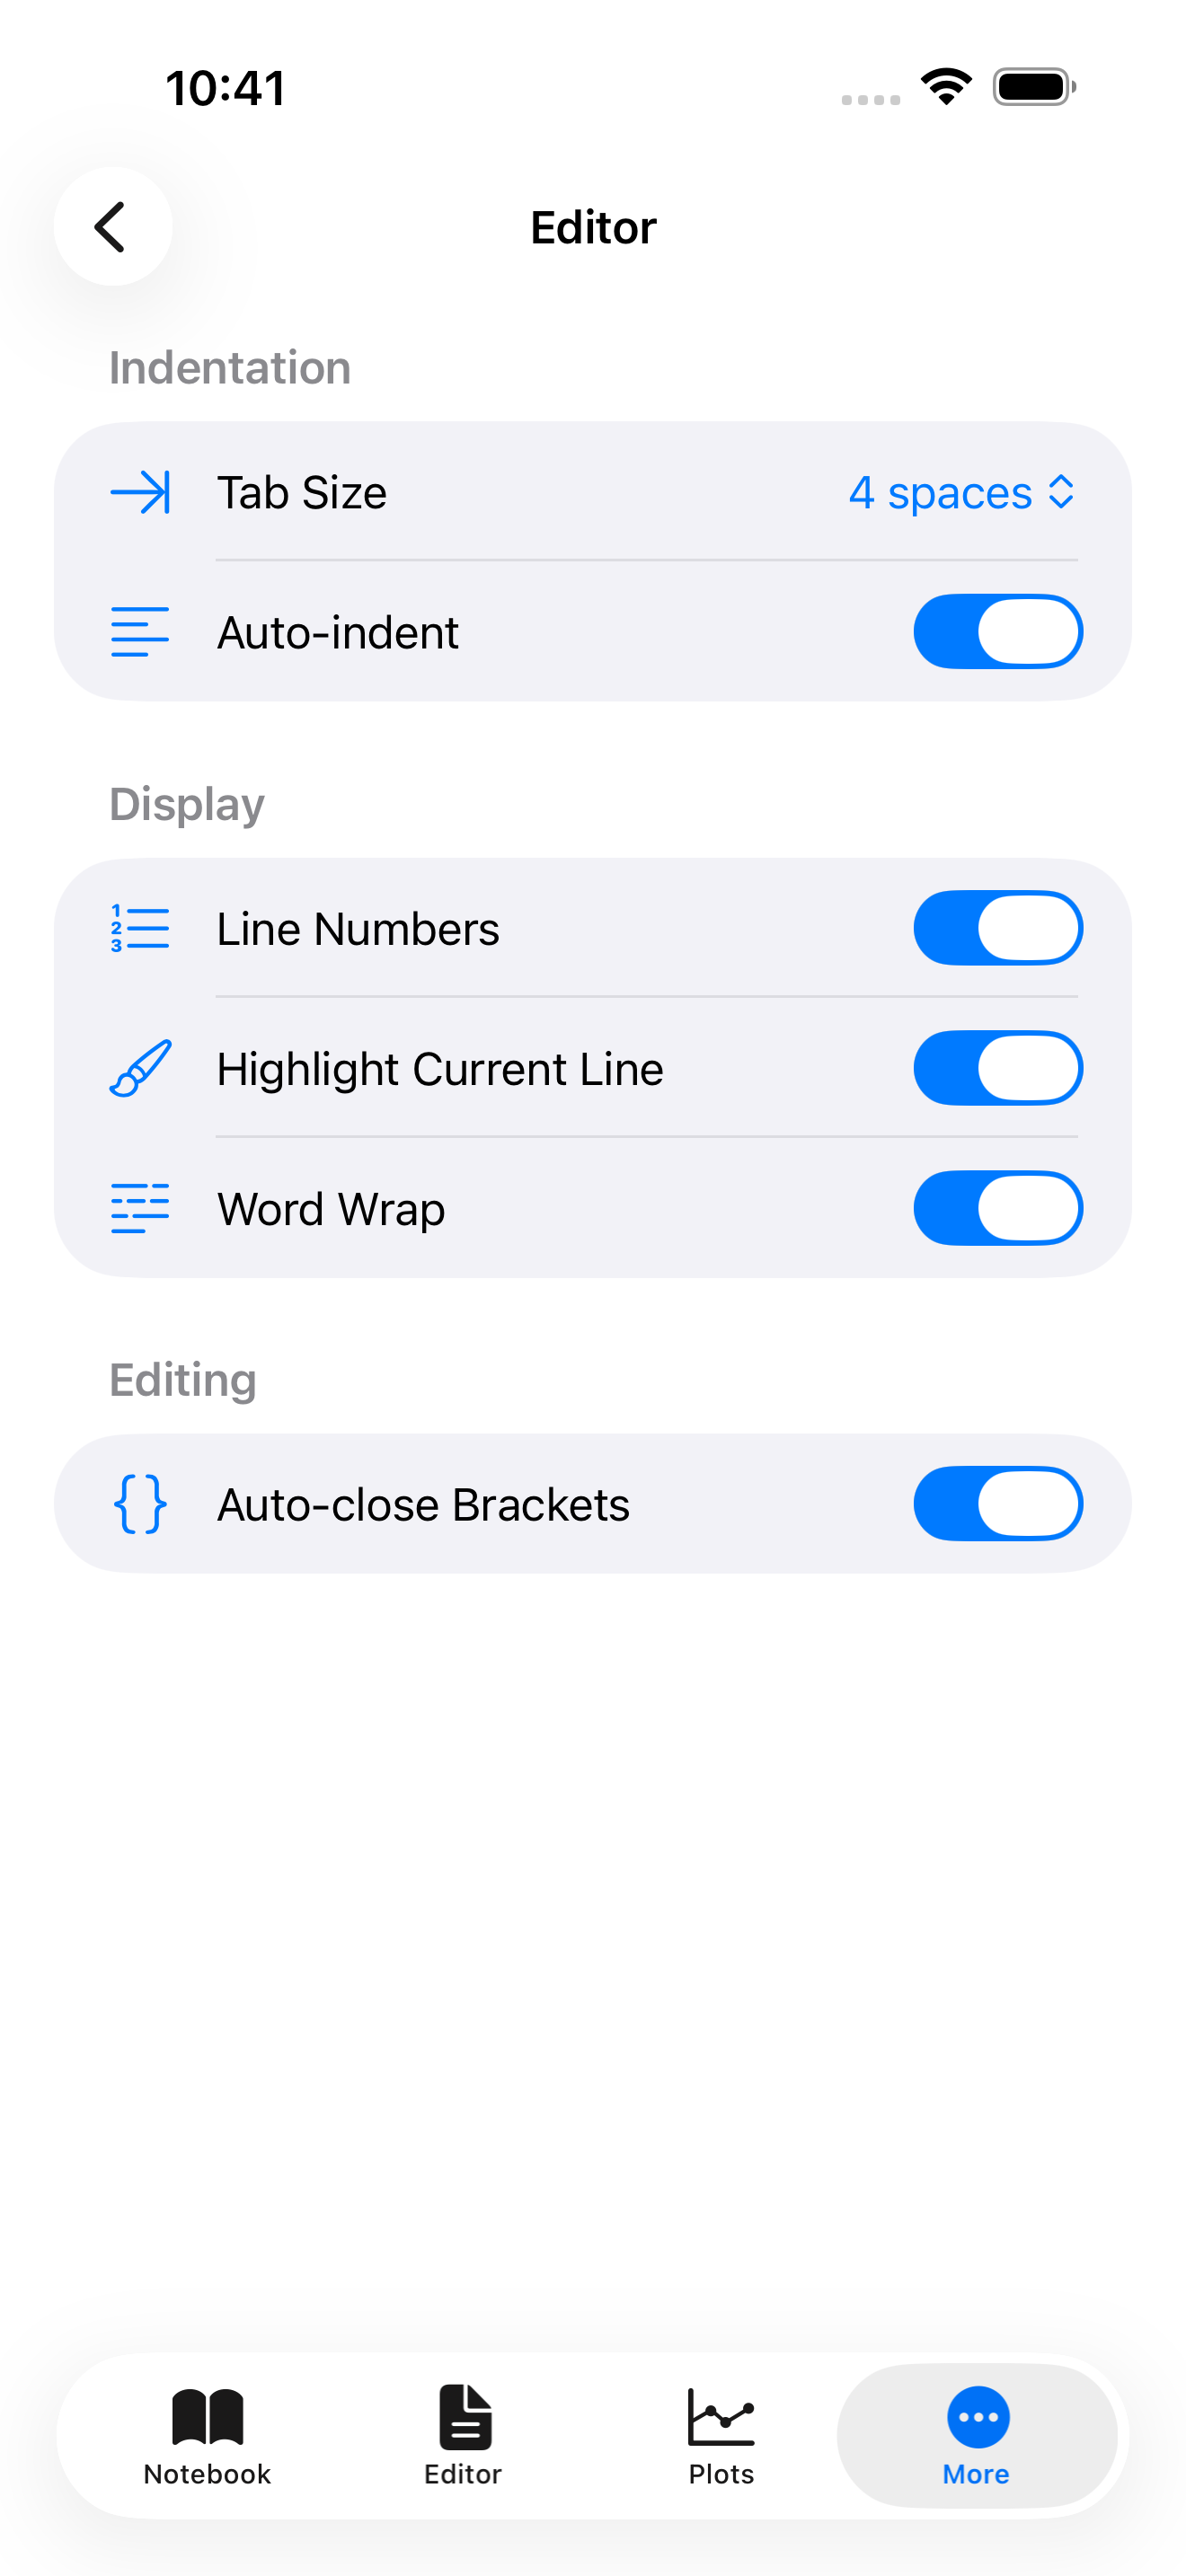
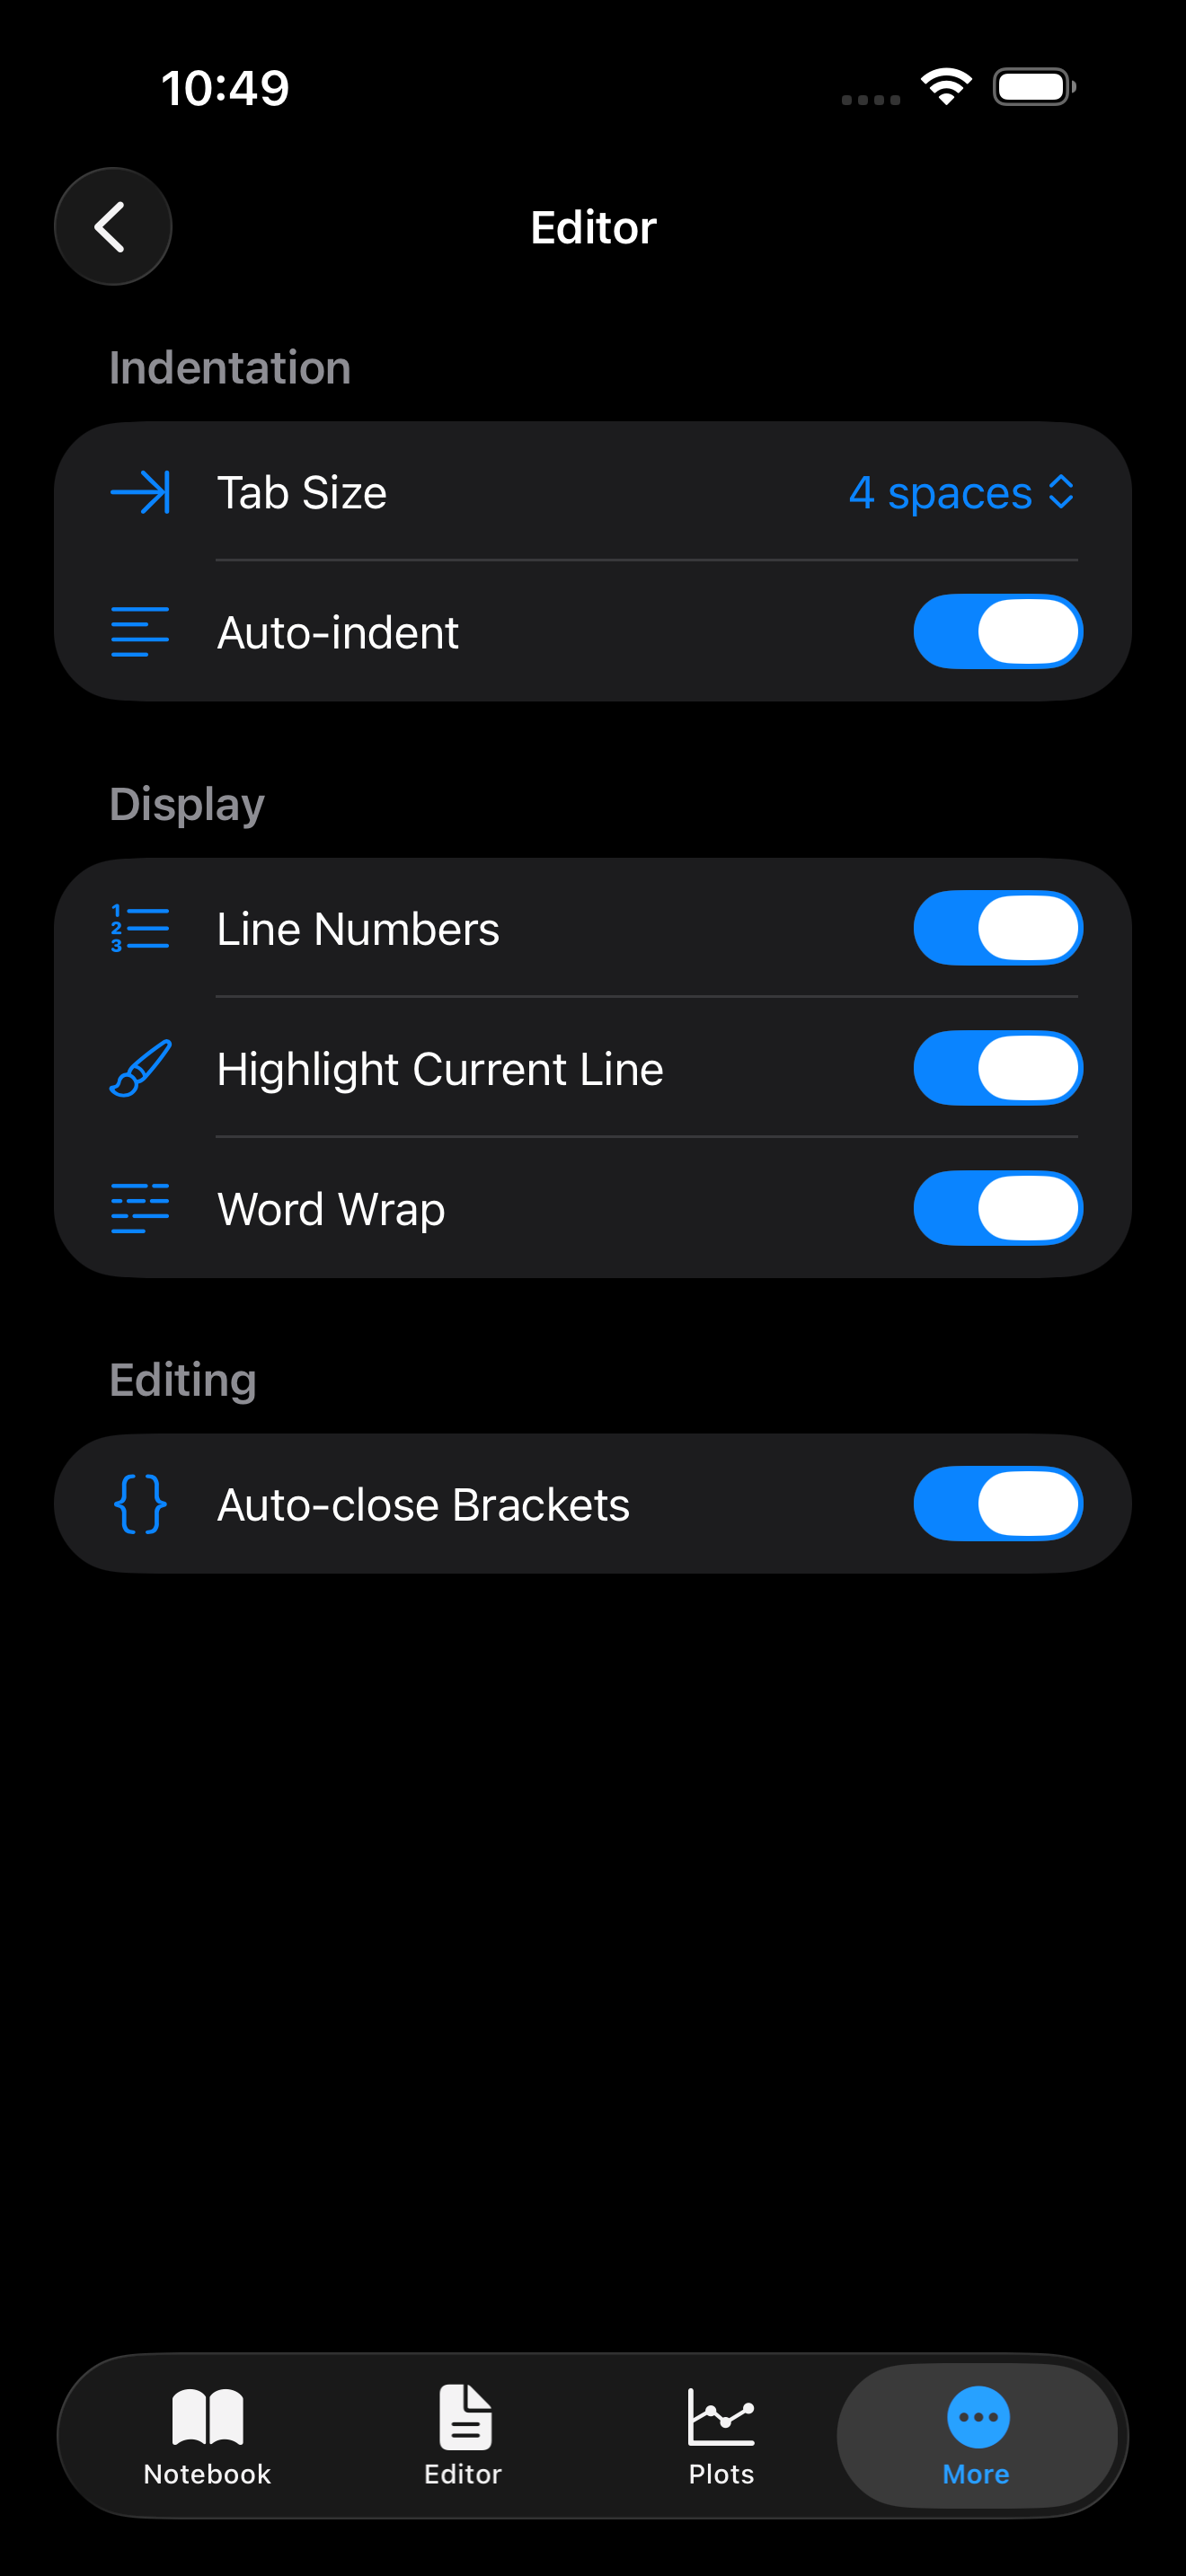
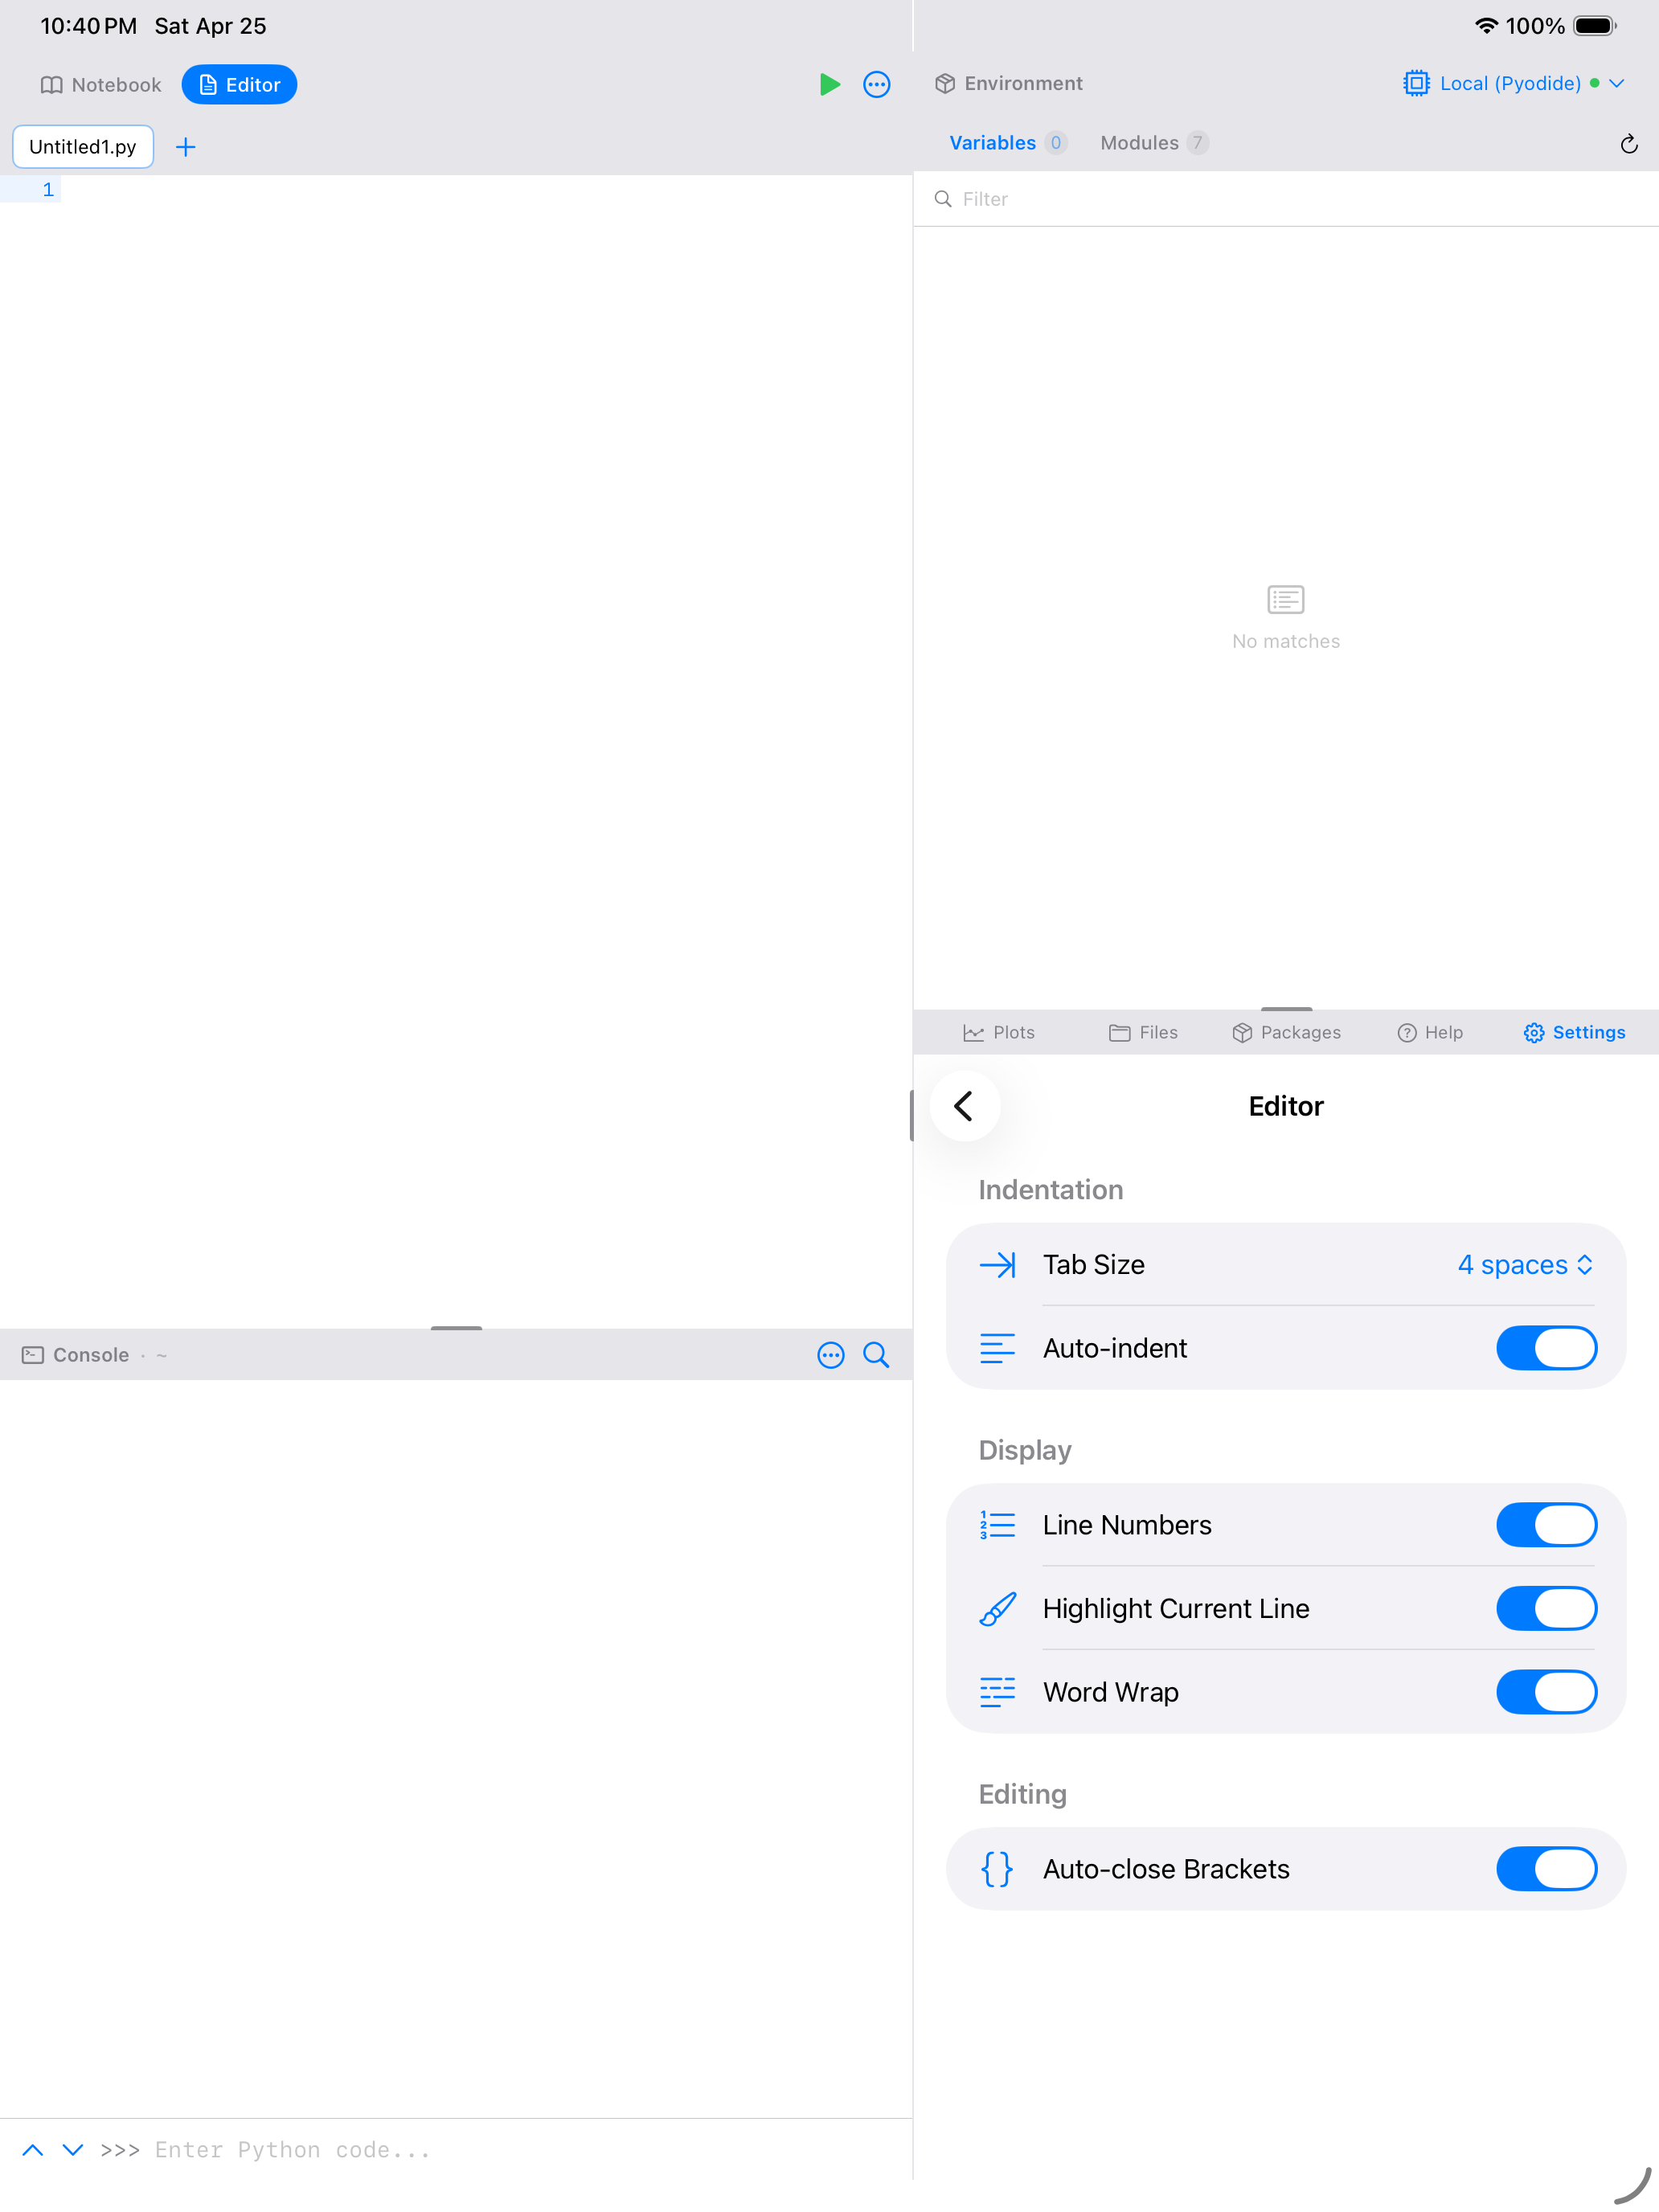
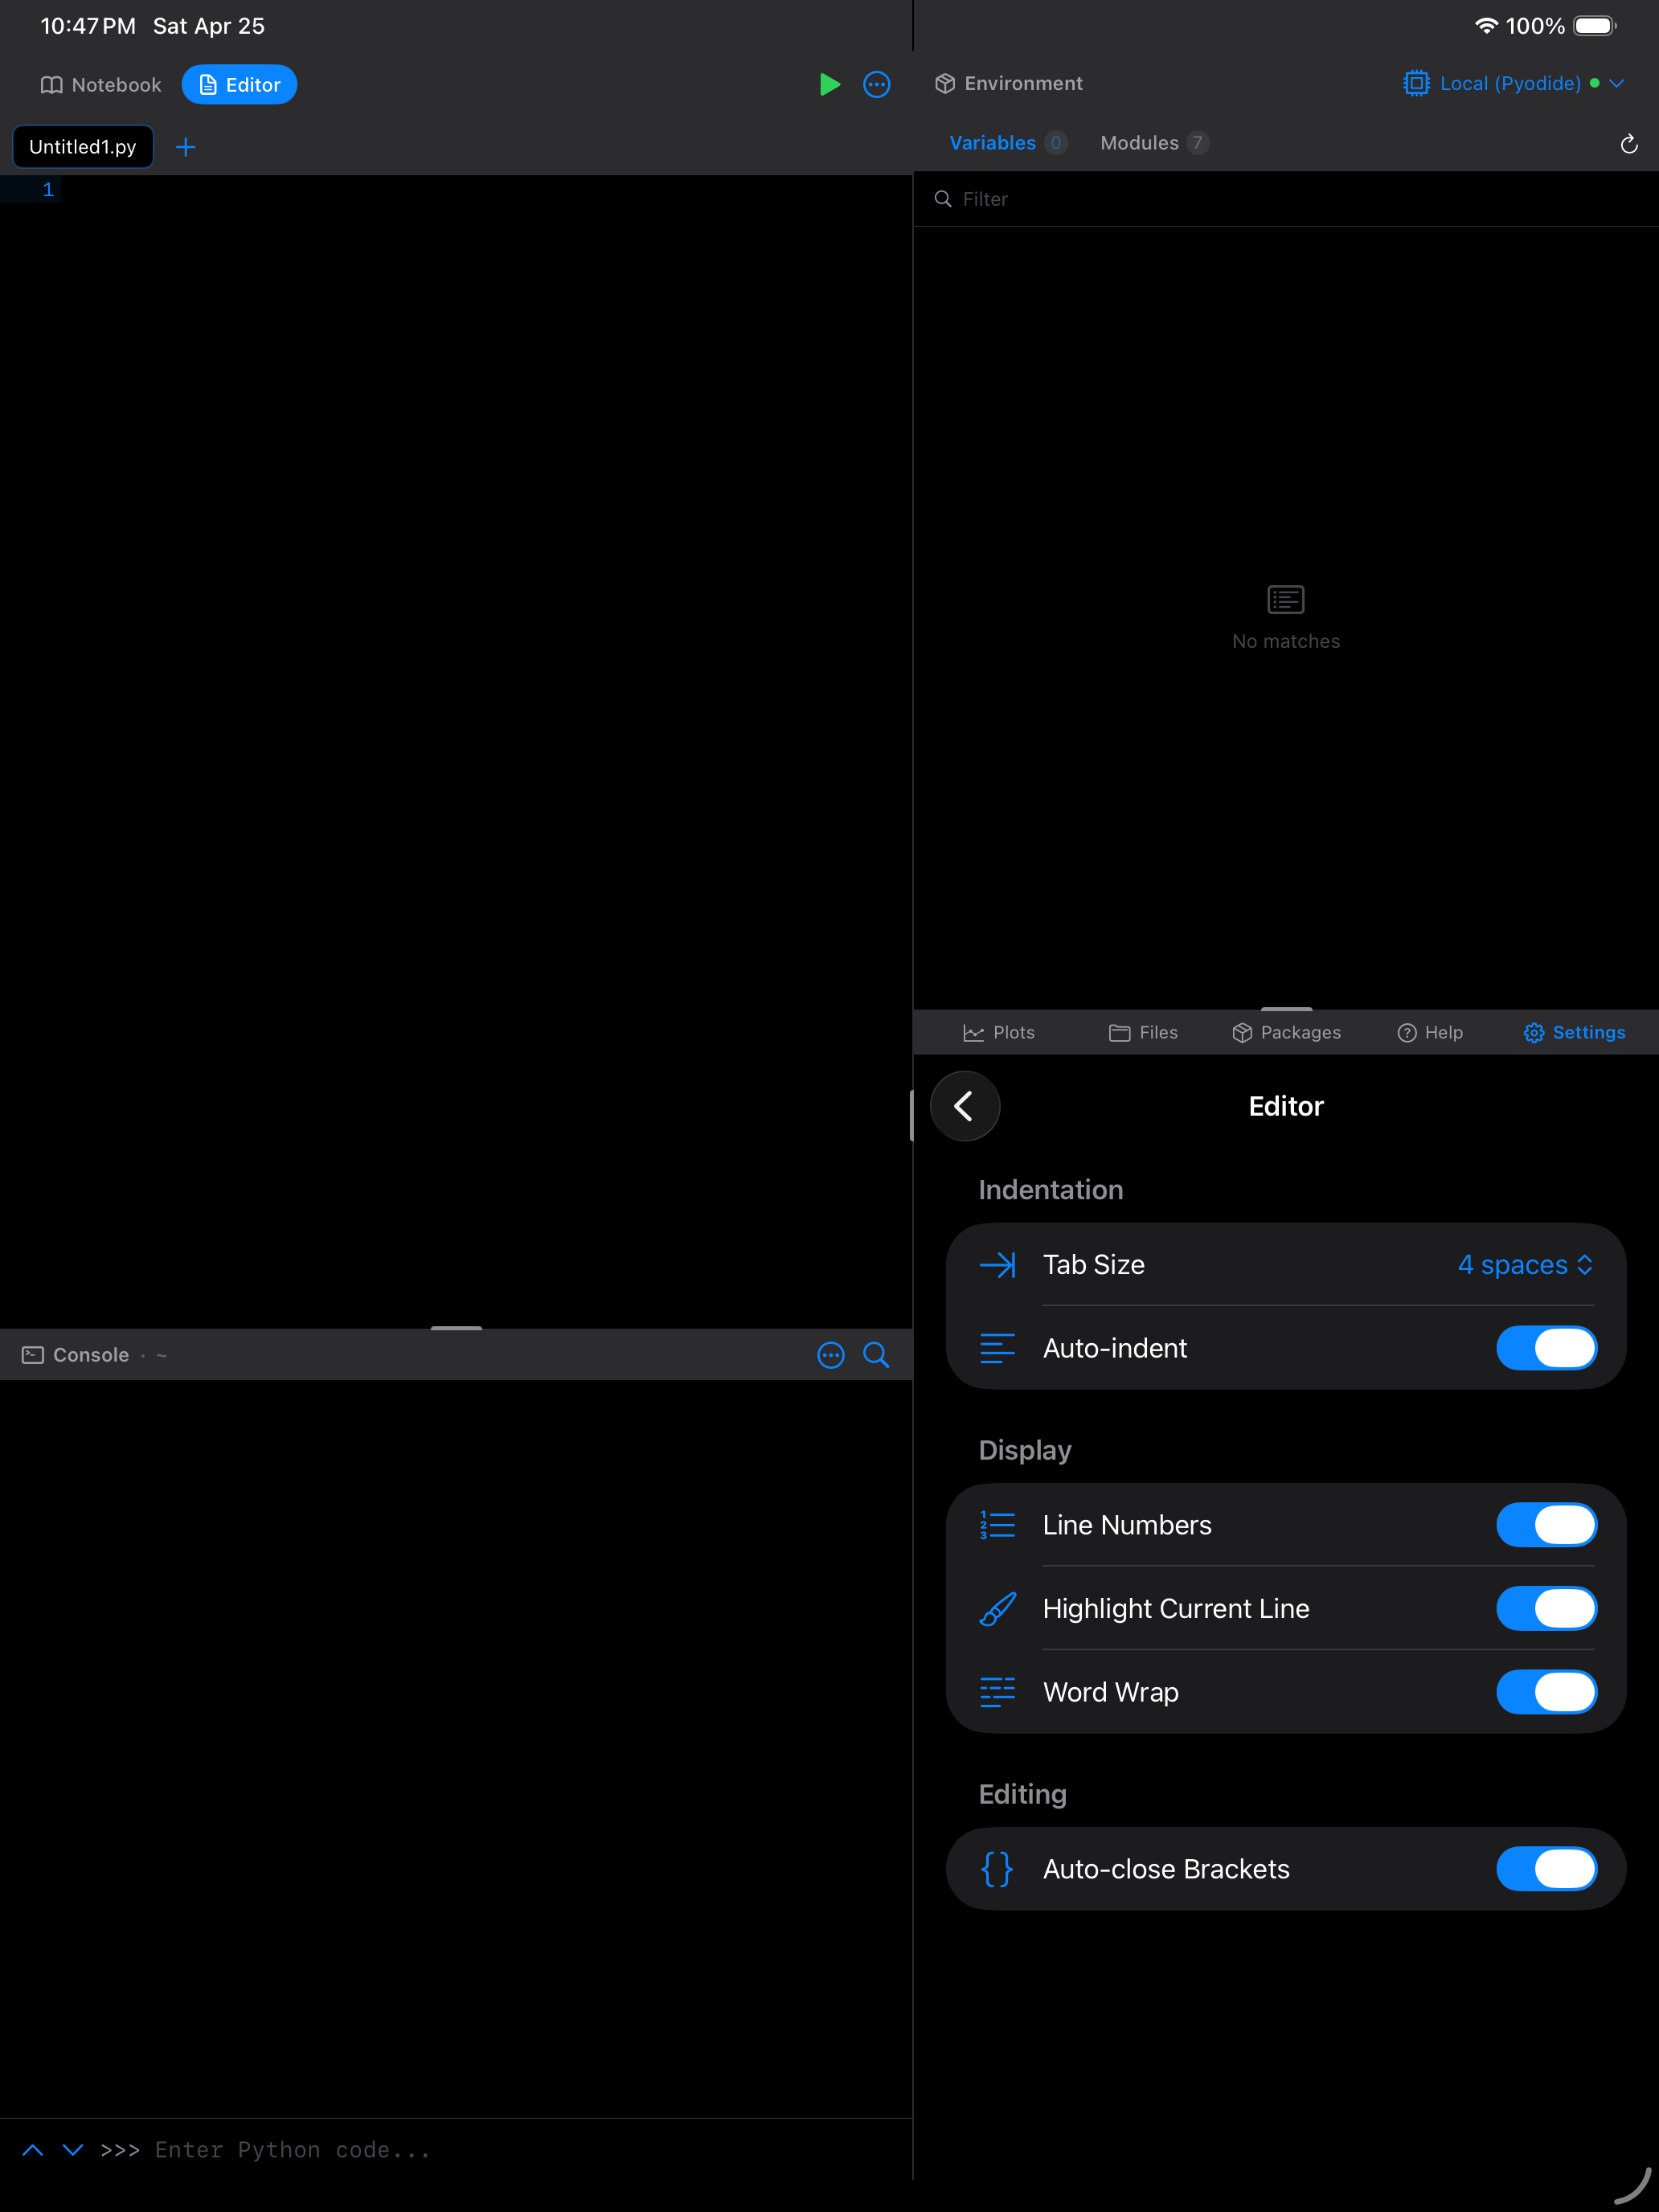
- Settings > Editor holds the editing options: Tab Size, Auto-indent, Line Numbers, Highlight Current Line, Word Wrap, and Auto-close Brackets.
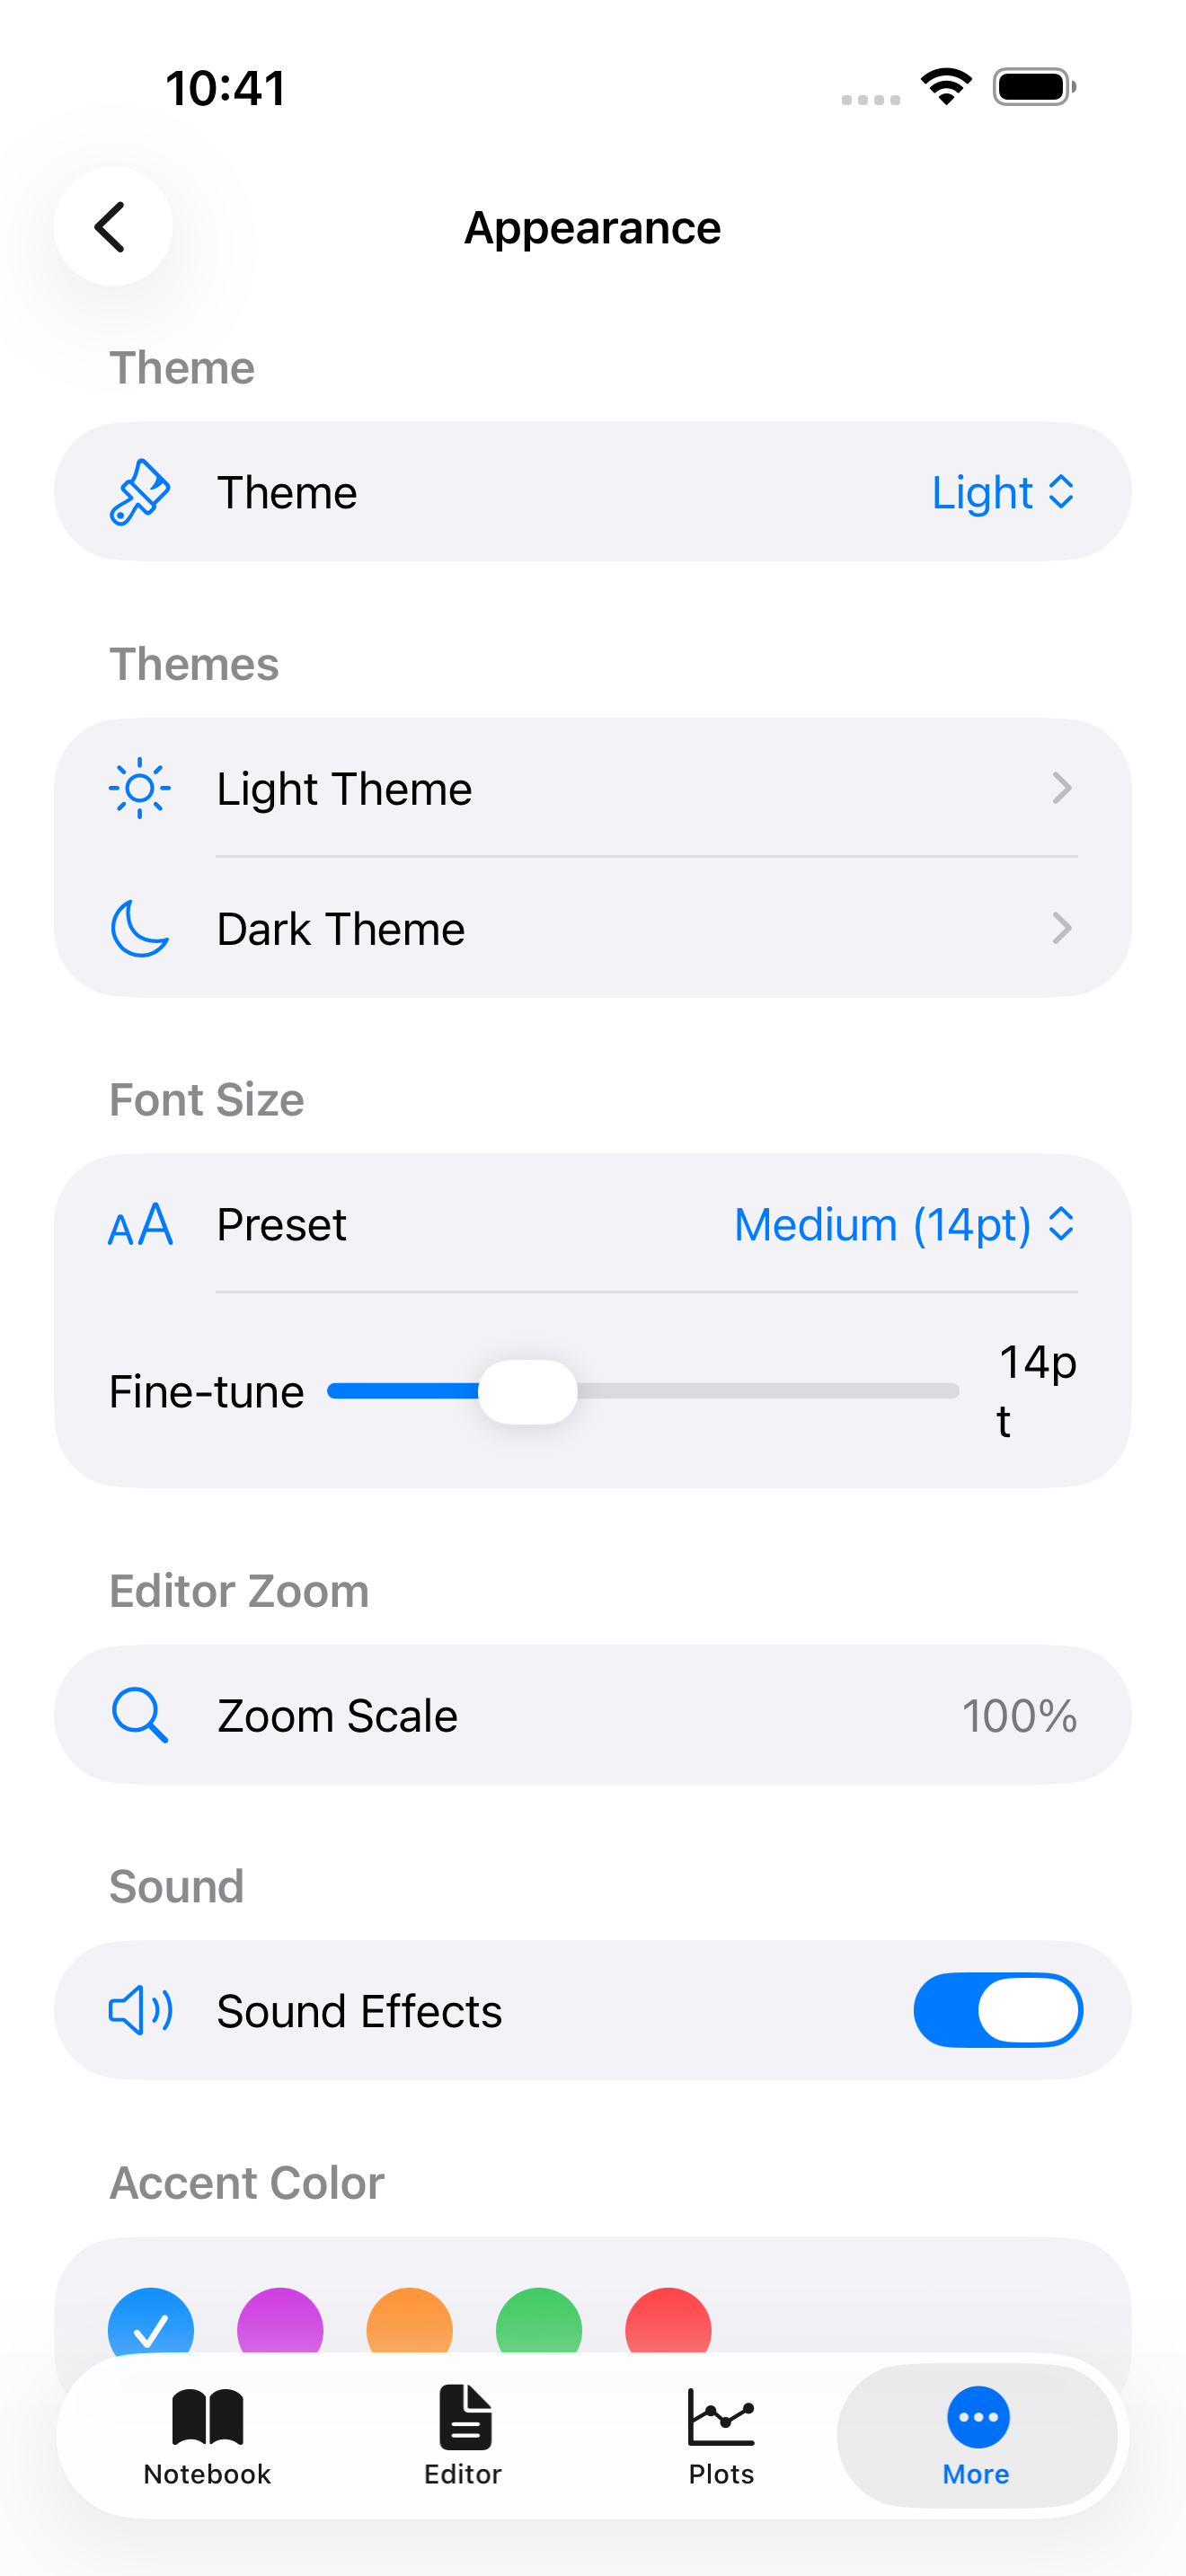
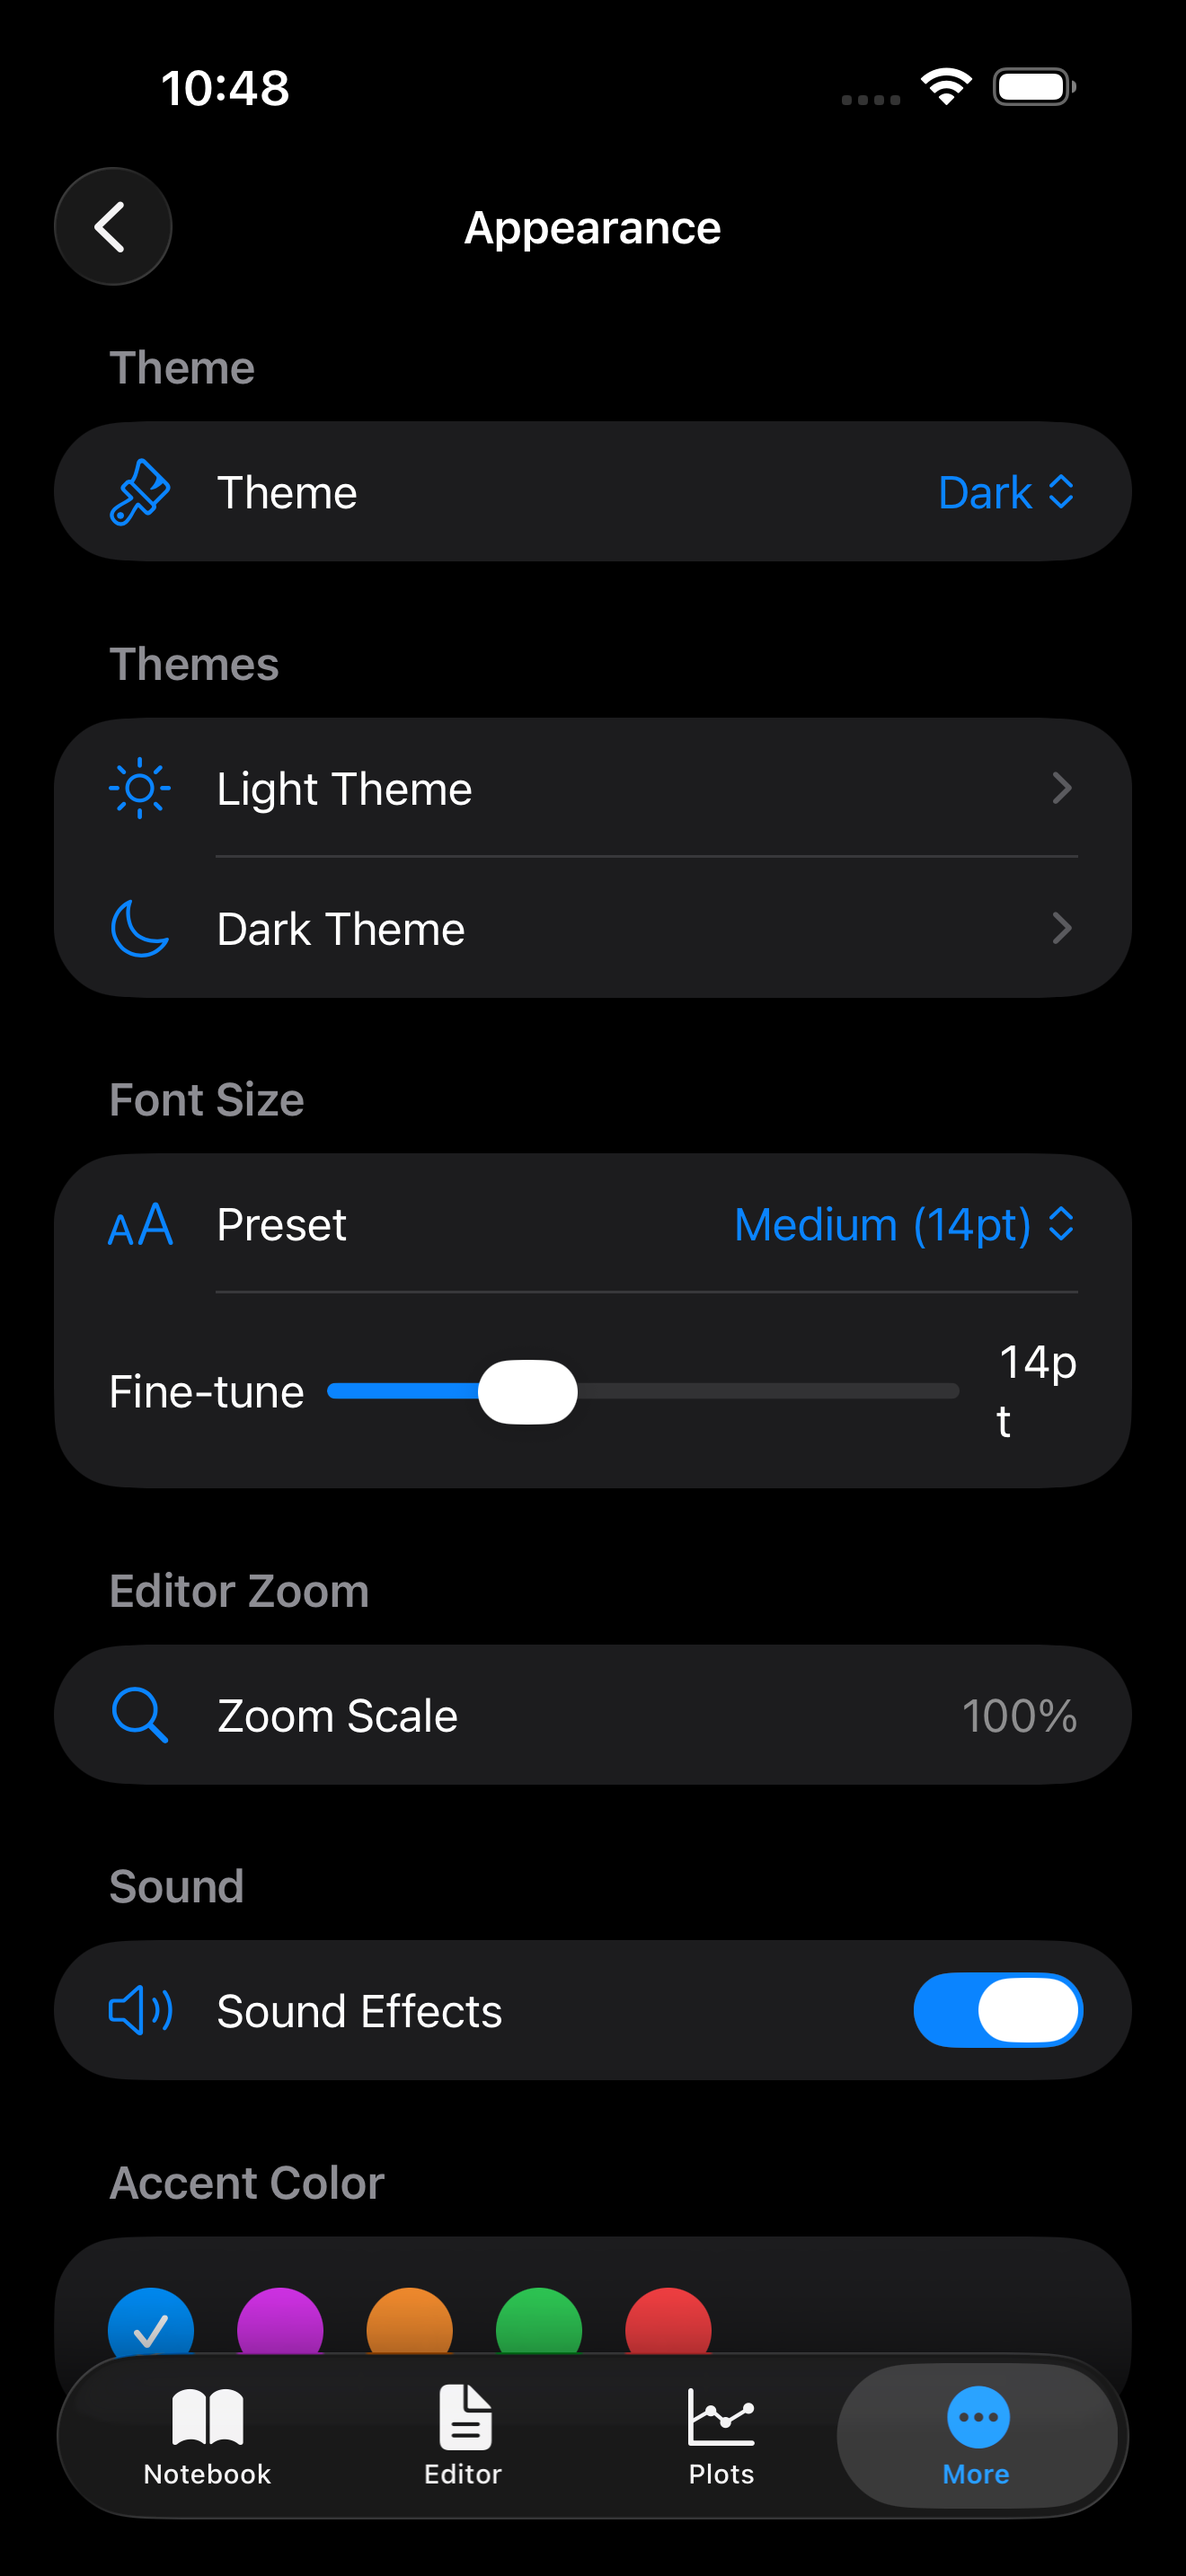
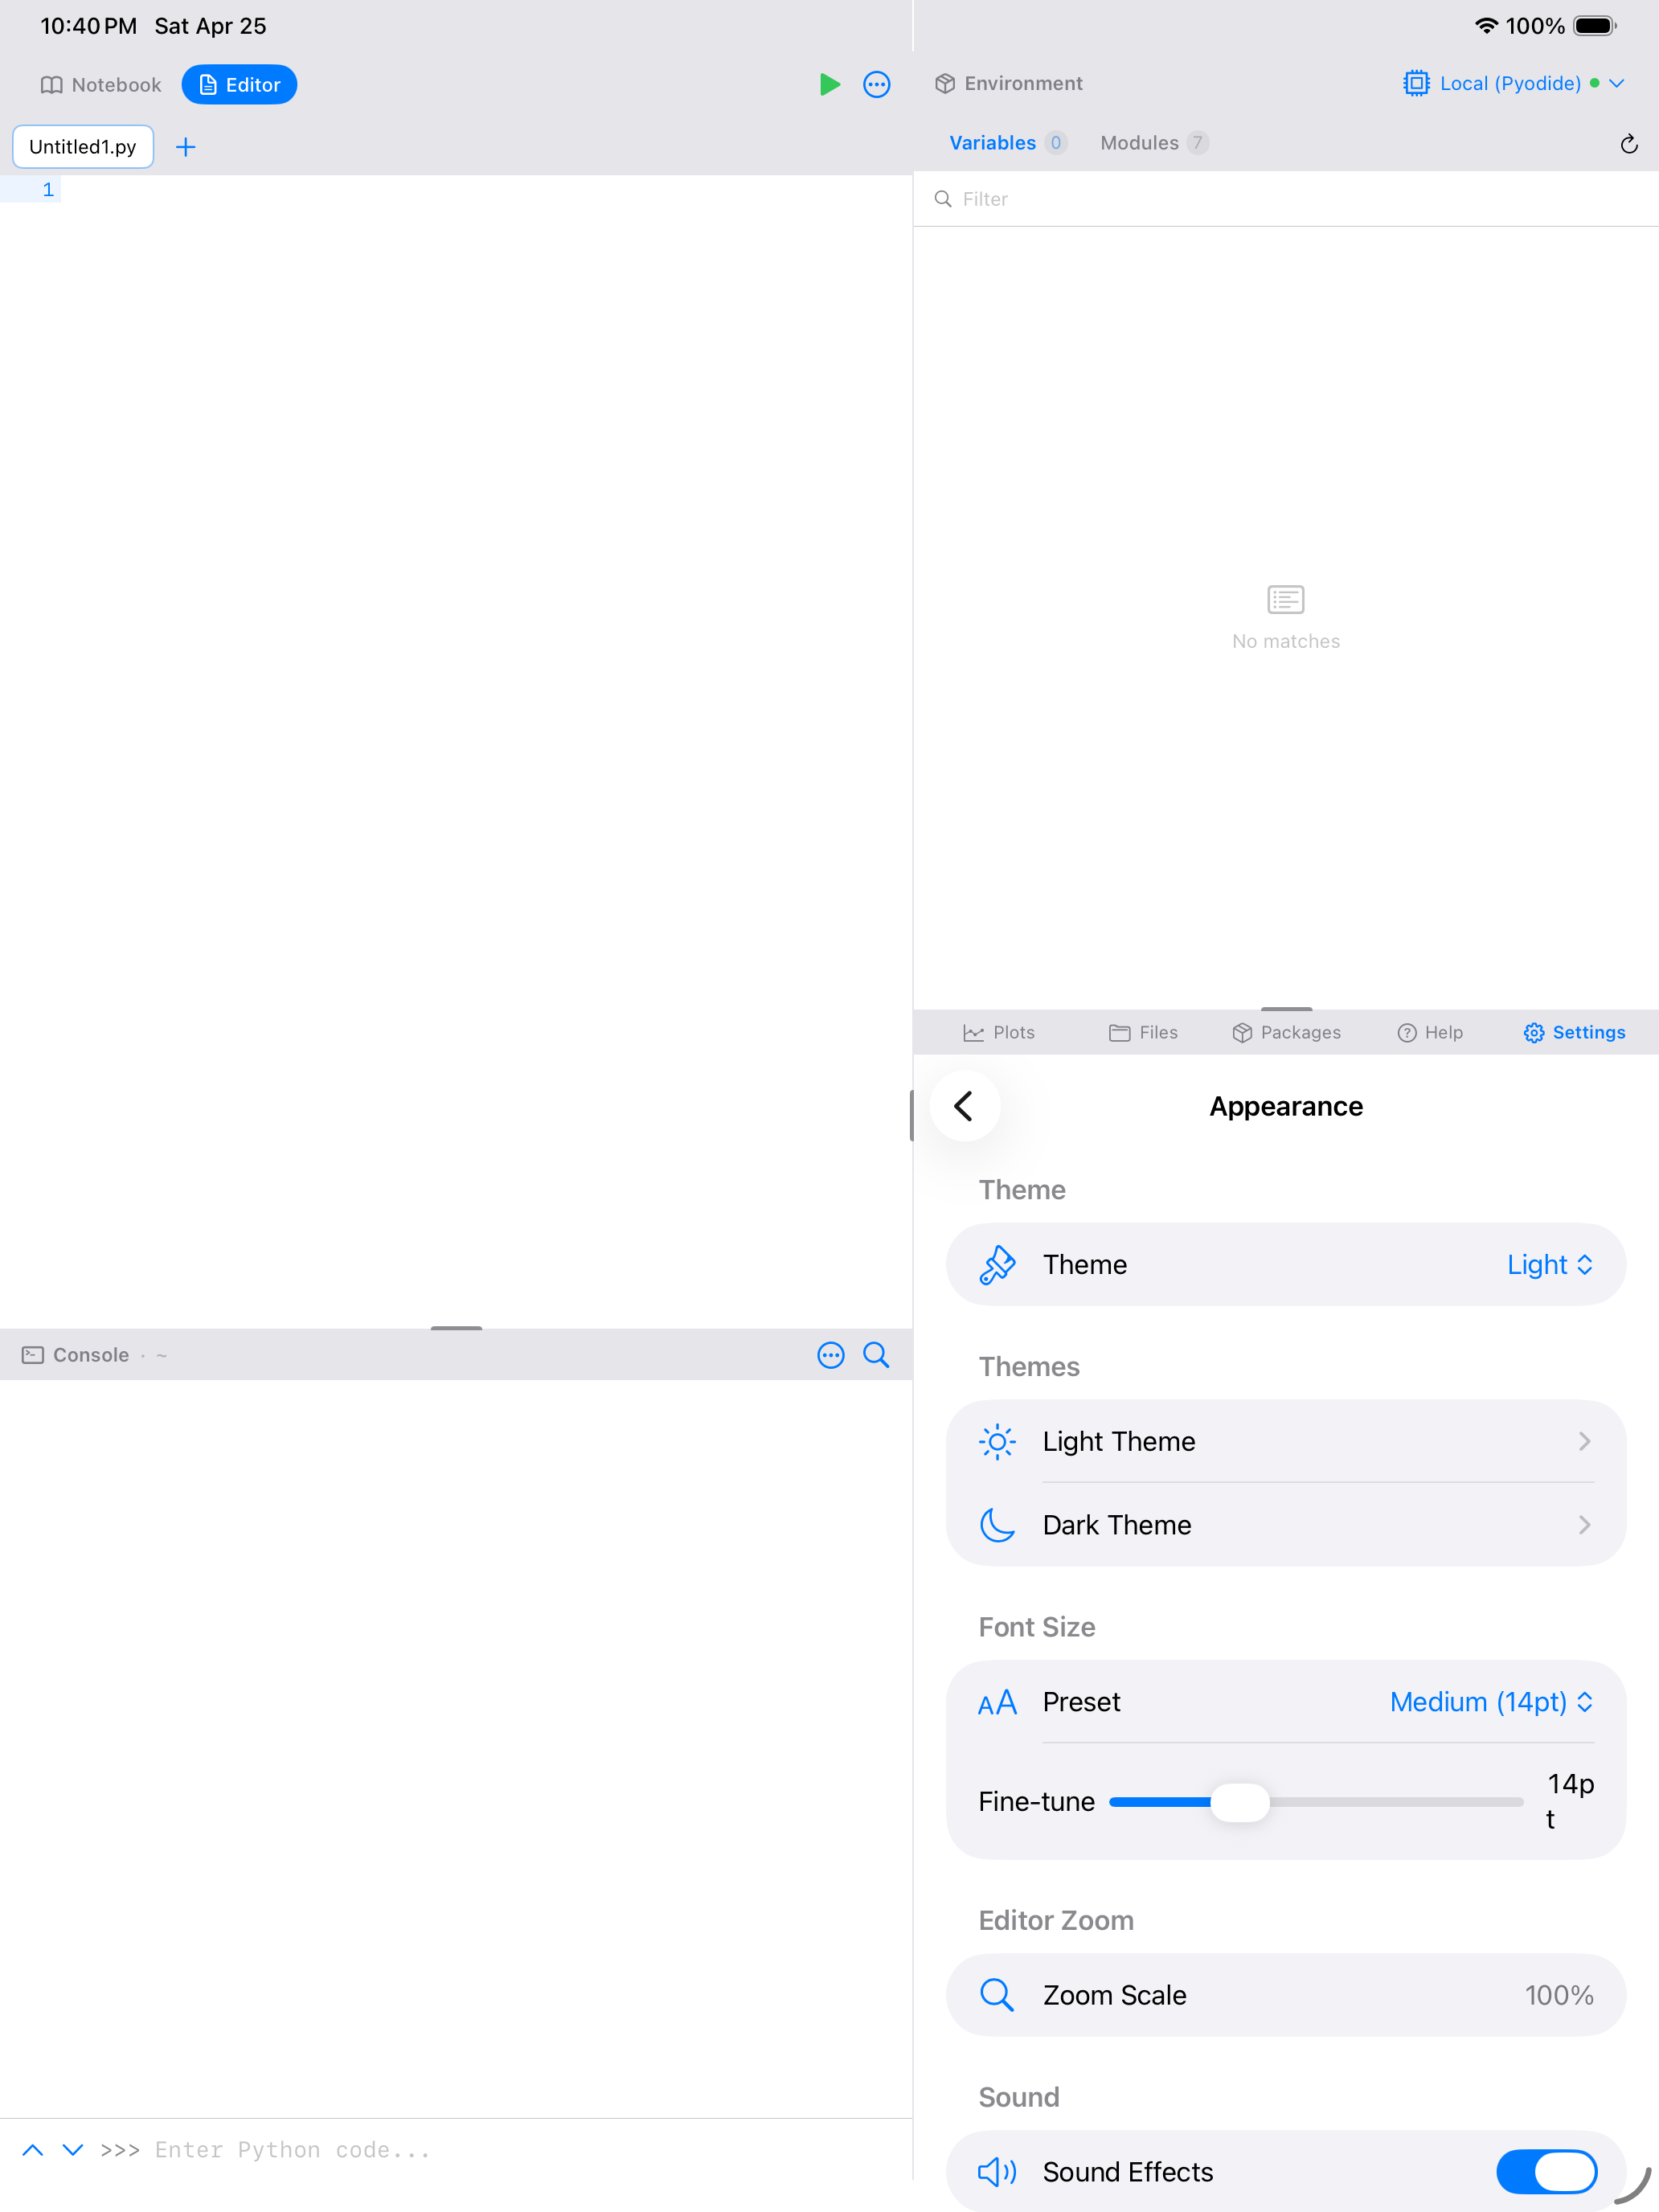
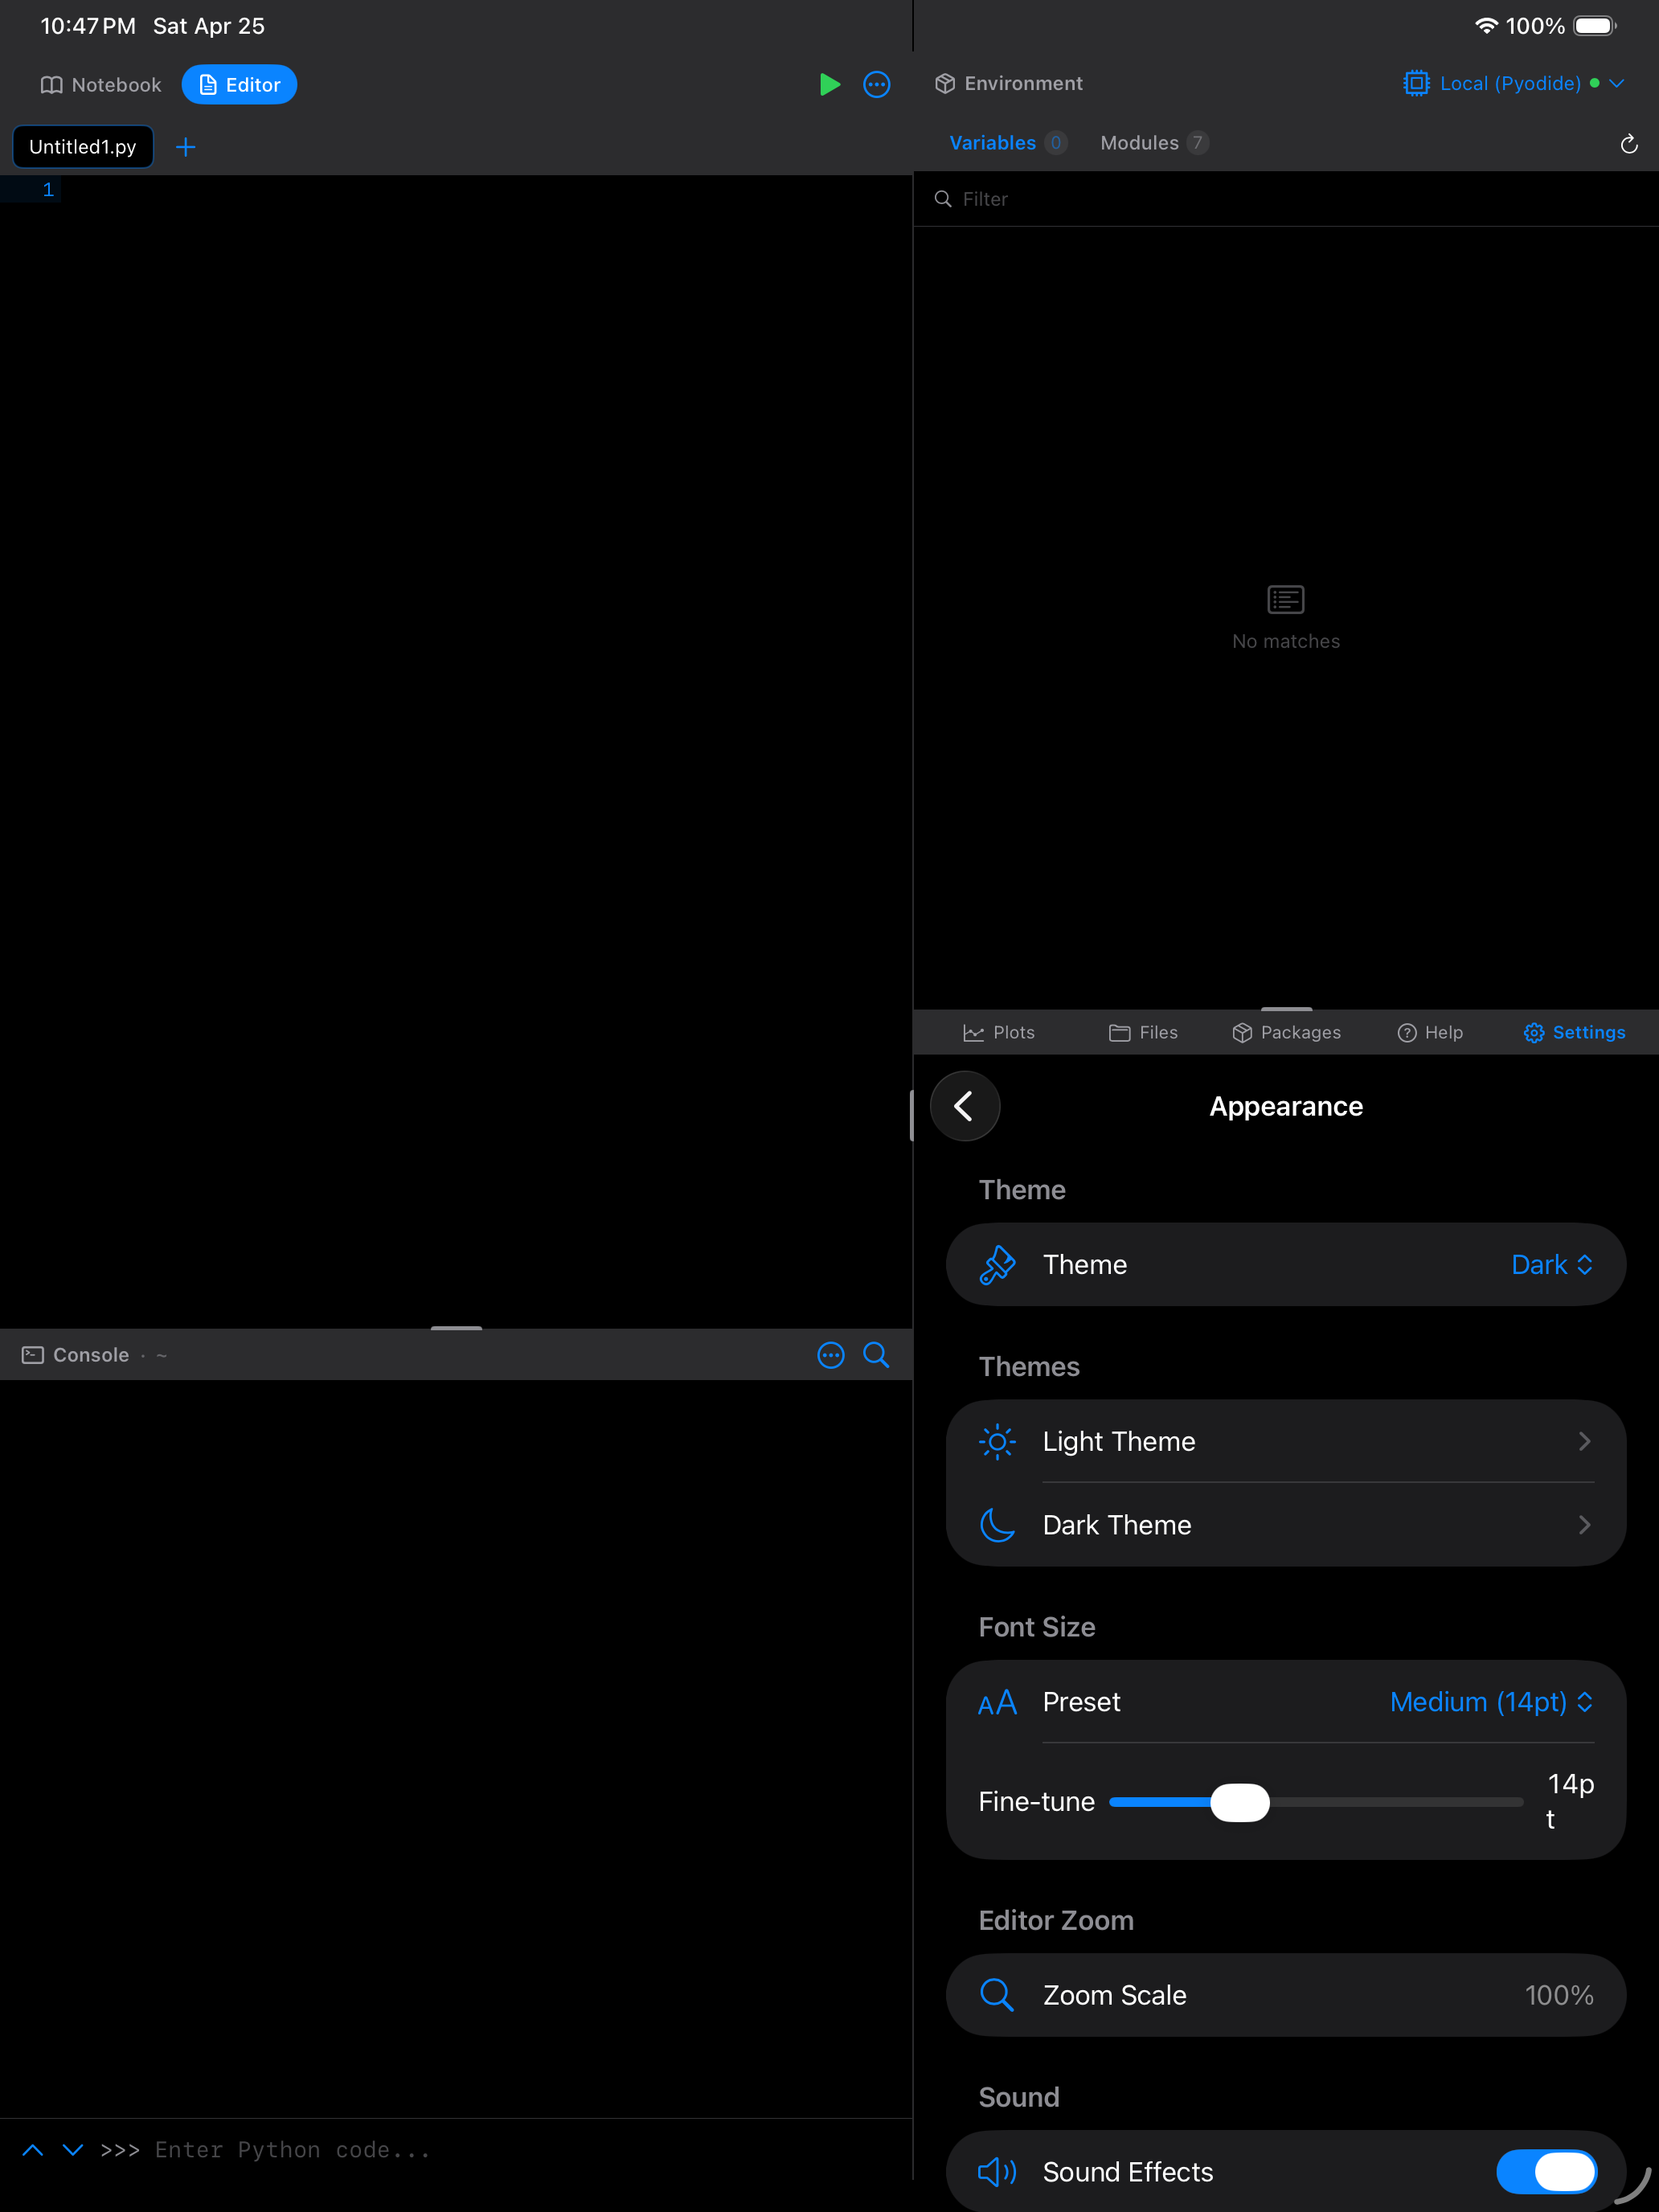
- Settings > Appearance holds the color themes that apply to both the Editor and the Notebook code cells. Pick a Light Theme and a Dark Theme independently. The active one follows the system appearance. Popular options include Dracula, Monokai, Solarized Light, and Nord. See the dedicated Themes page for the full list, custom theme editor, and import/export options.
Code Outline
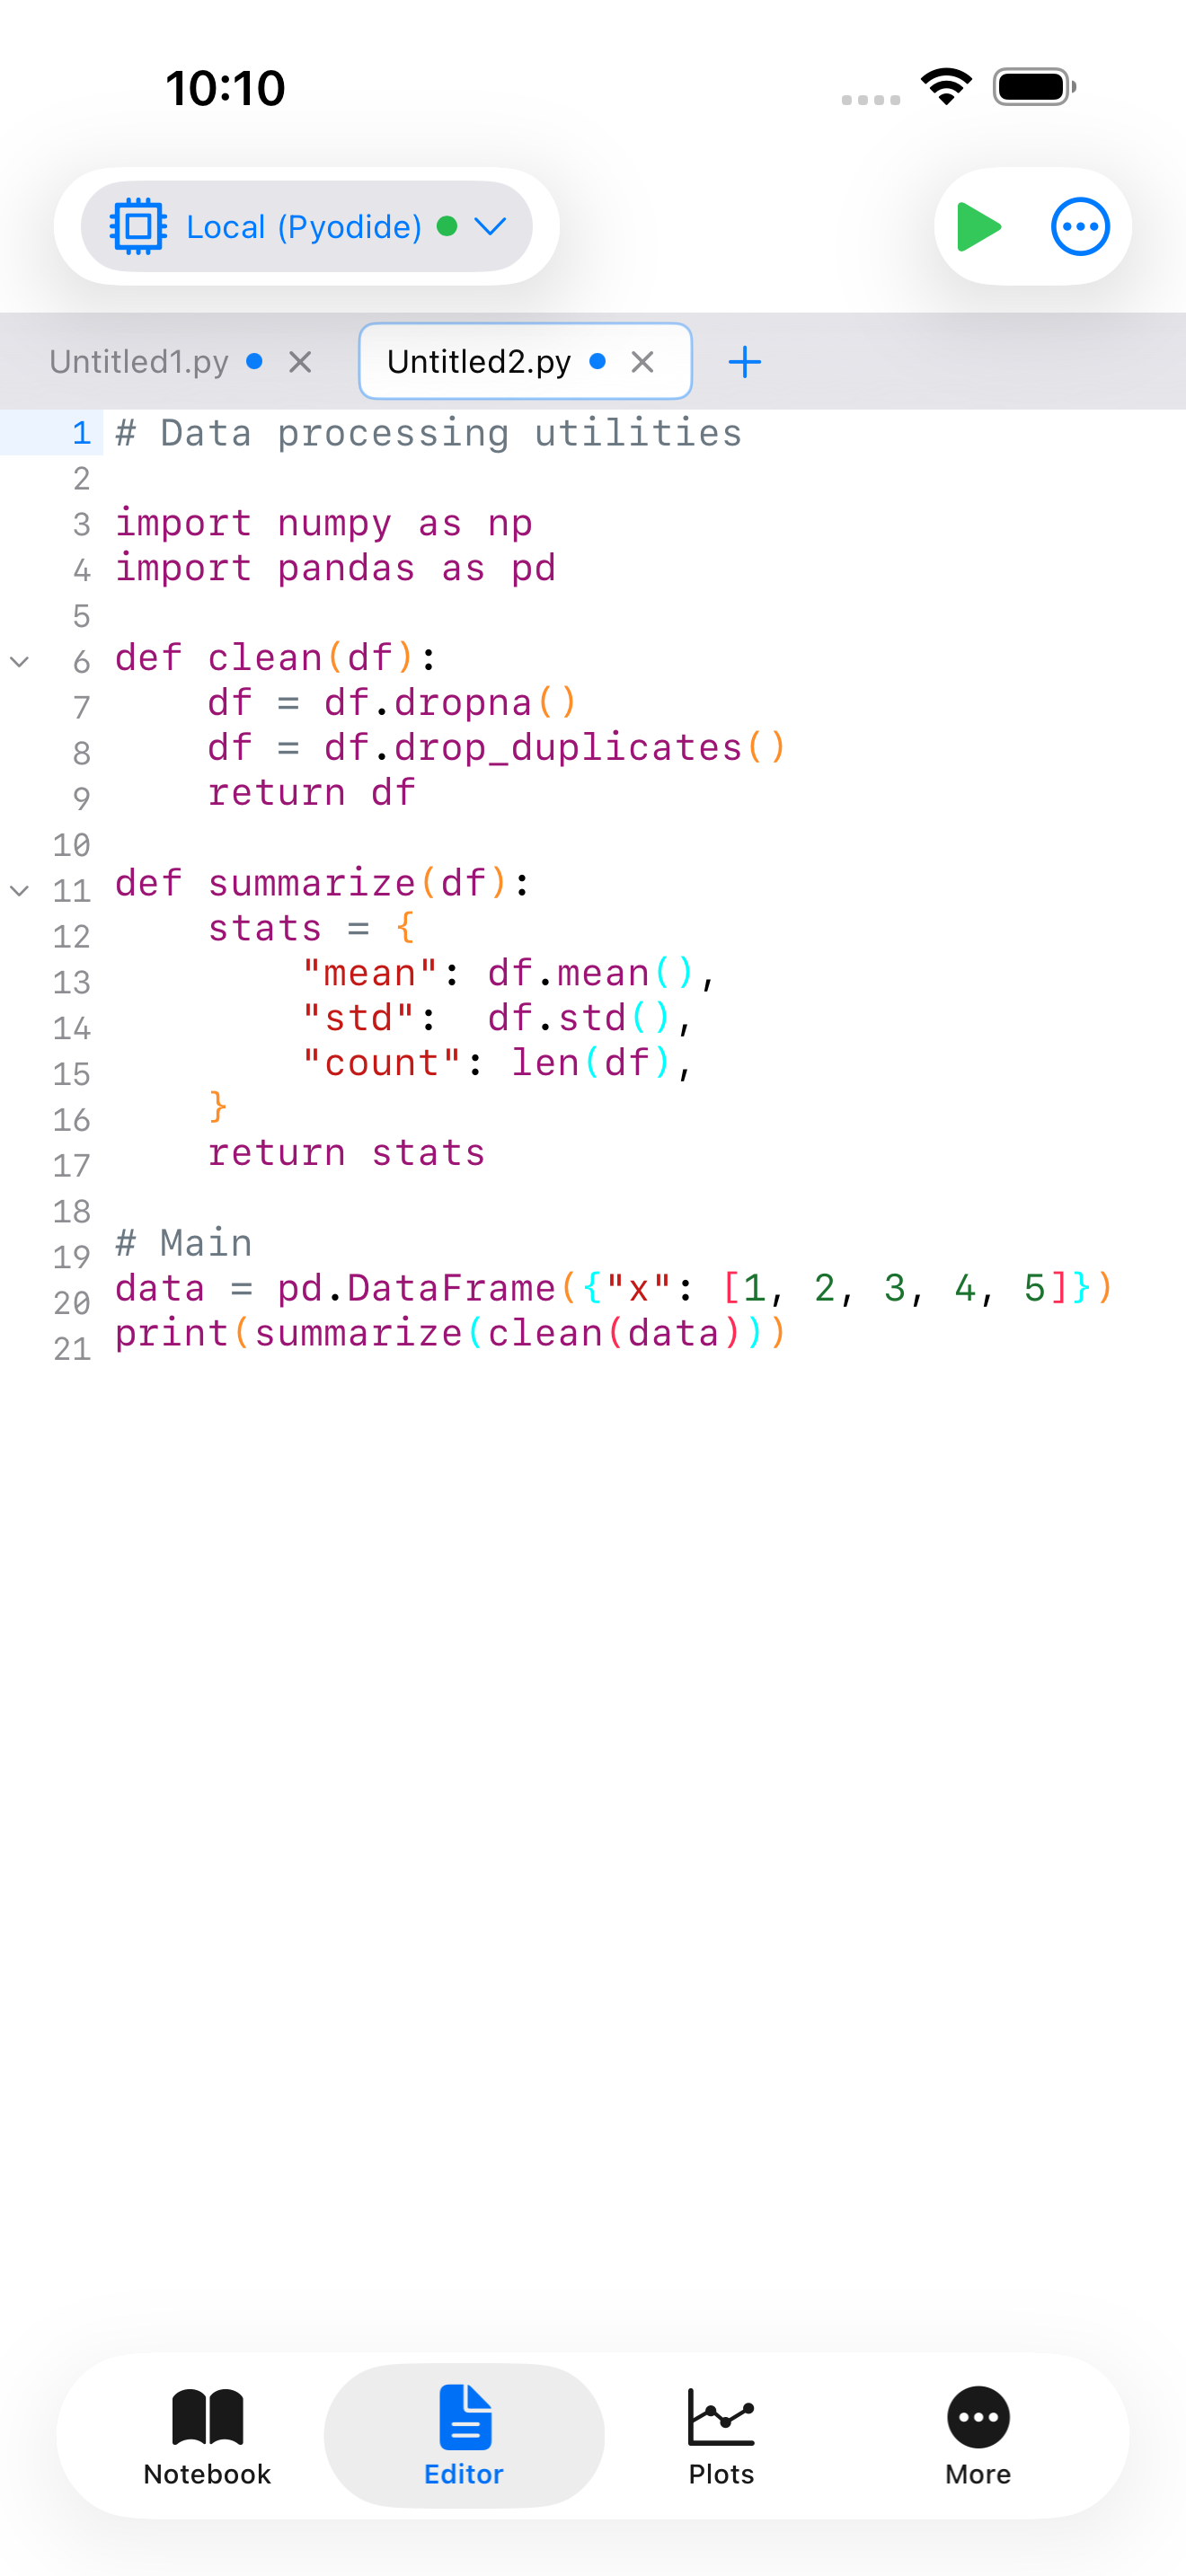
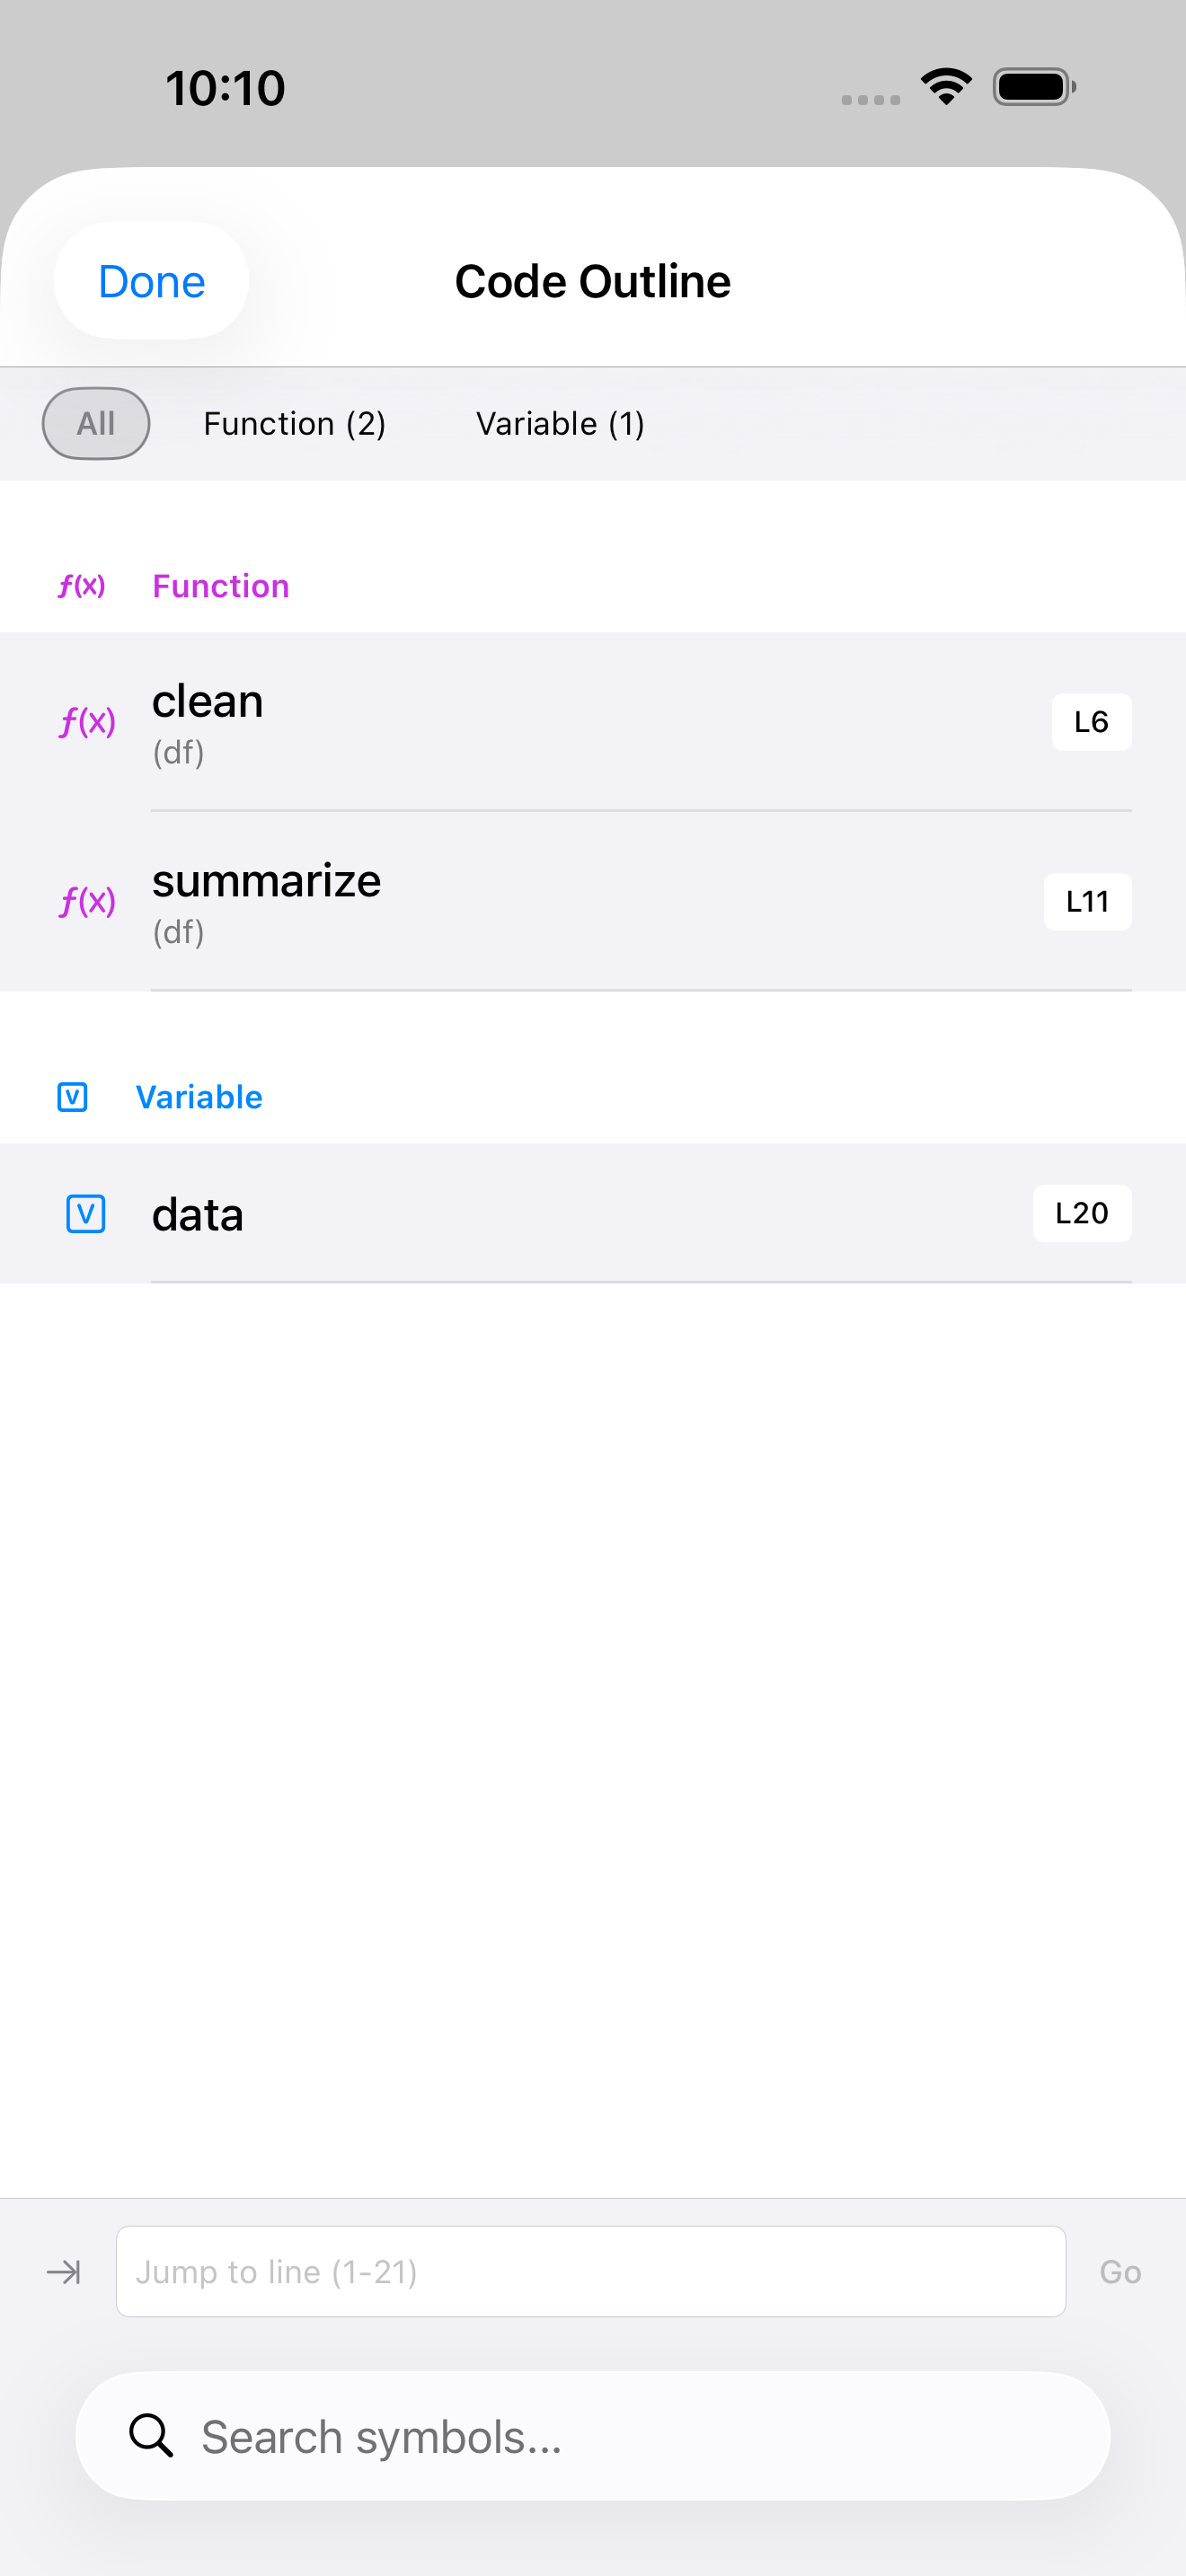
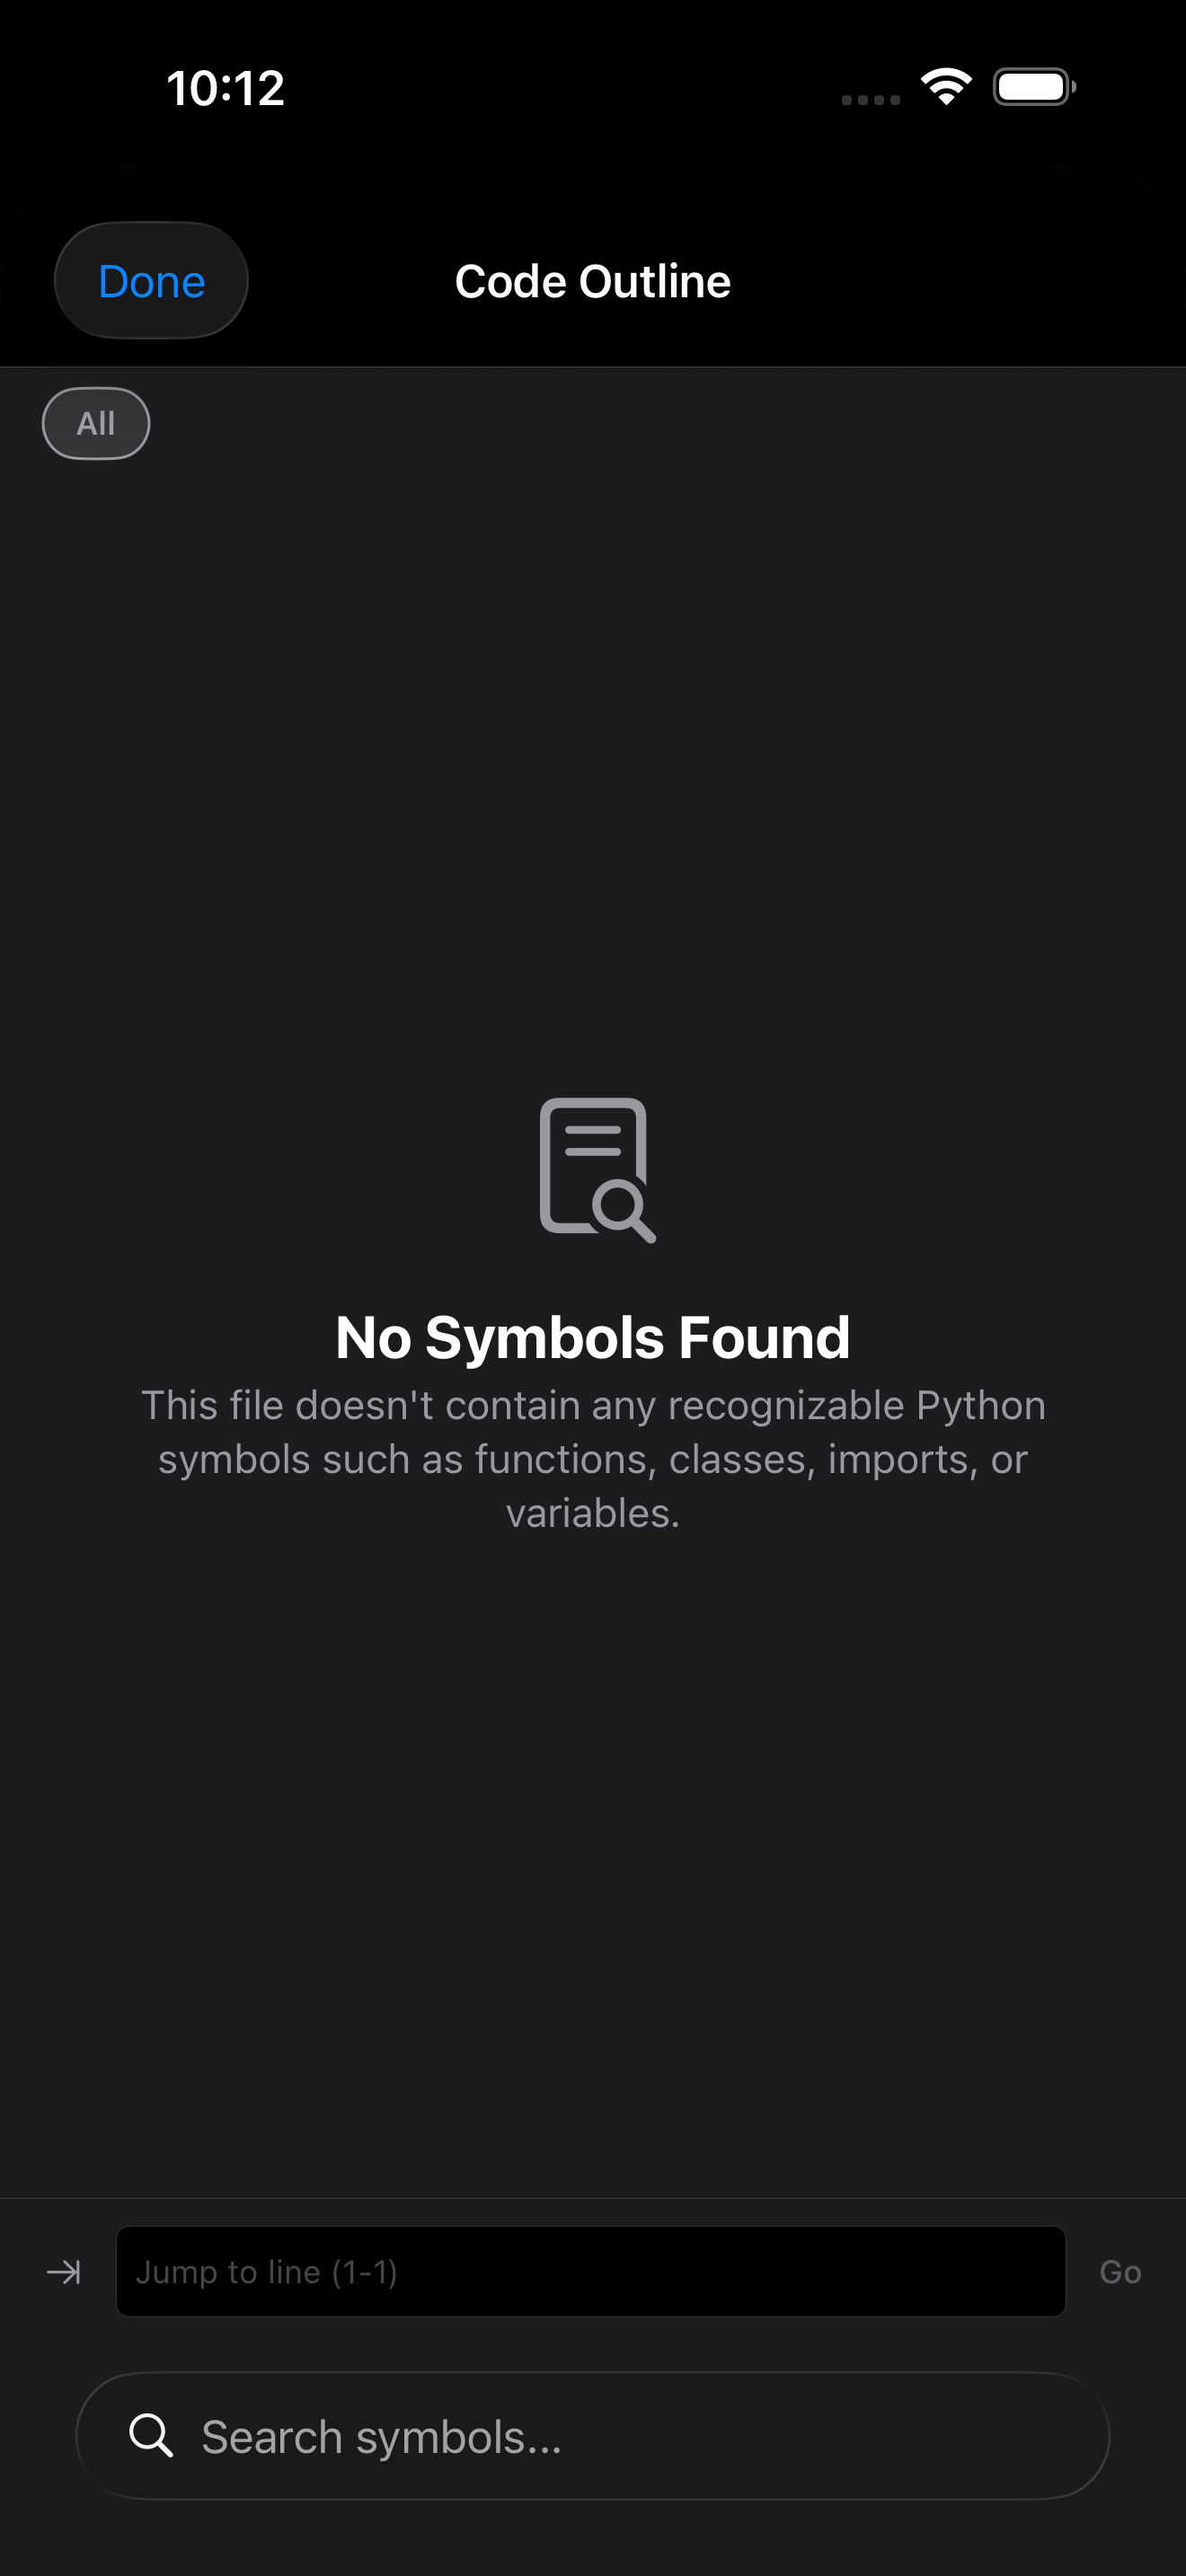
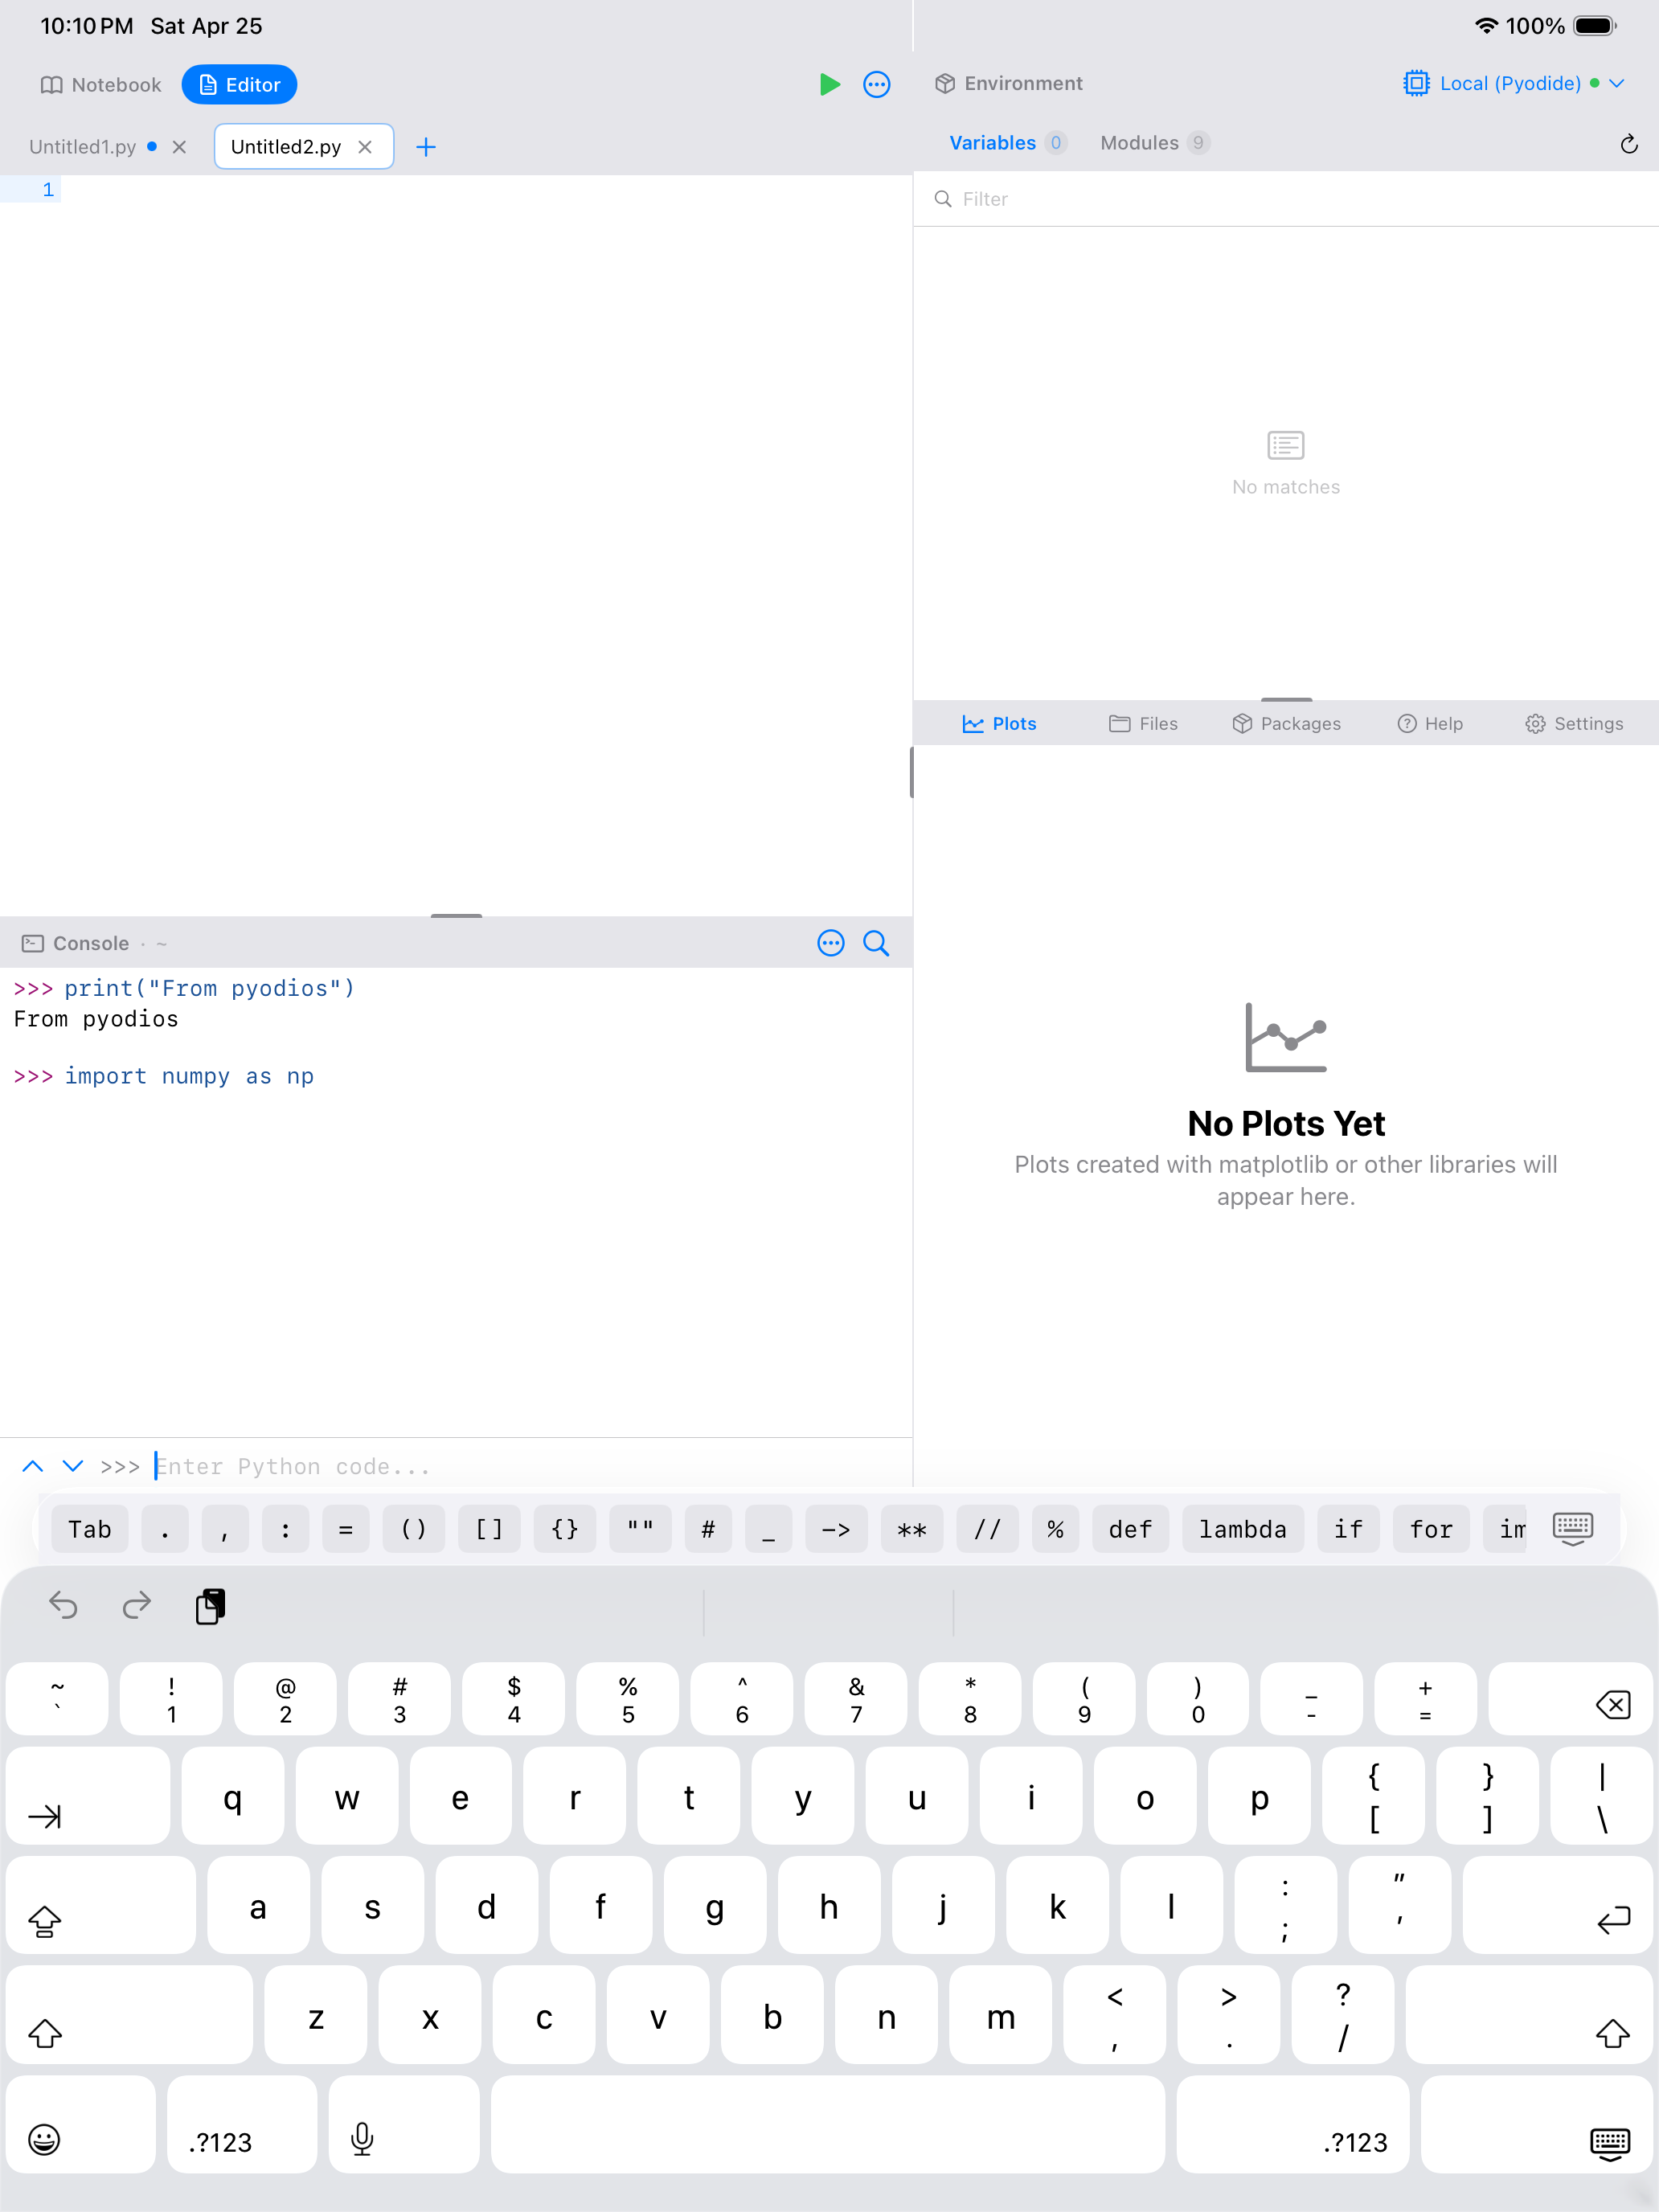
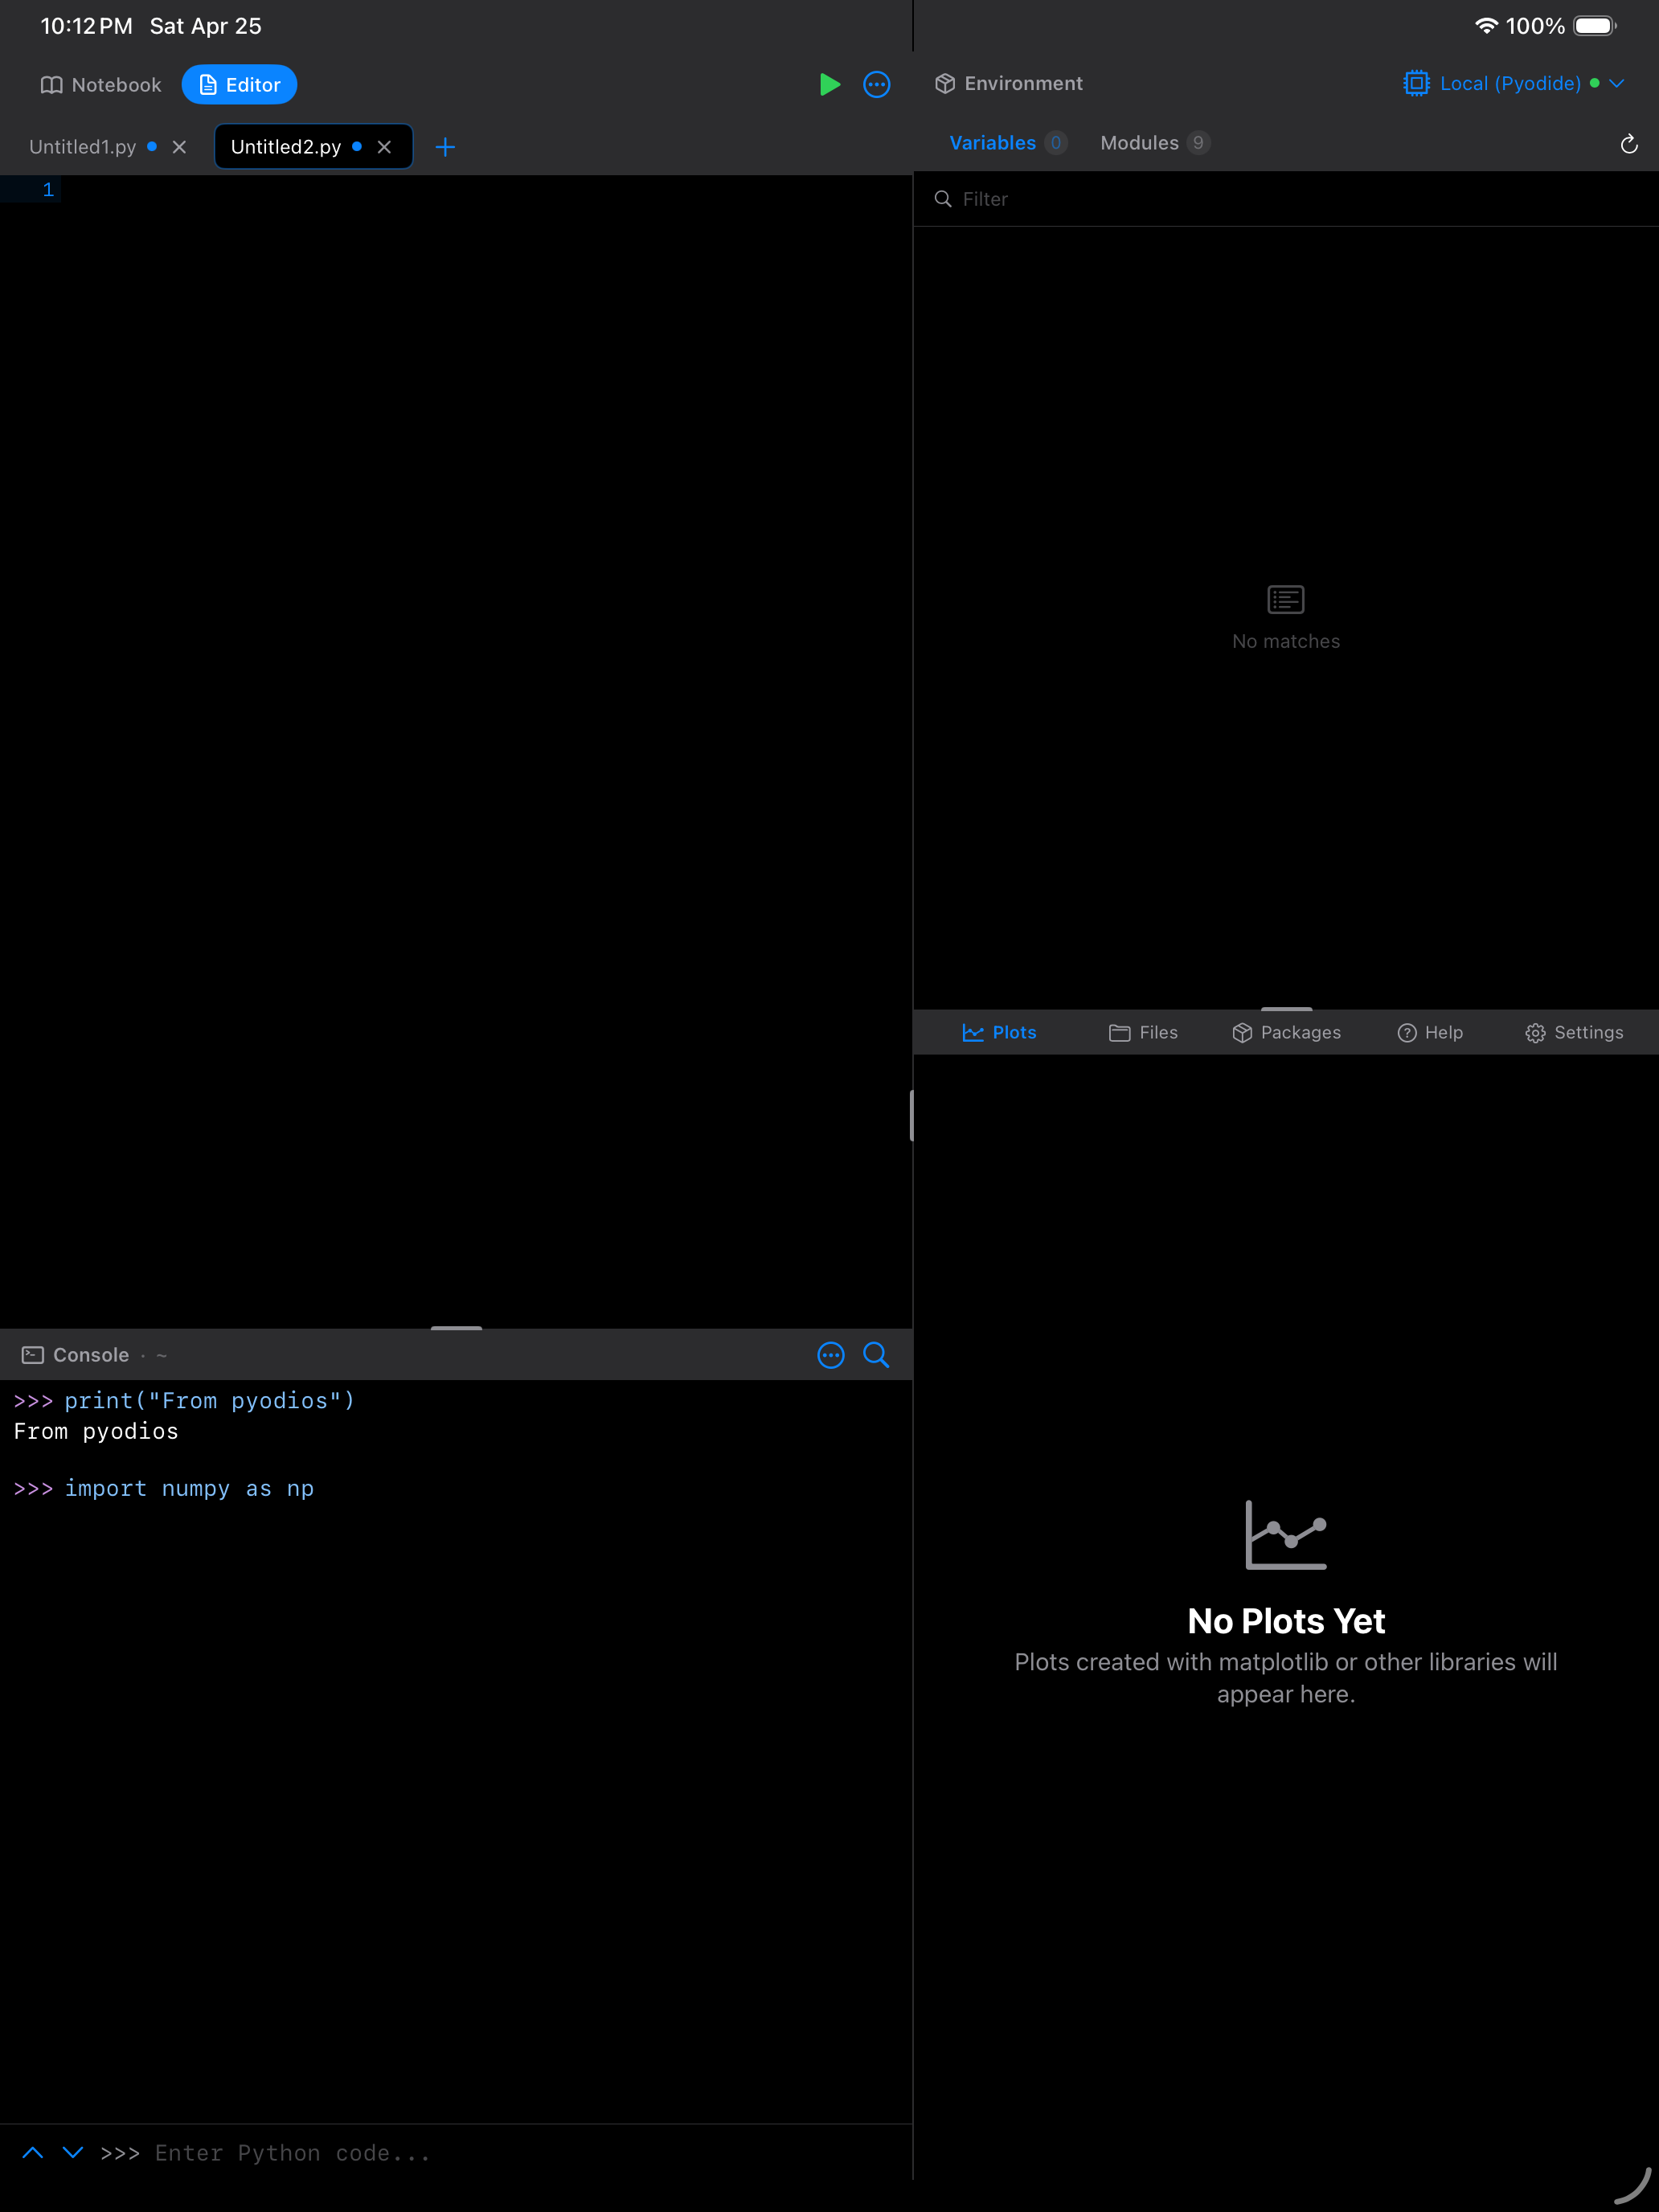
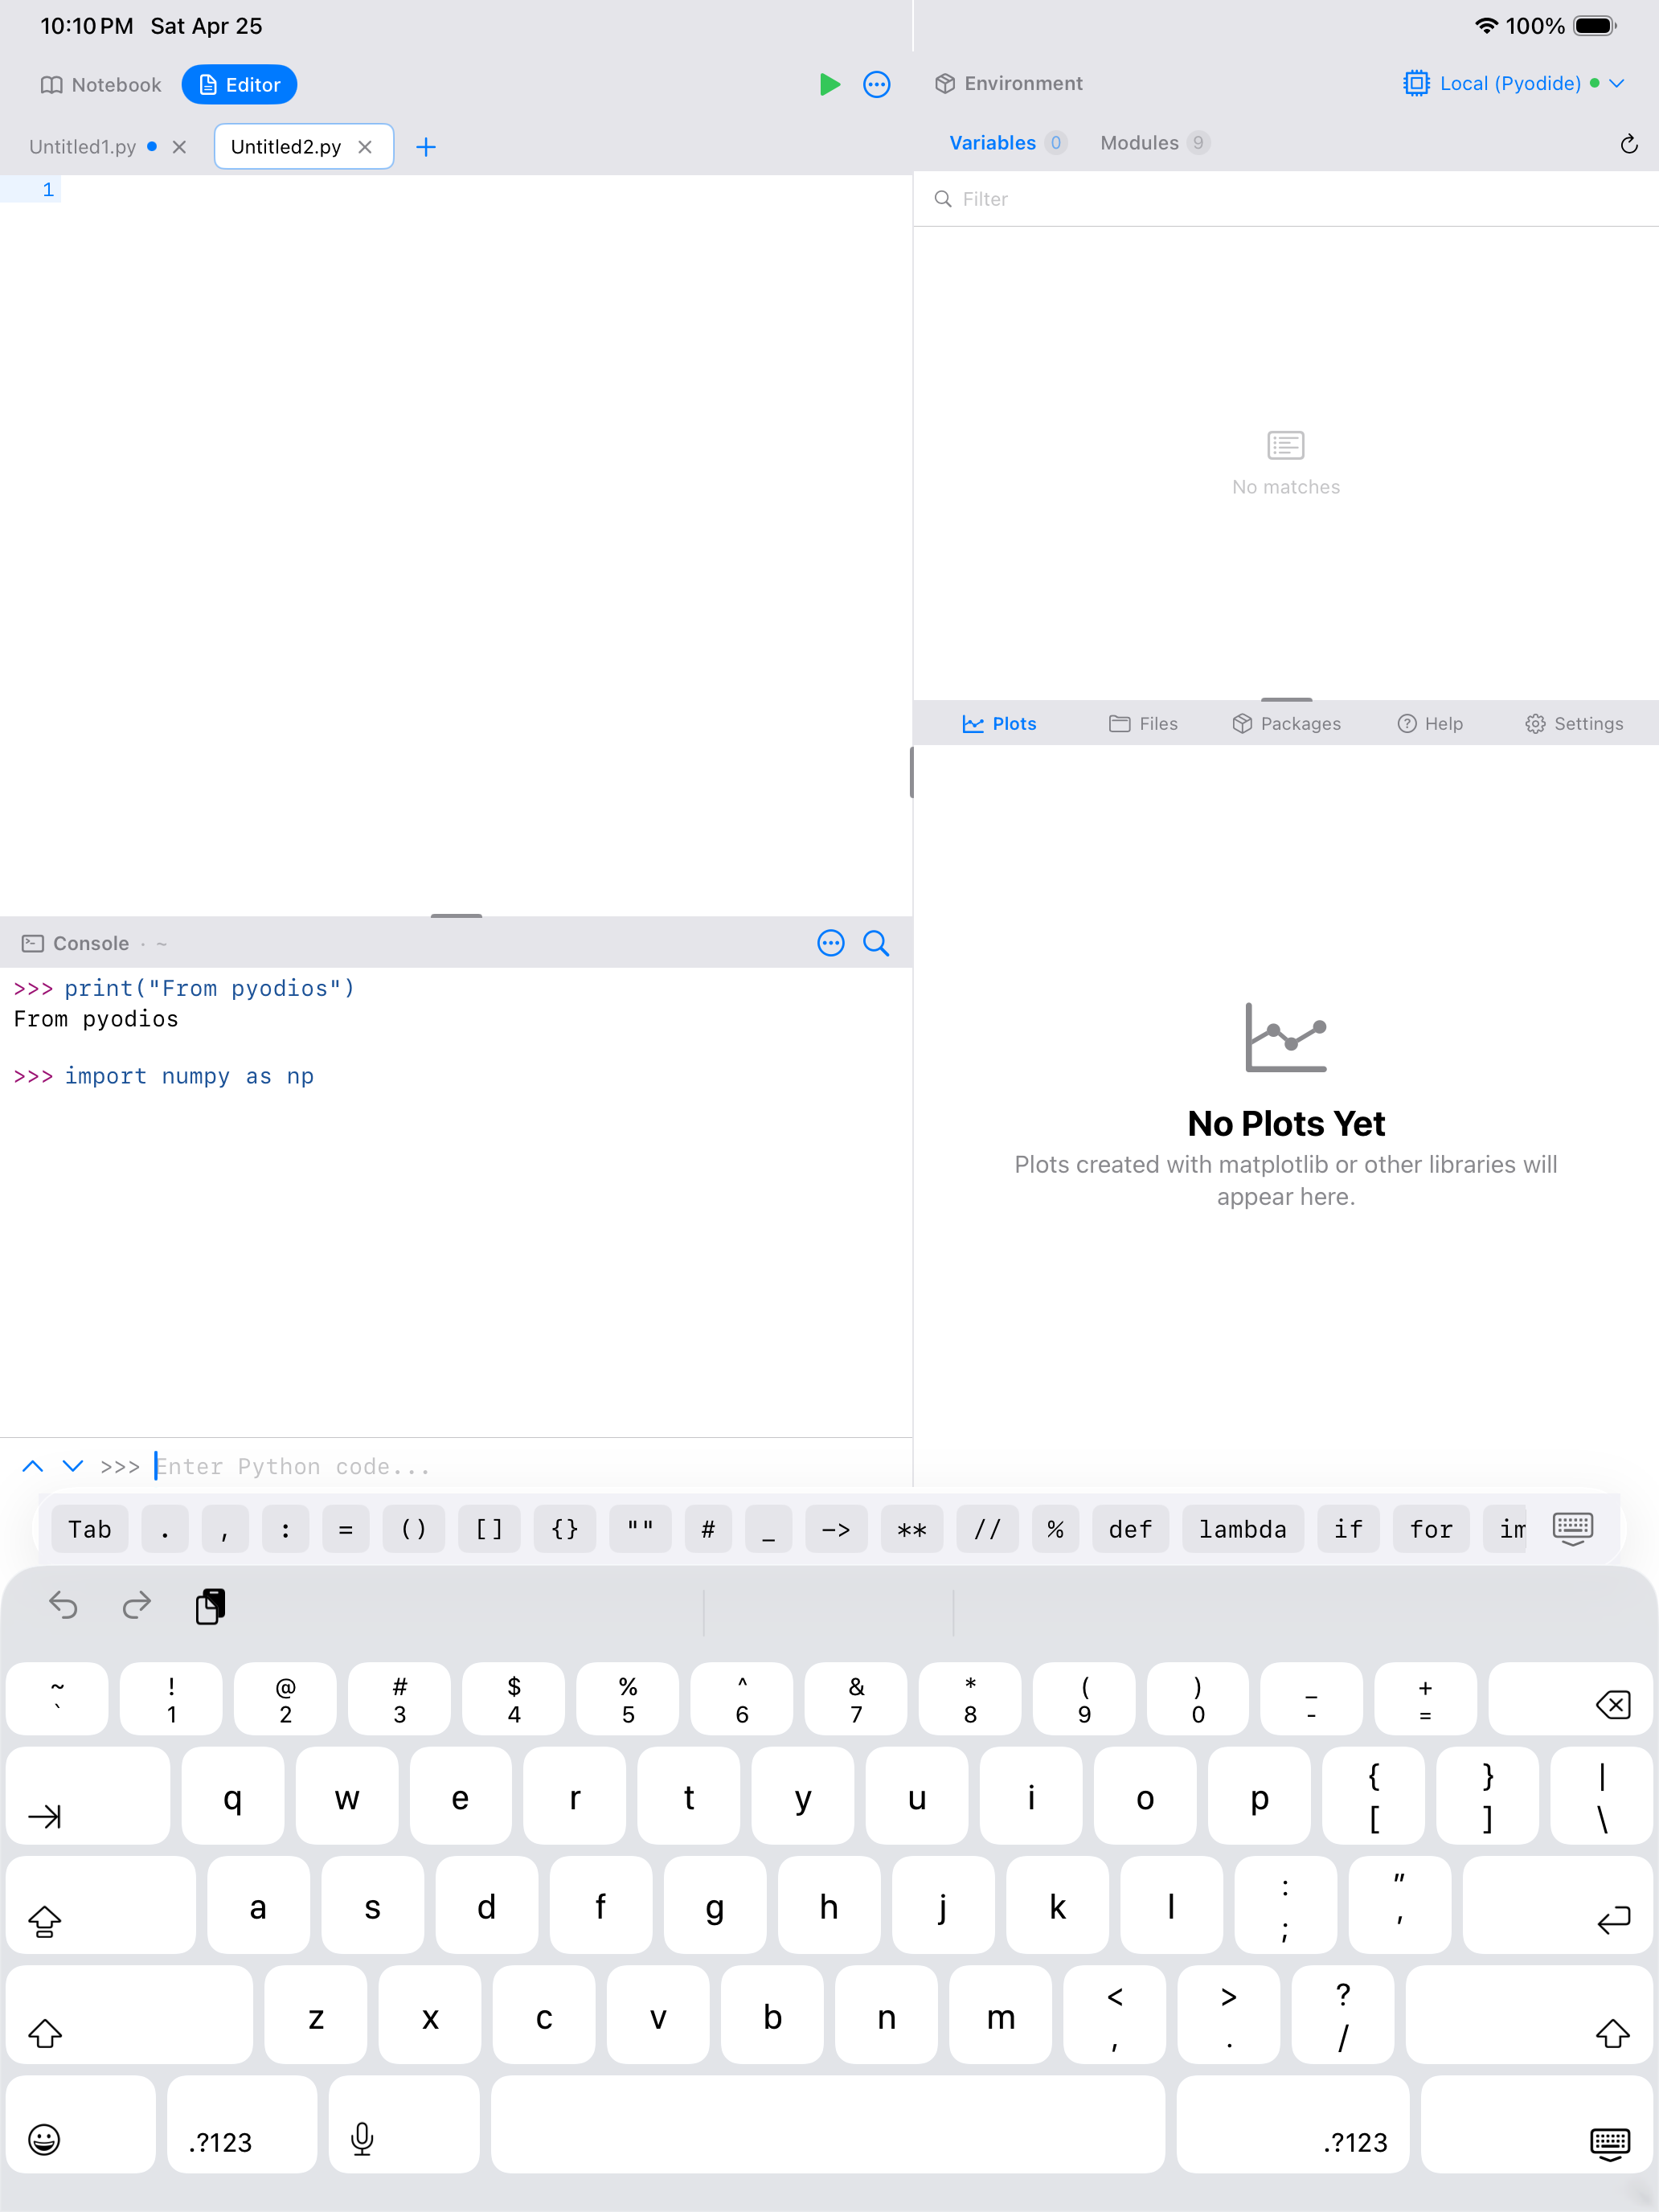
For longer scripts, the Code Outline provides a structural map of your file. It shows all your functions, classes, and import statements in a sidebar list. Tap any entry to jump directly to that location in the code. Access the outline from the File menu > Navigate > Code Outline, or use the keyboard shortcut Cmd+Shift+O on iPad.
Code Folding
Enable code folding from the … menu to collapse functions, classes, loops, and other code blocks. Small chevrons appear in the gutter next to lines that start a foldable block. Tap a chevron to collapse the block, hiding everything inside it so you can focus on the section you are working on. Tap again to expand.
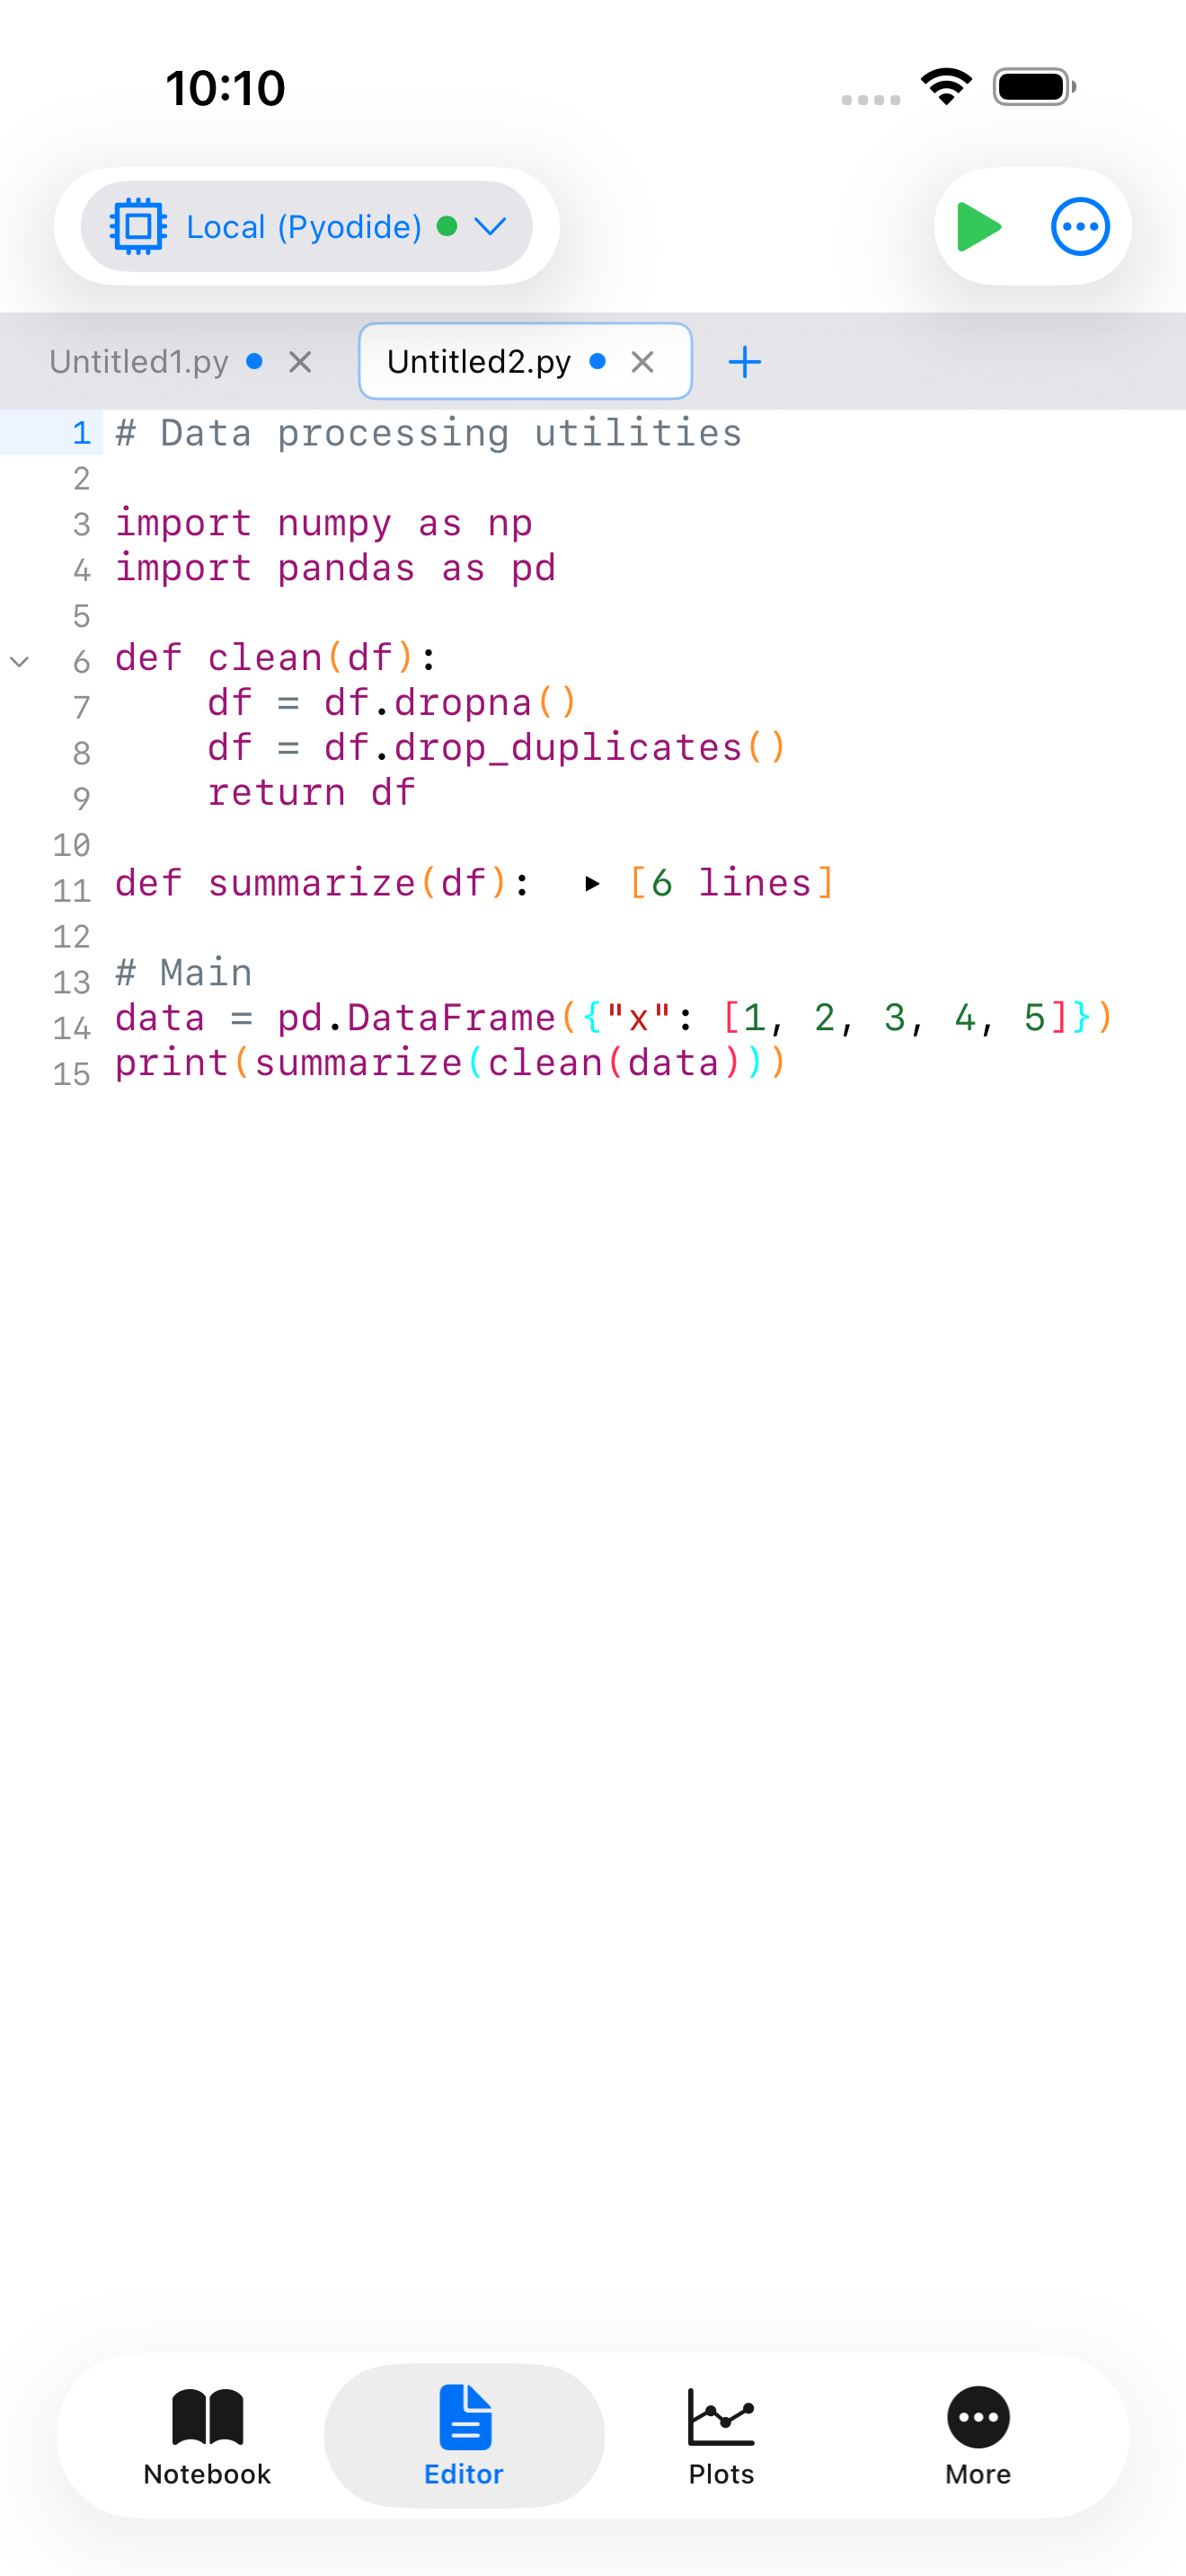
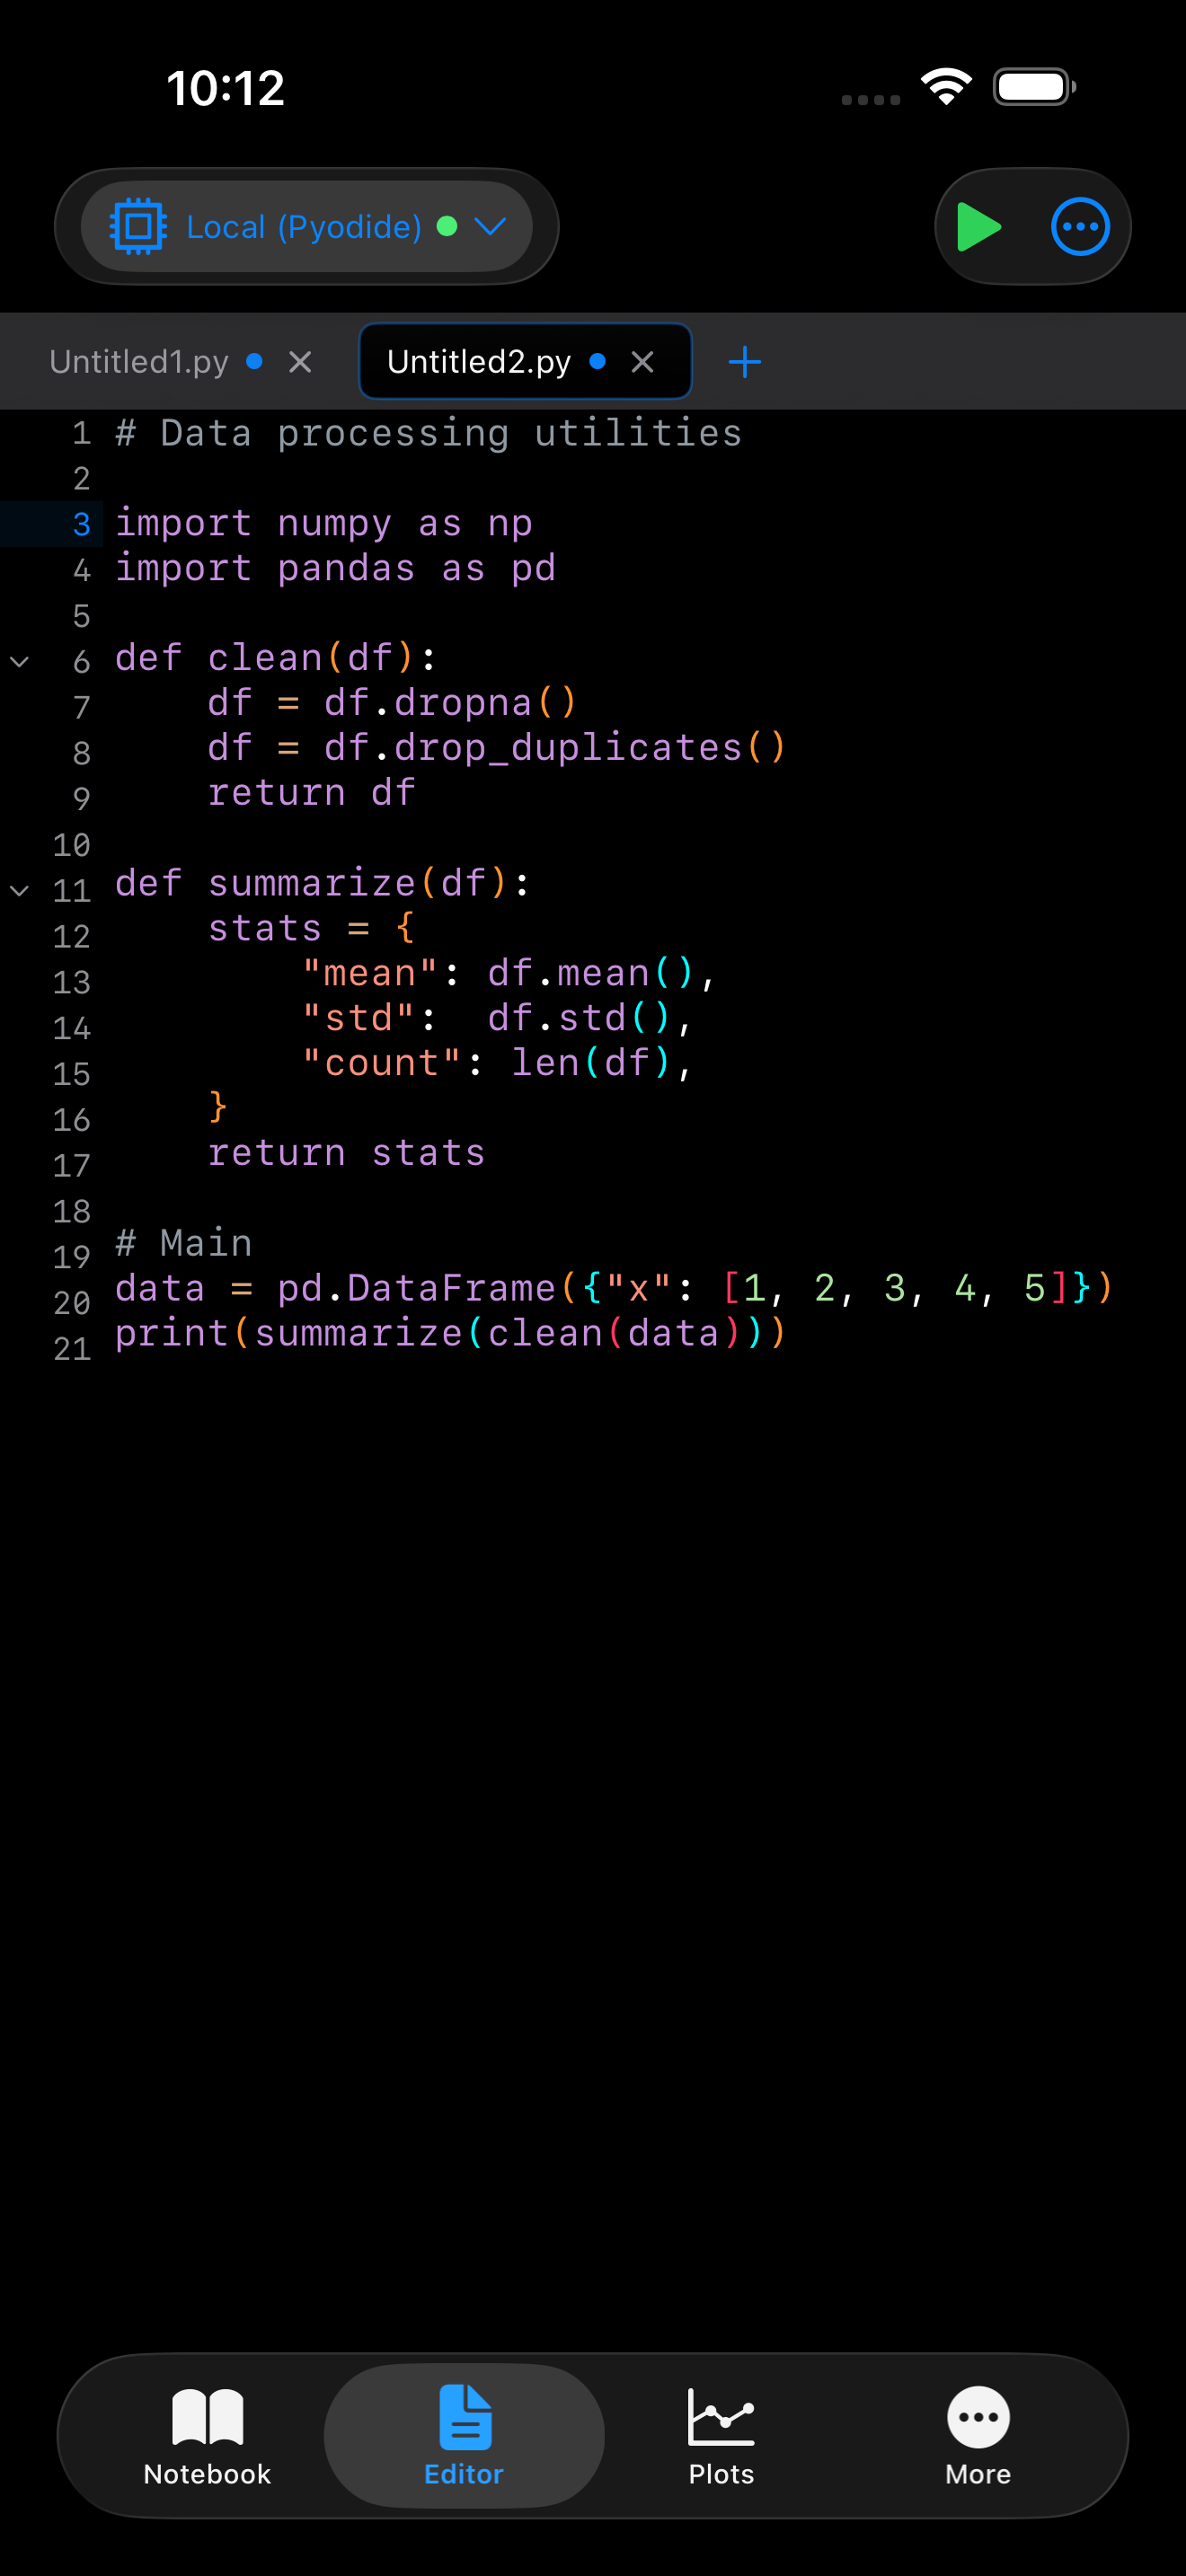
- Fold chevron: tap the arrow in the gutter to collapse or expand a code block
- Folded region: collapsed code is hidden and replaced with a summary indicator
Find and Replace
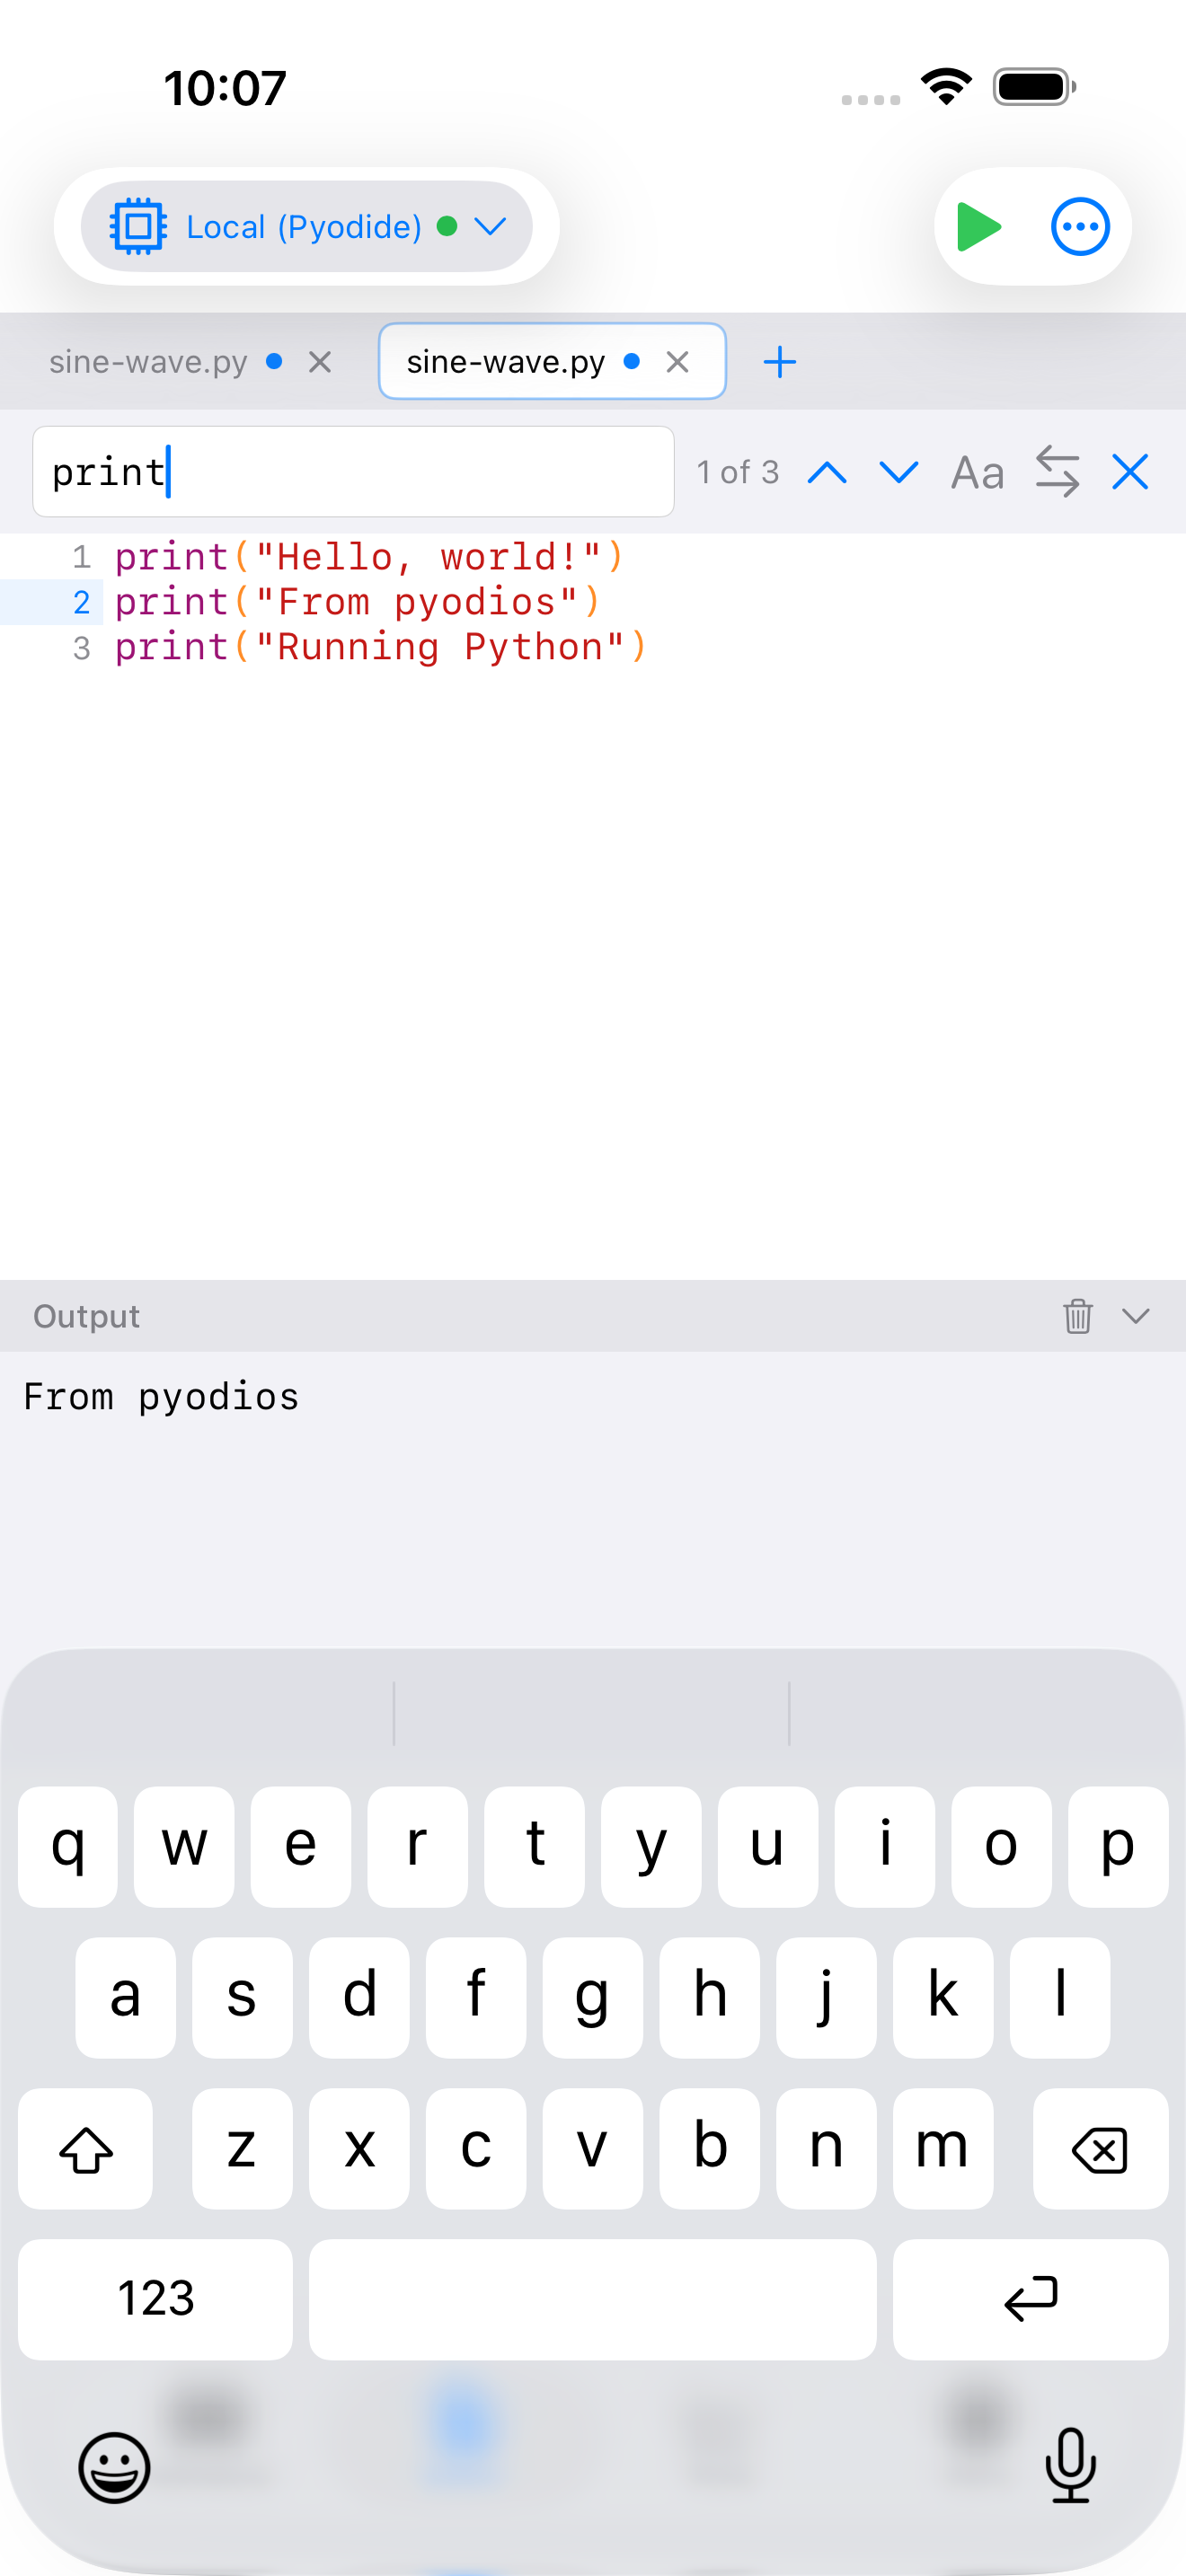
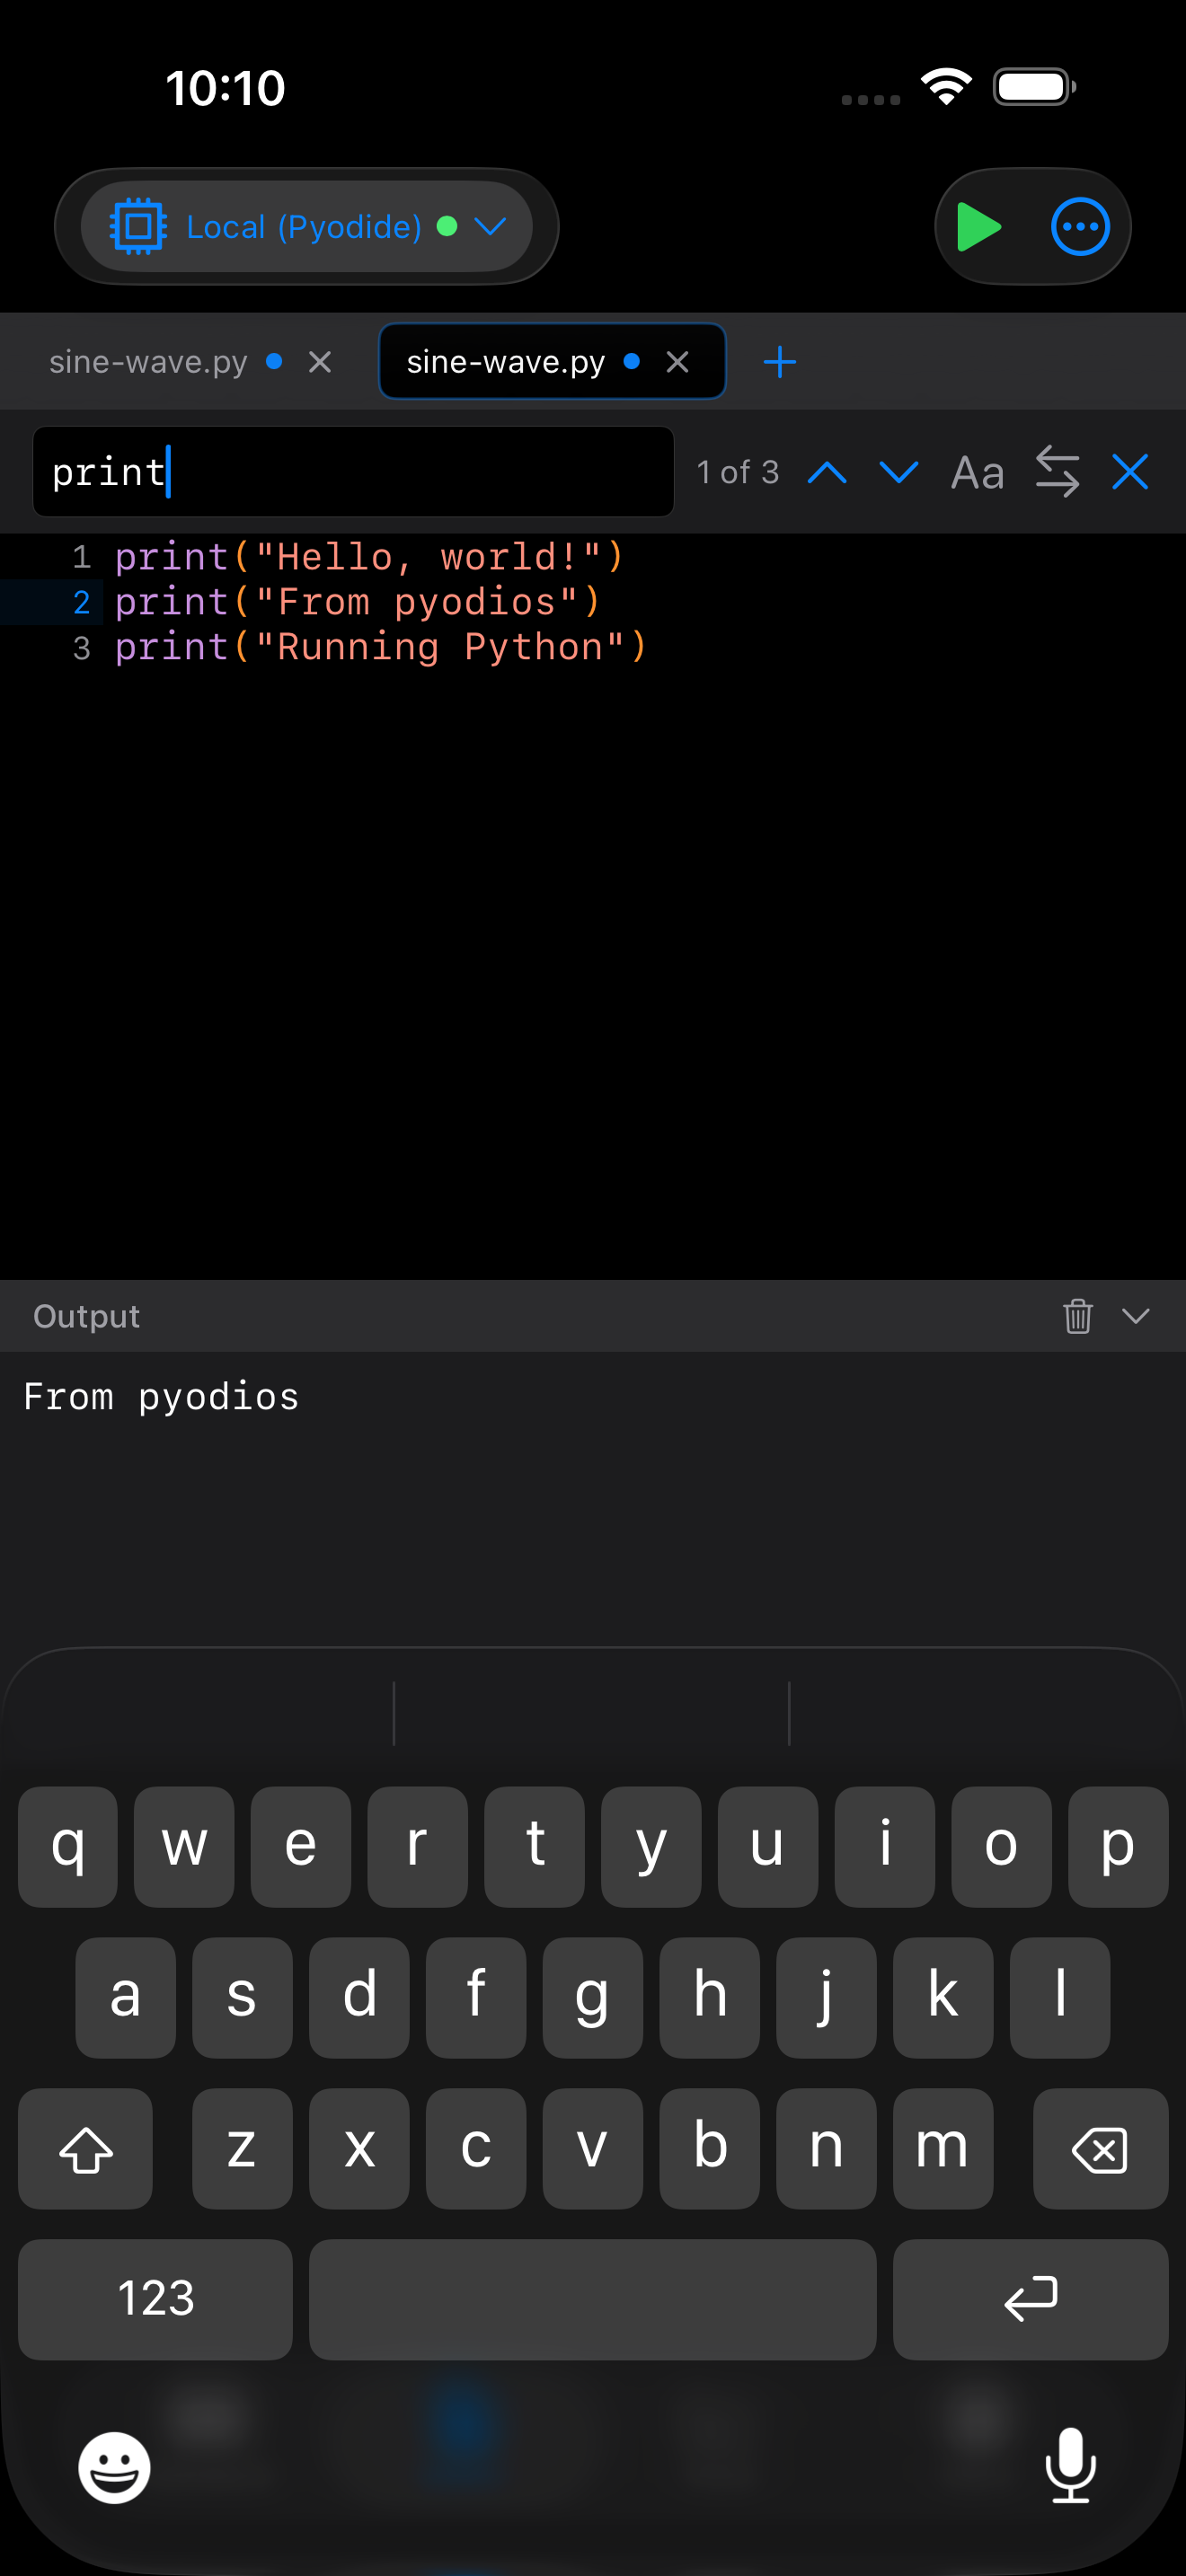
Tap the magnifying glass icon in the toolbar to open the find bar. Type a search term to highlight all matches in your code and navigate between them with the up and down arrows. Expand the find bar to reveal the replace field, where you can replace matches one at a time or all at once.
Code Completion
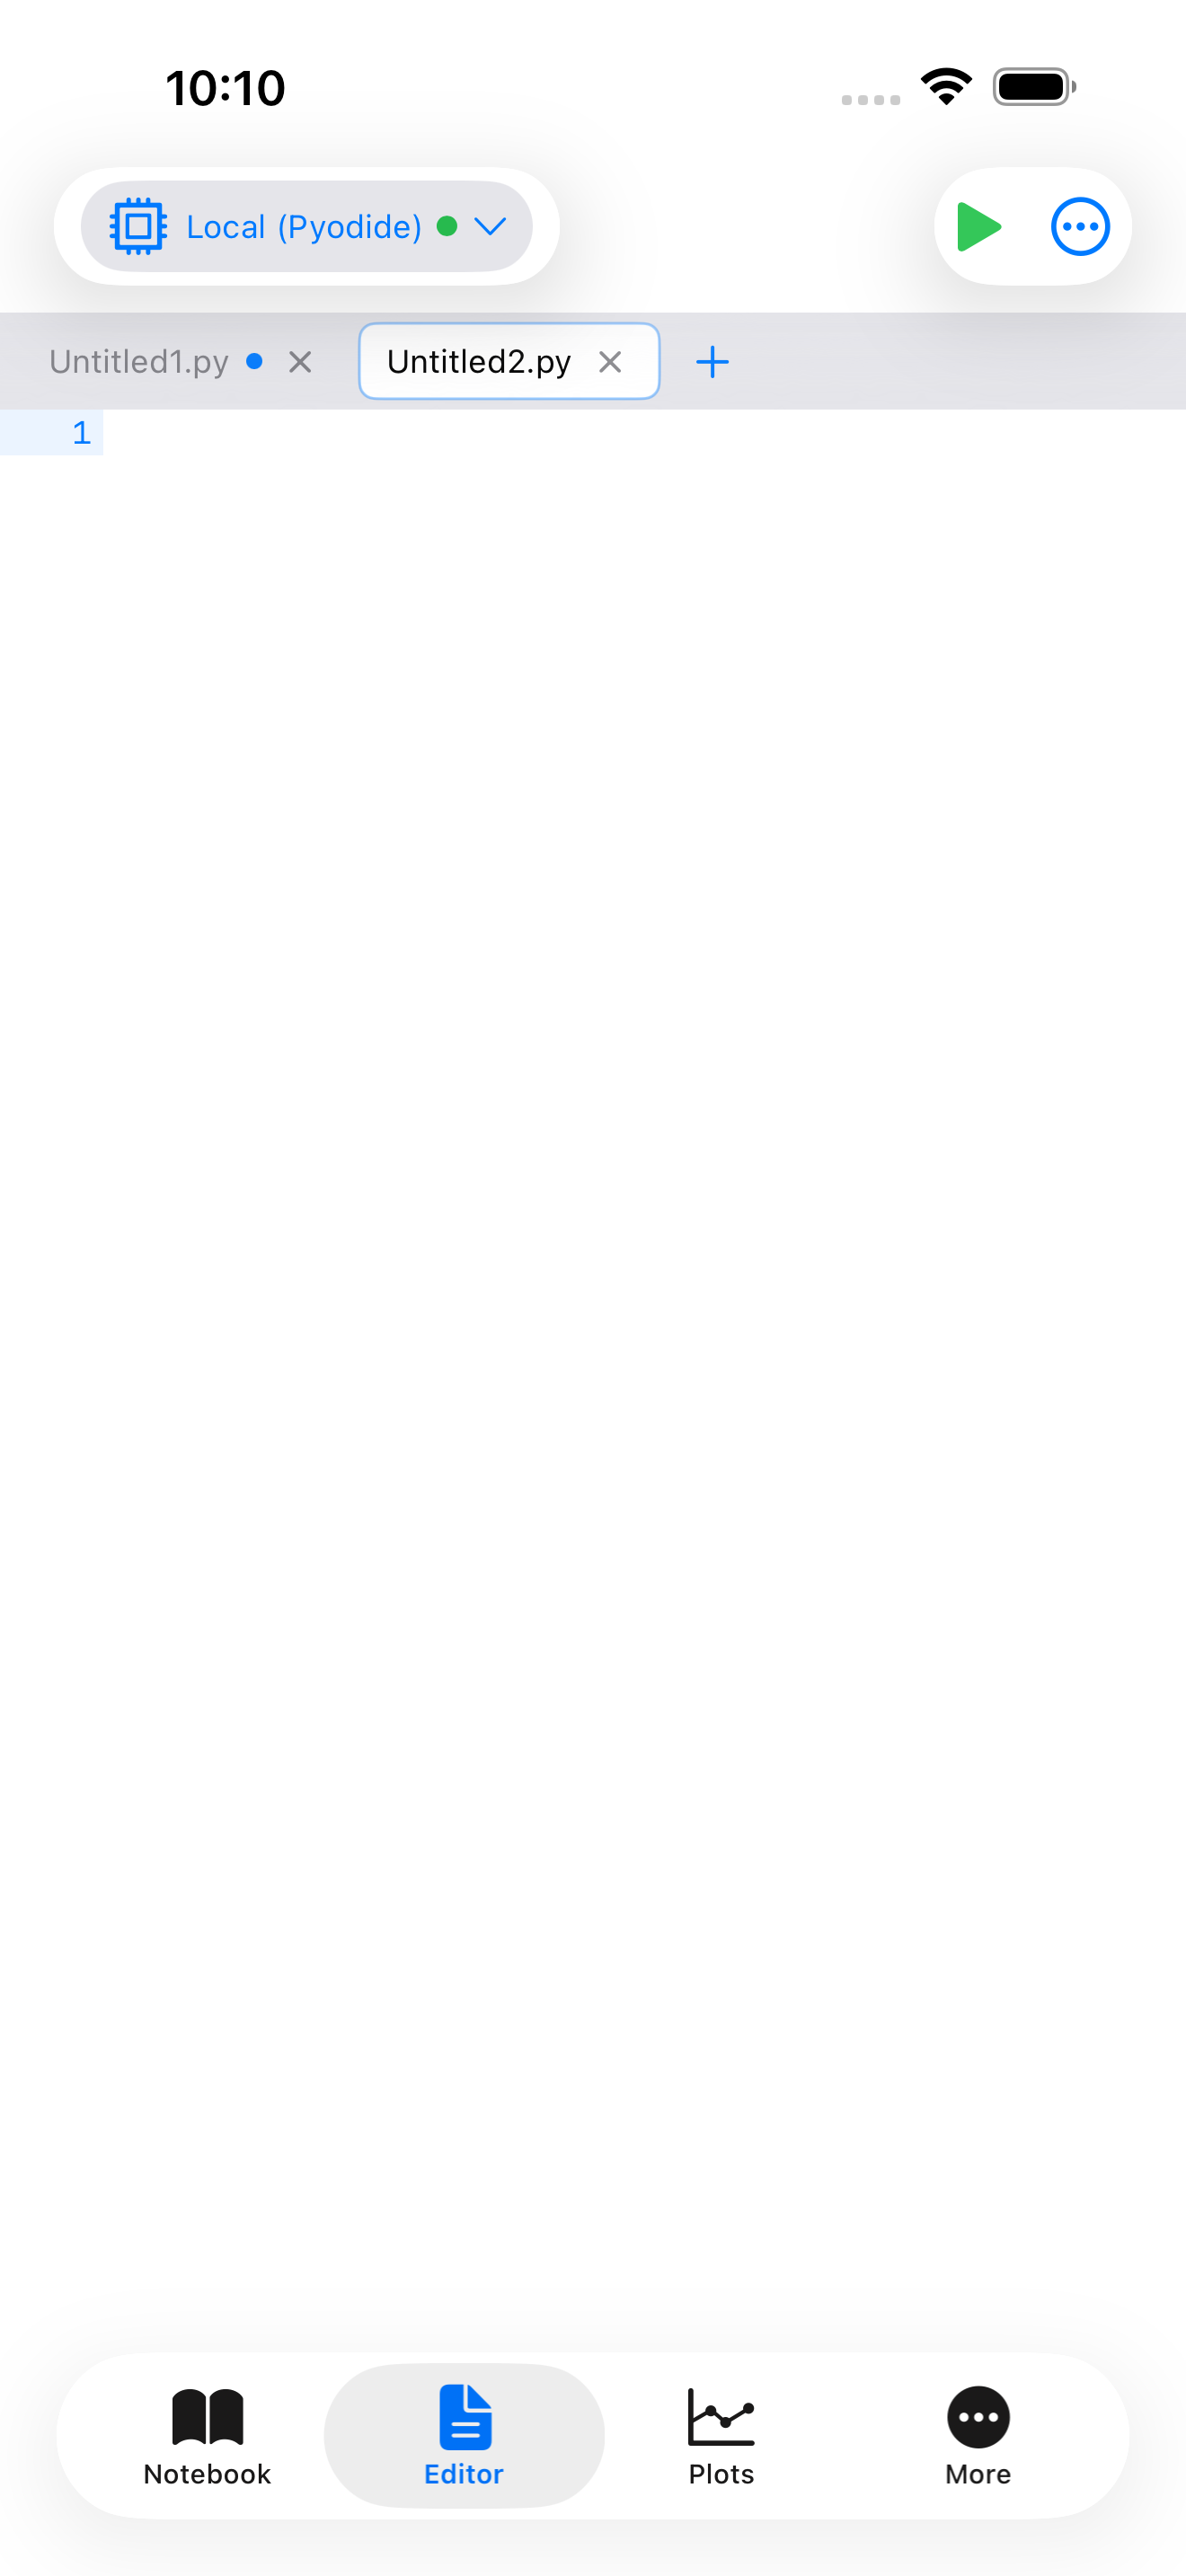
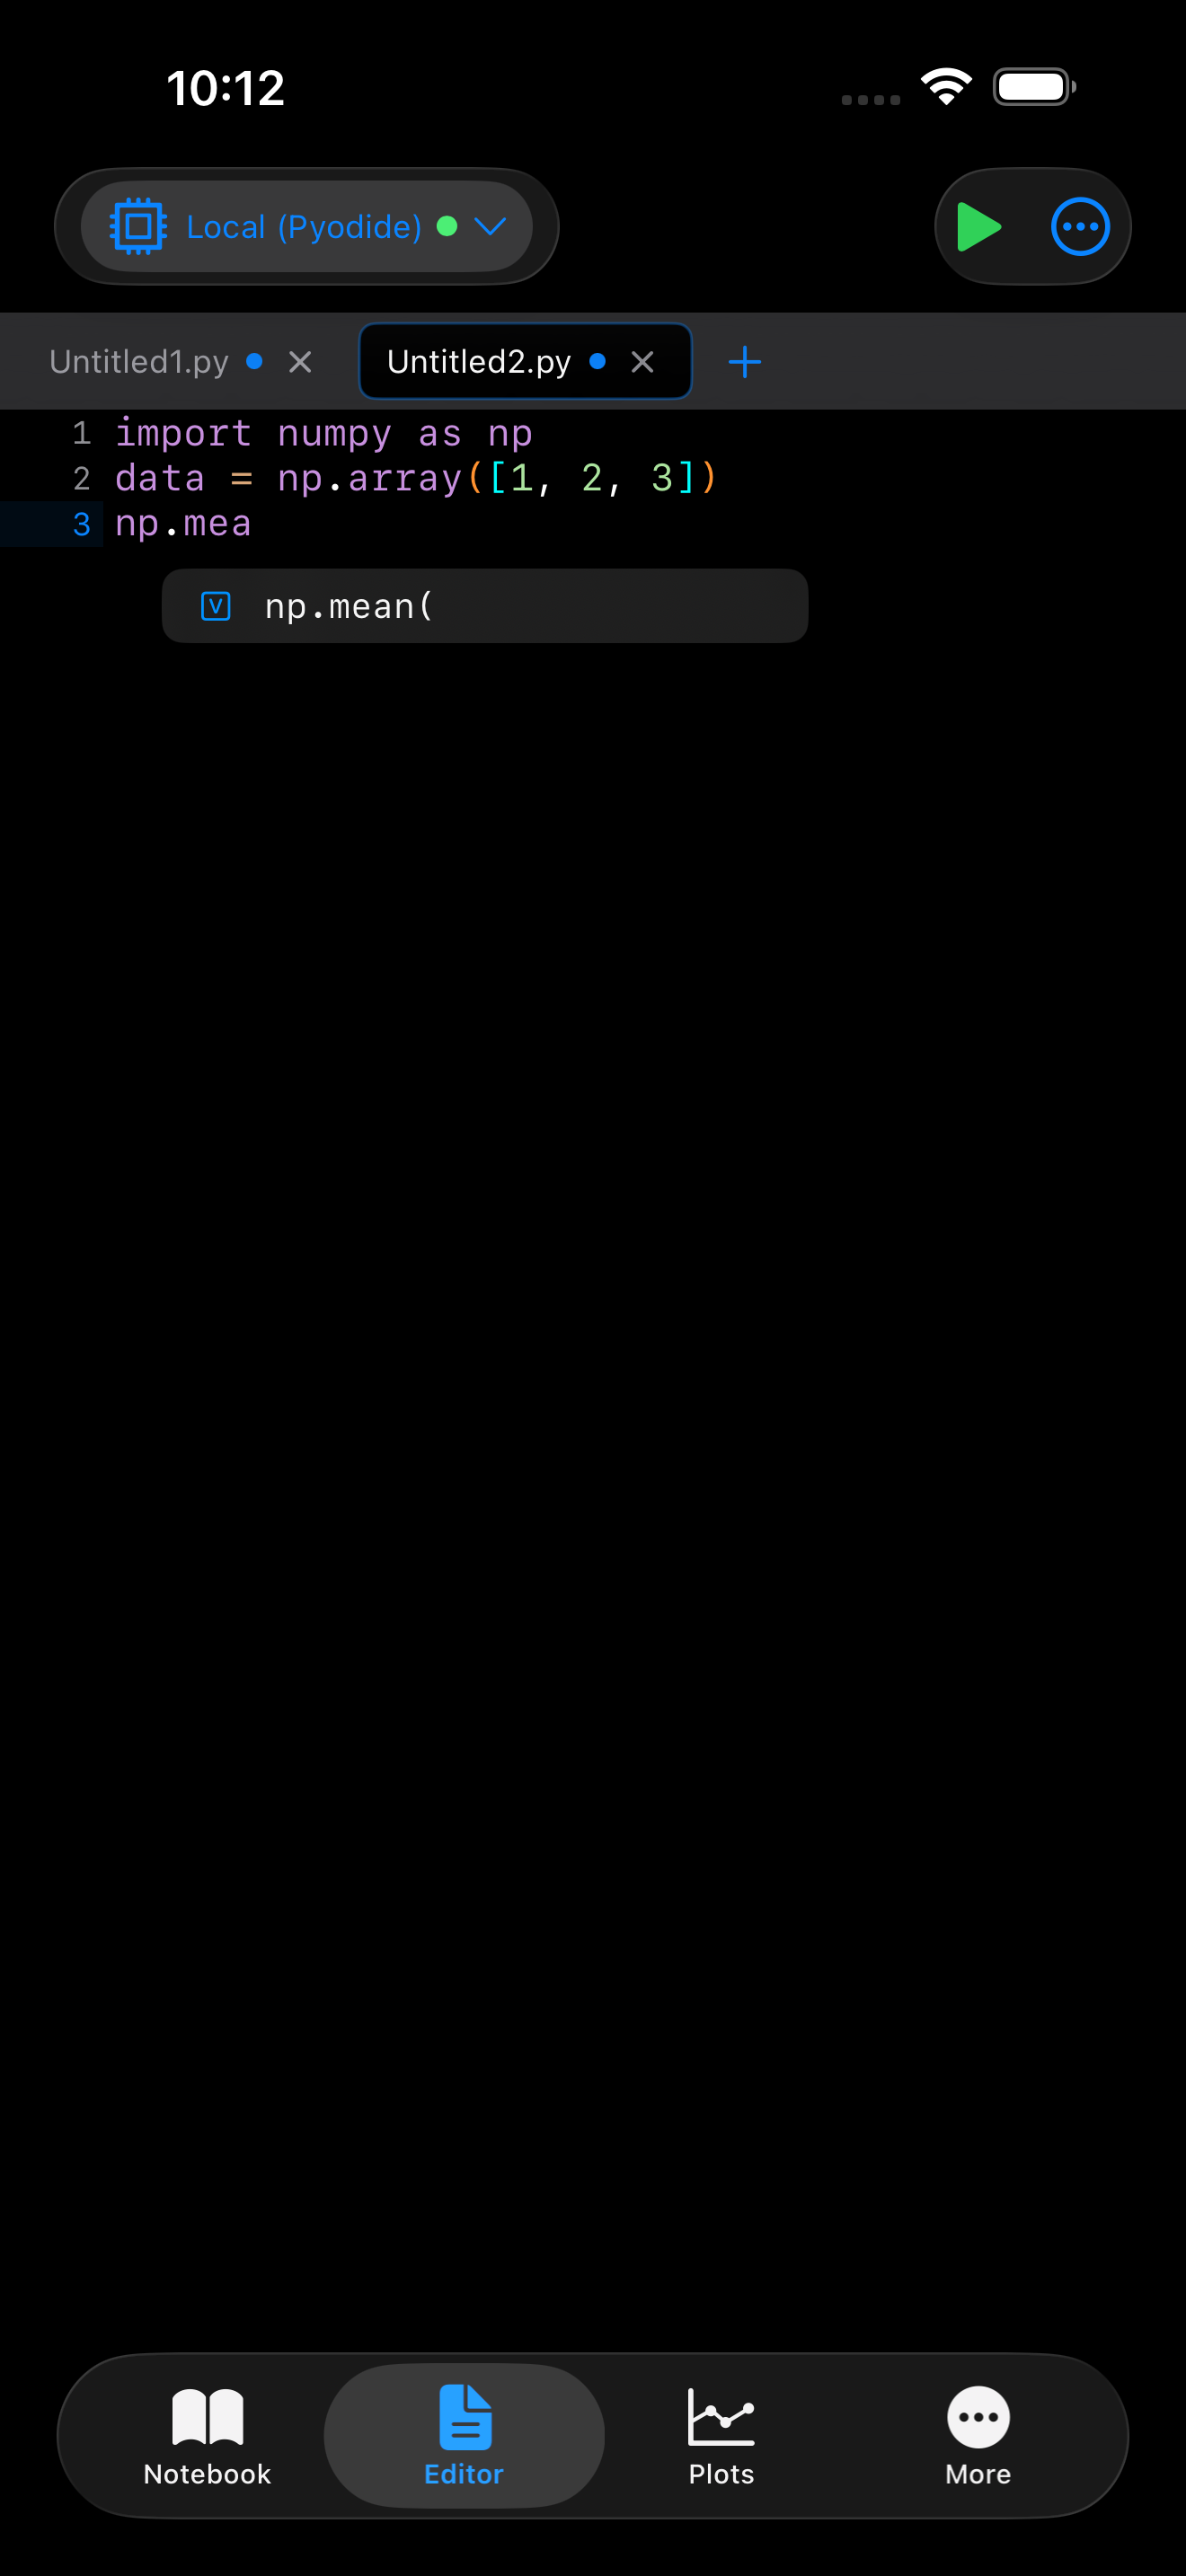
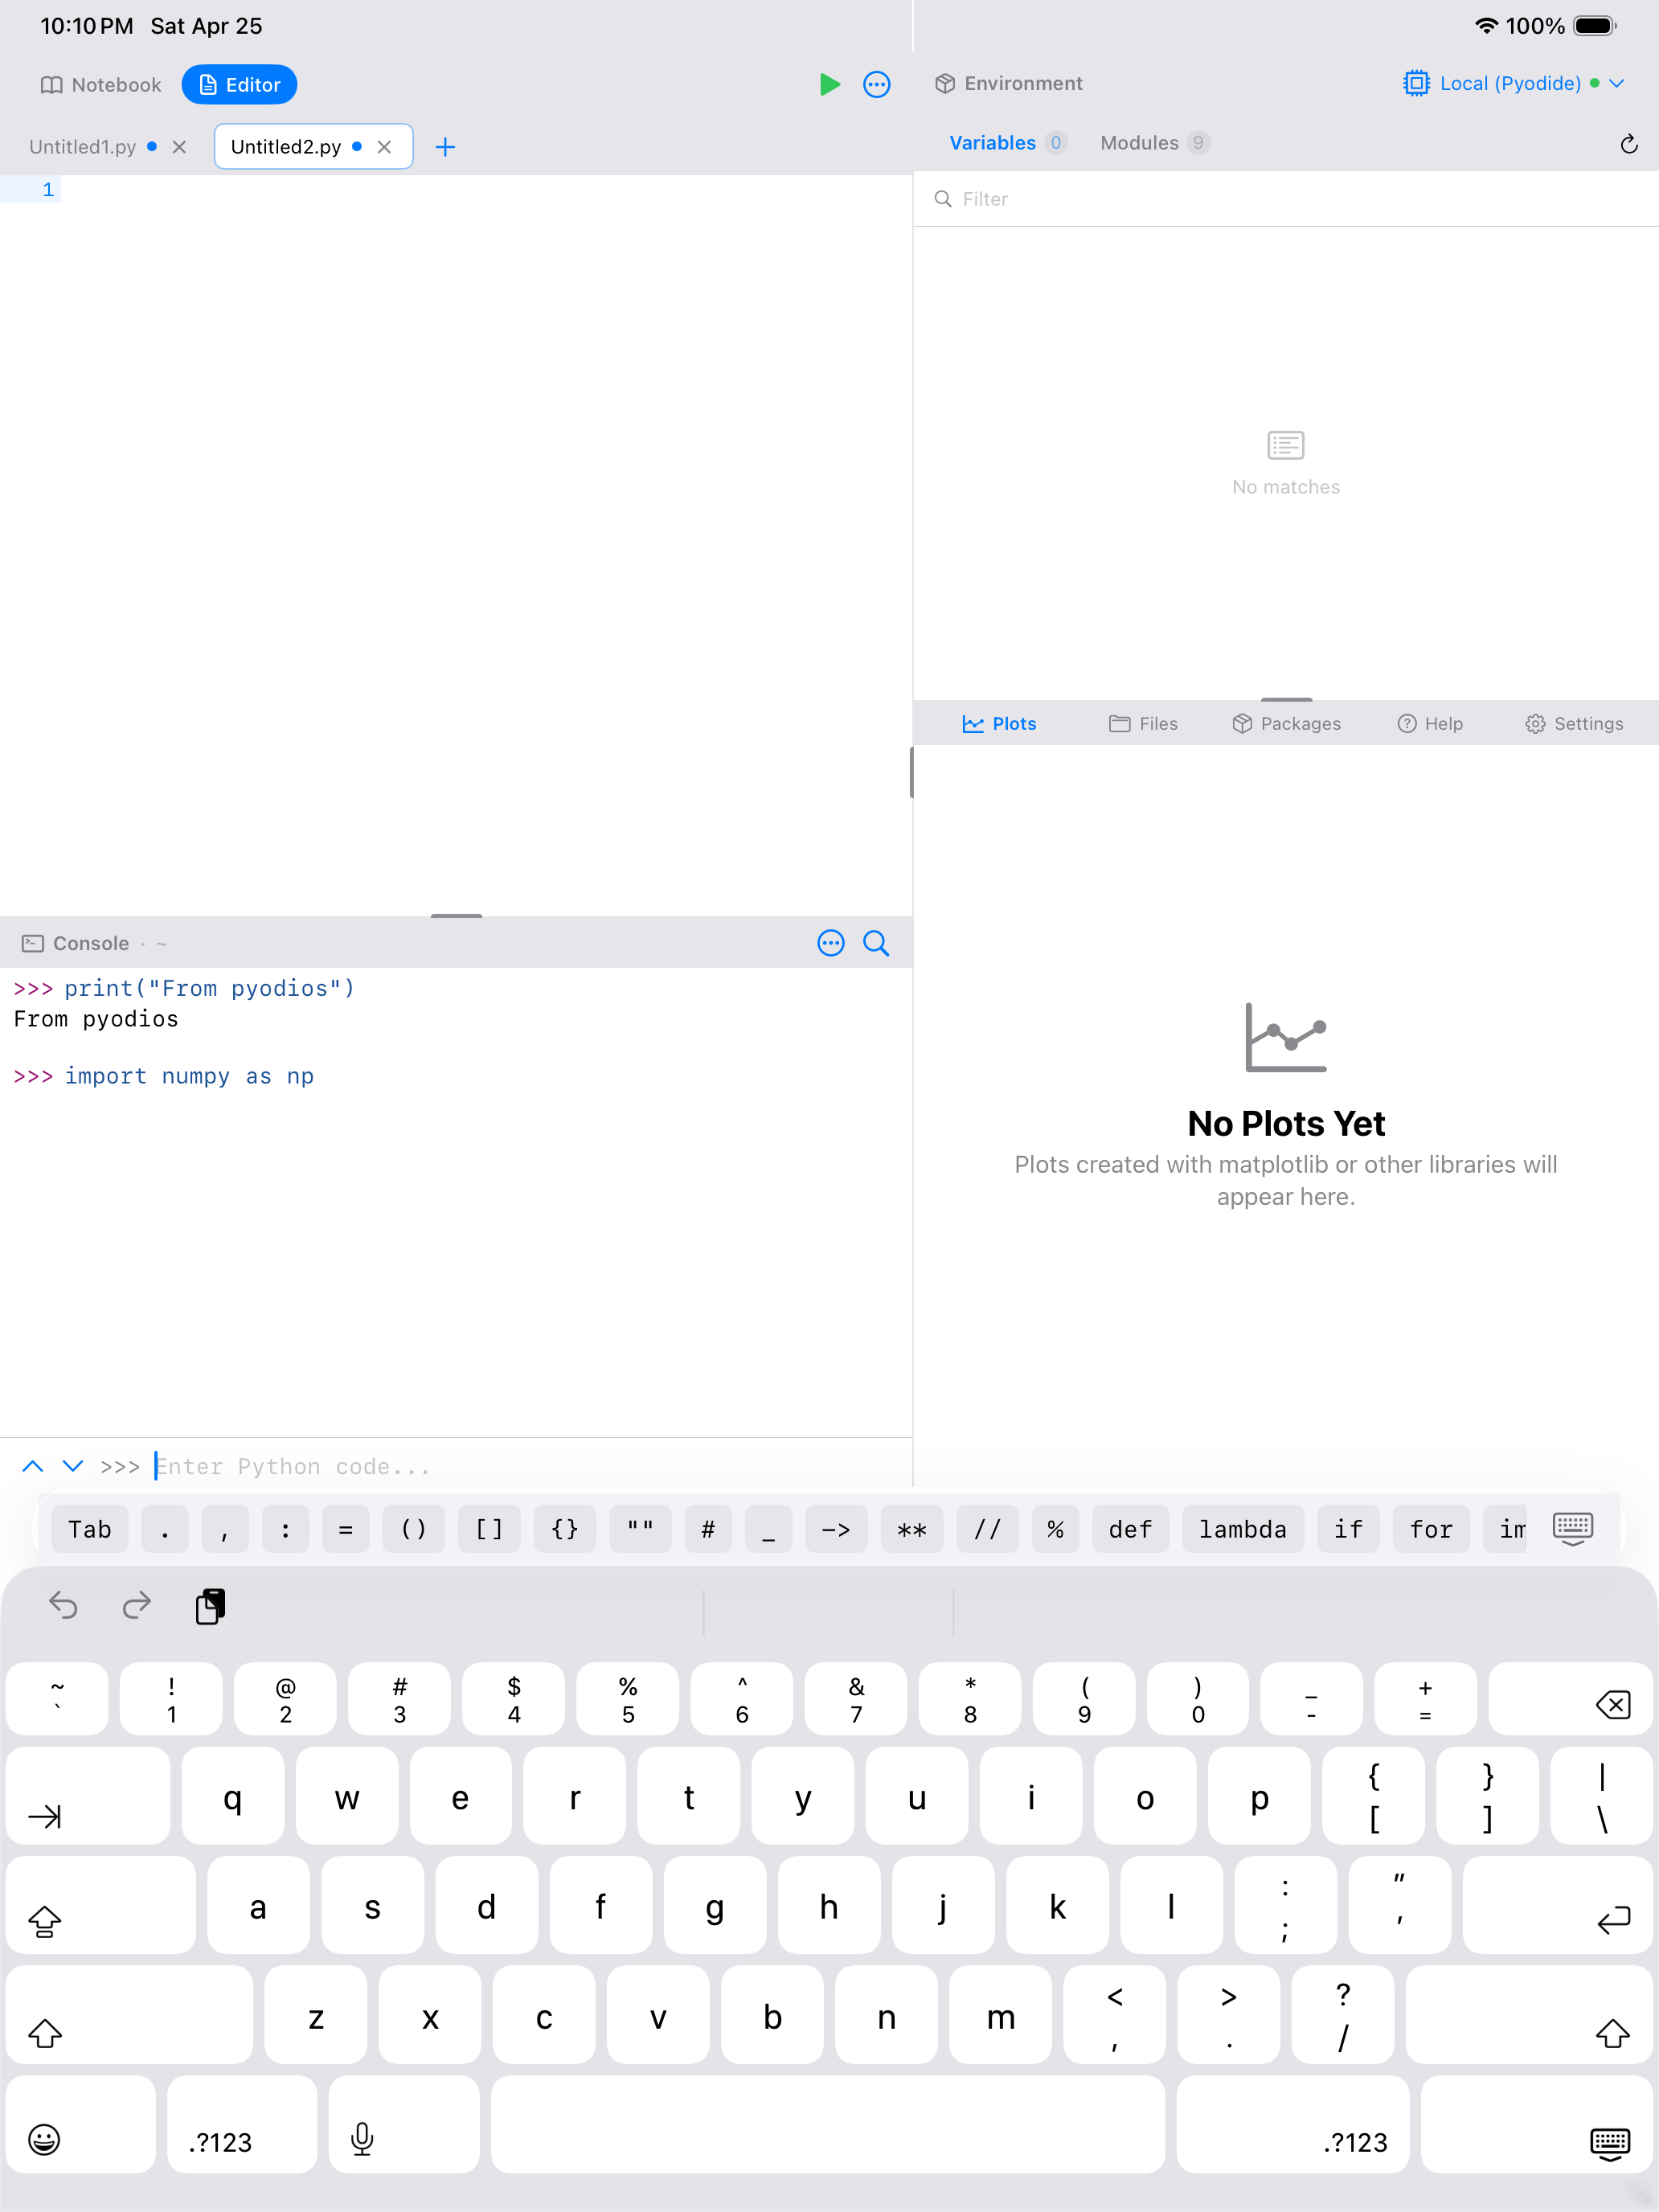
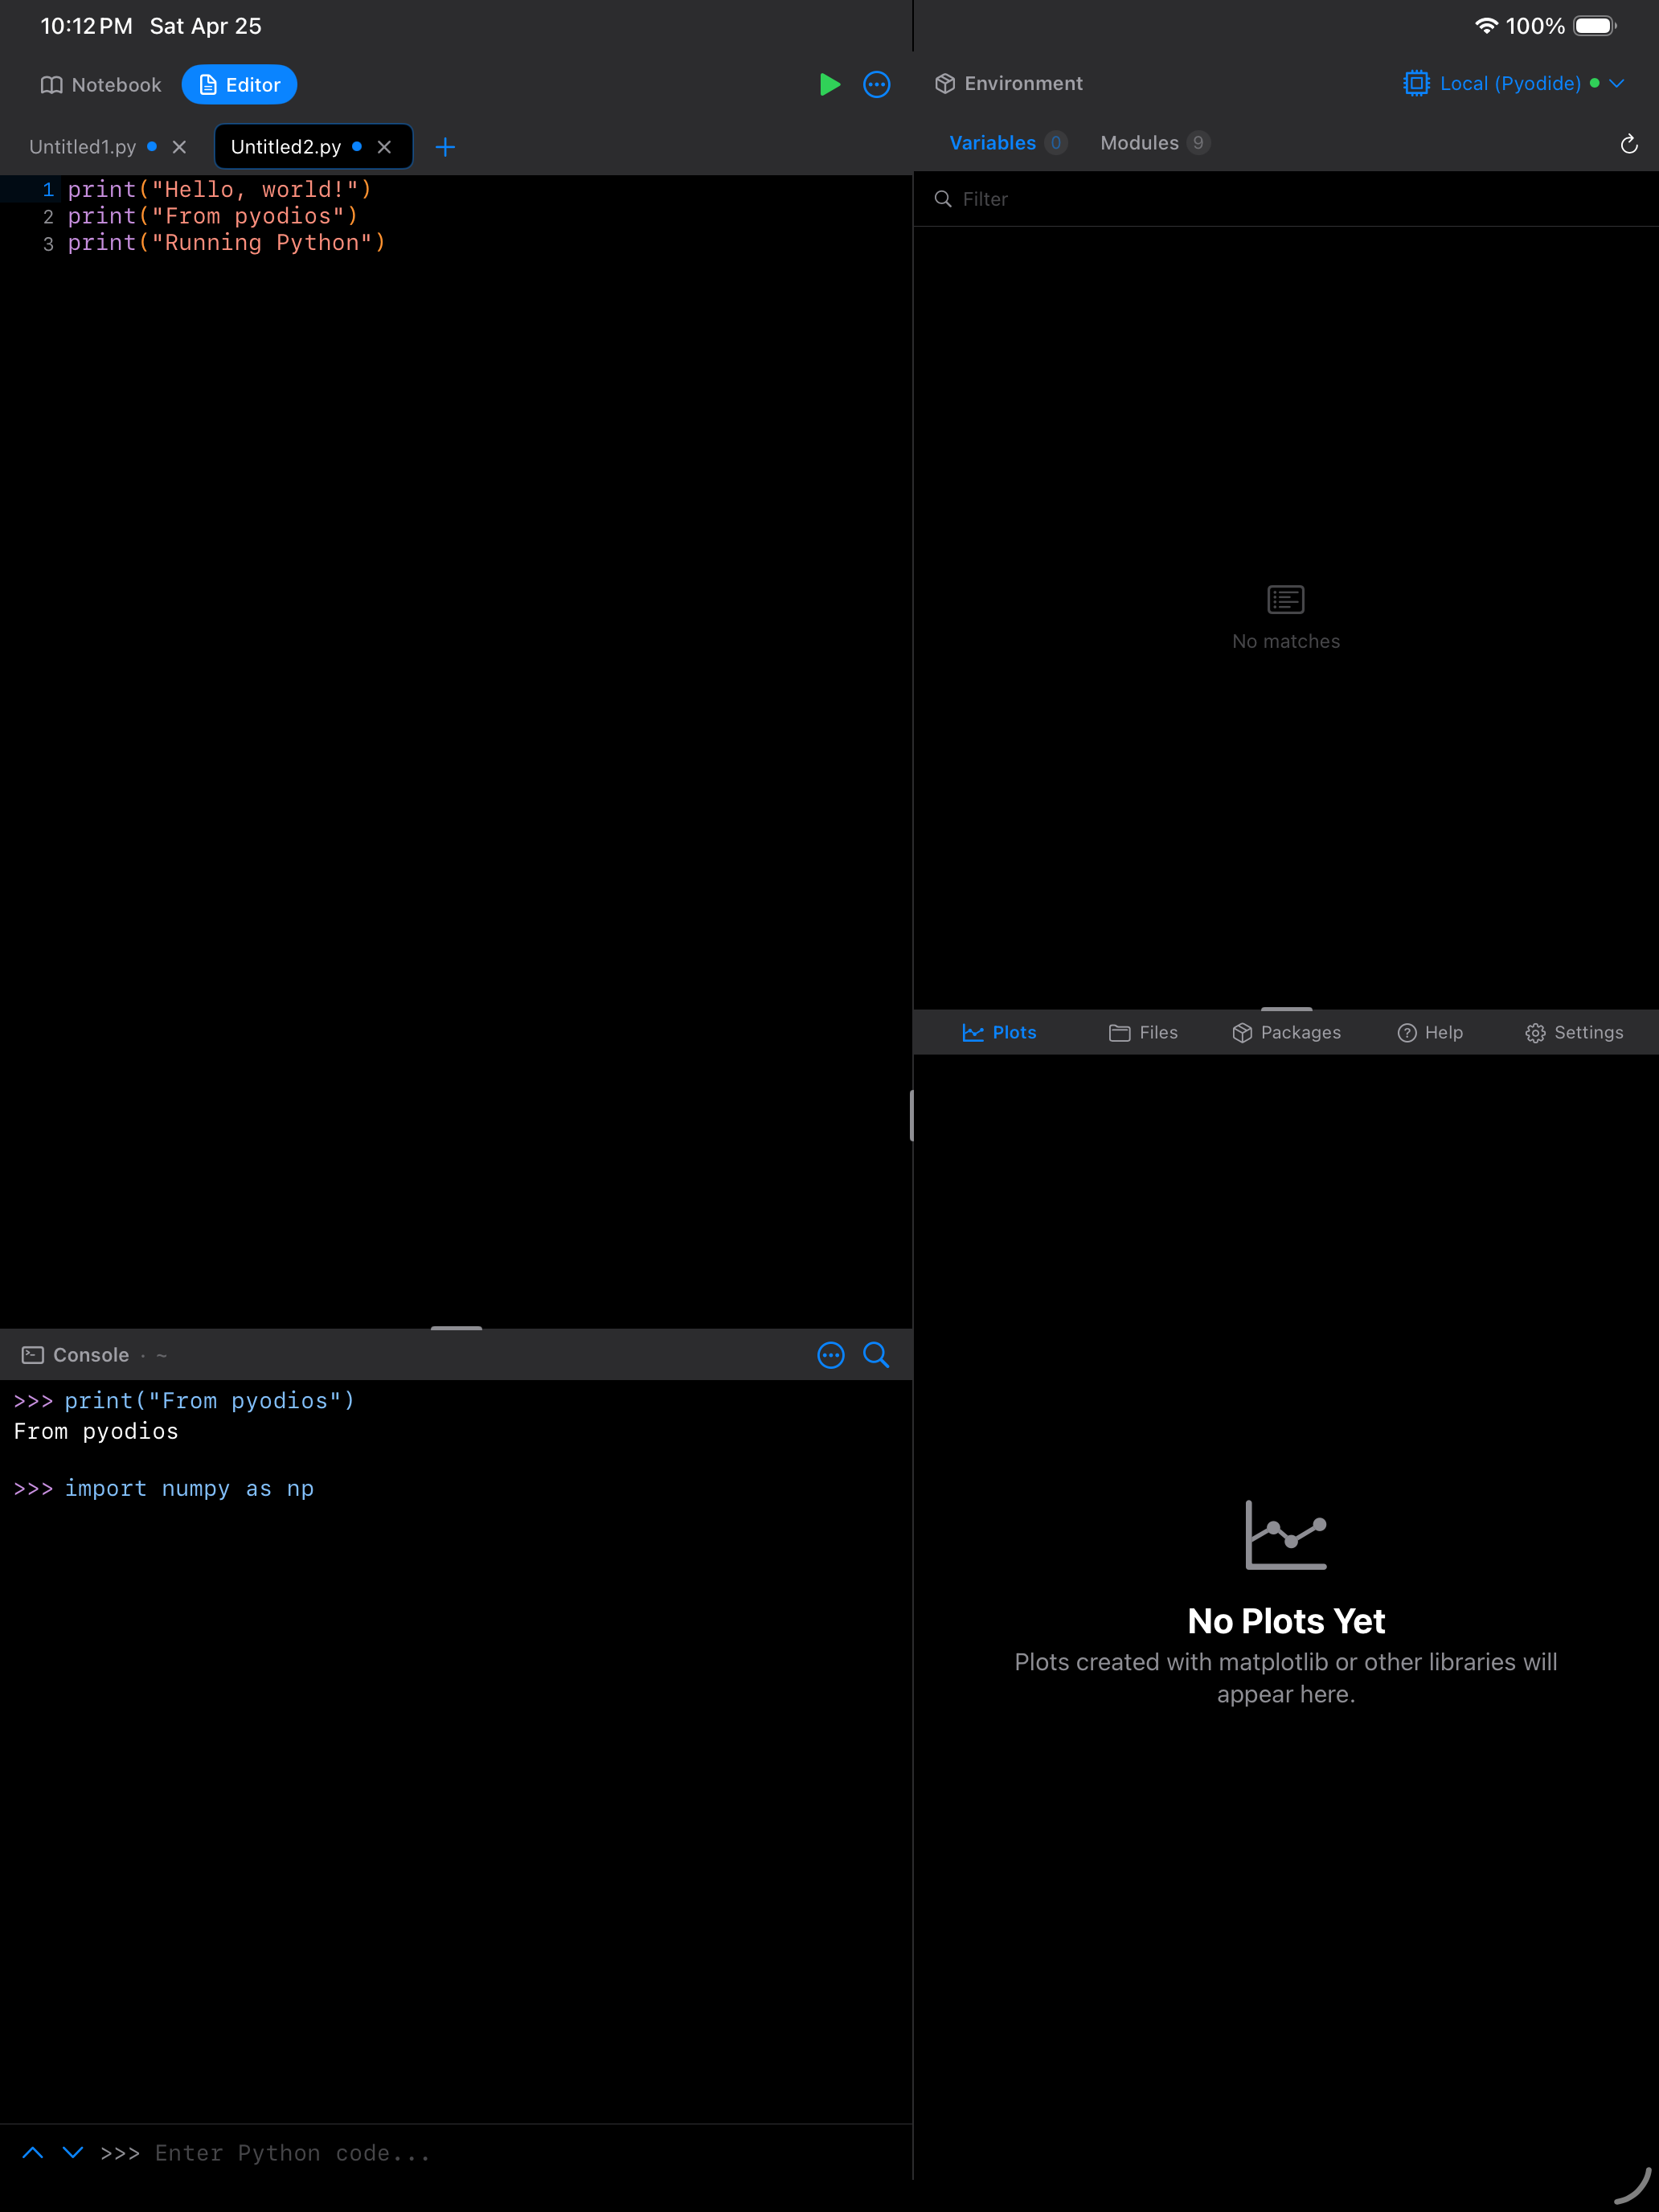
As you type, the Editor suggests function names, variable names, module members, and keyword arguments. Suggestions appear in a popup below the cursor; tap one to insert it. When you type the opening parenthesis of a function call, signature help shows the function’s parameters so you know what arguments it expects.
Snippets
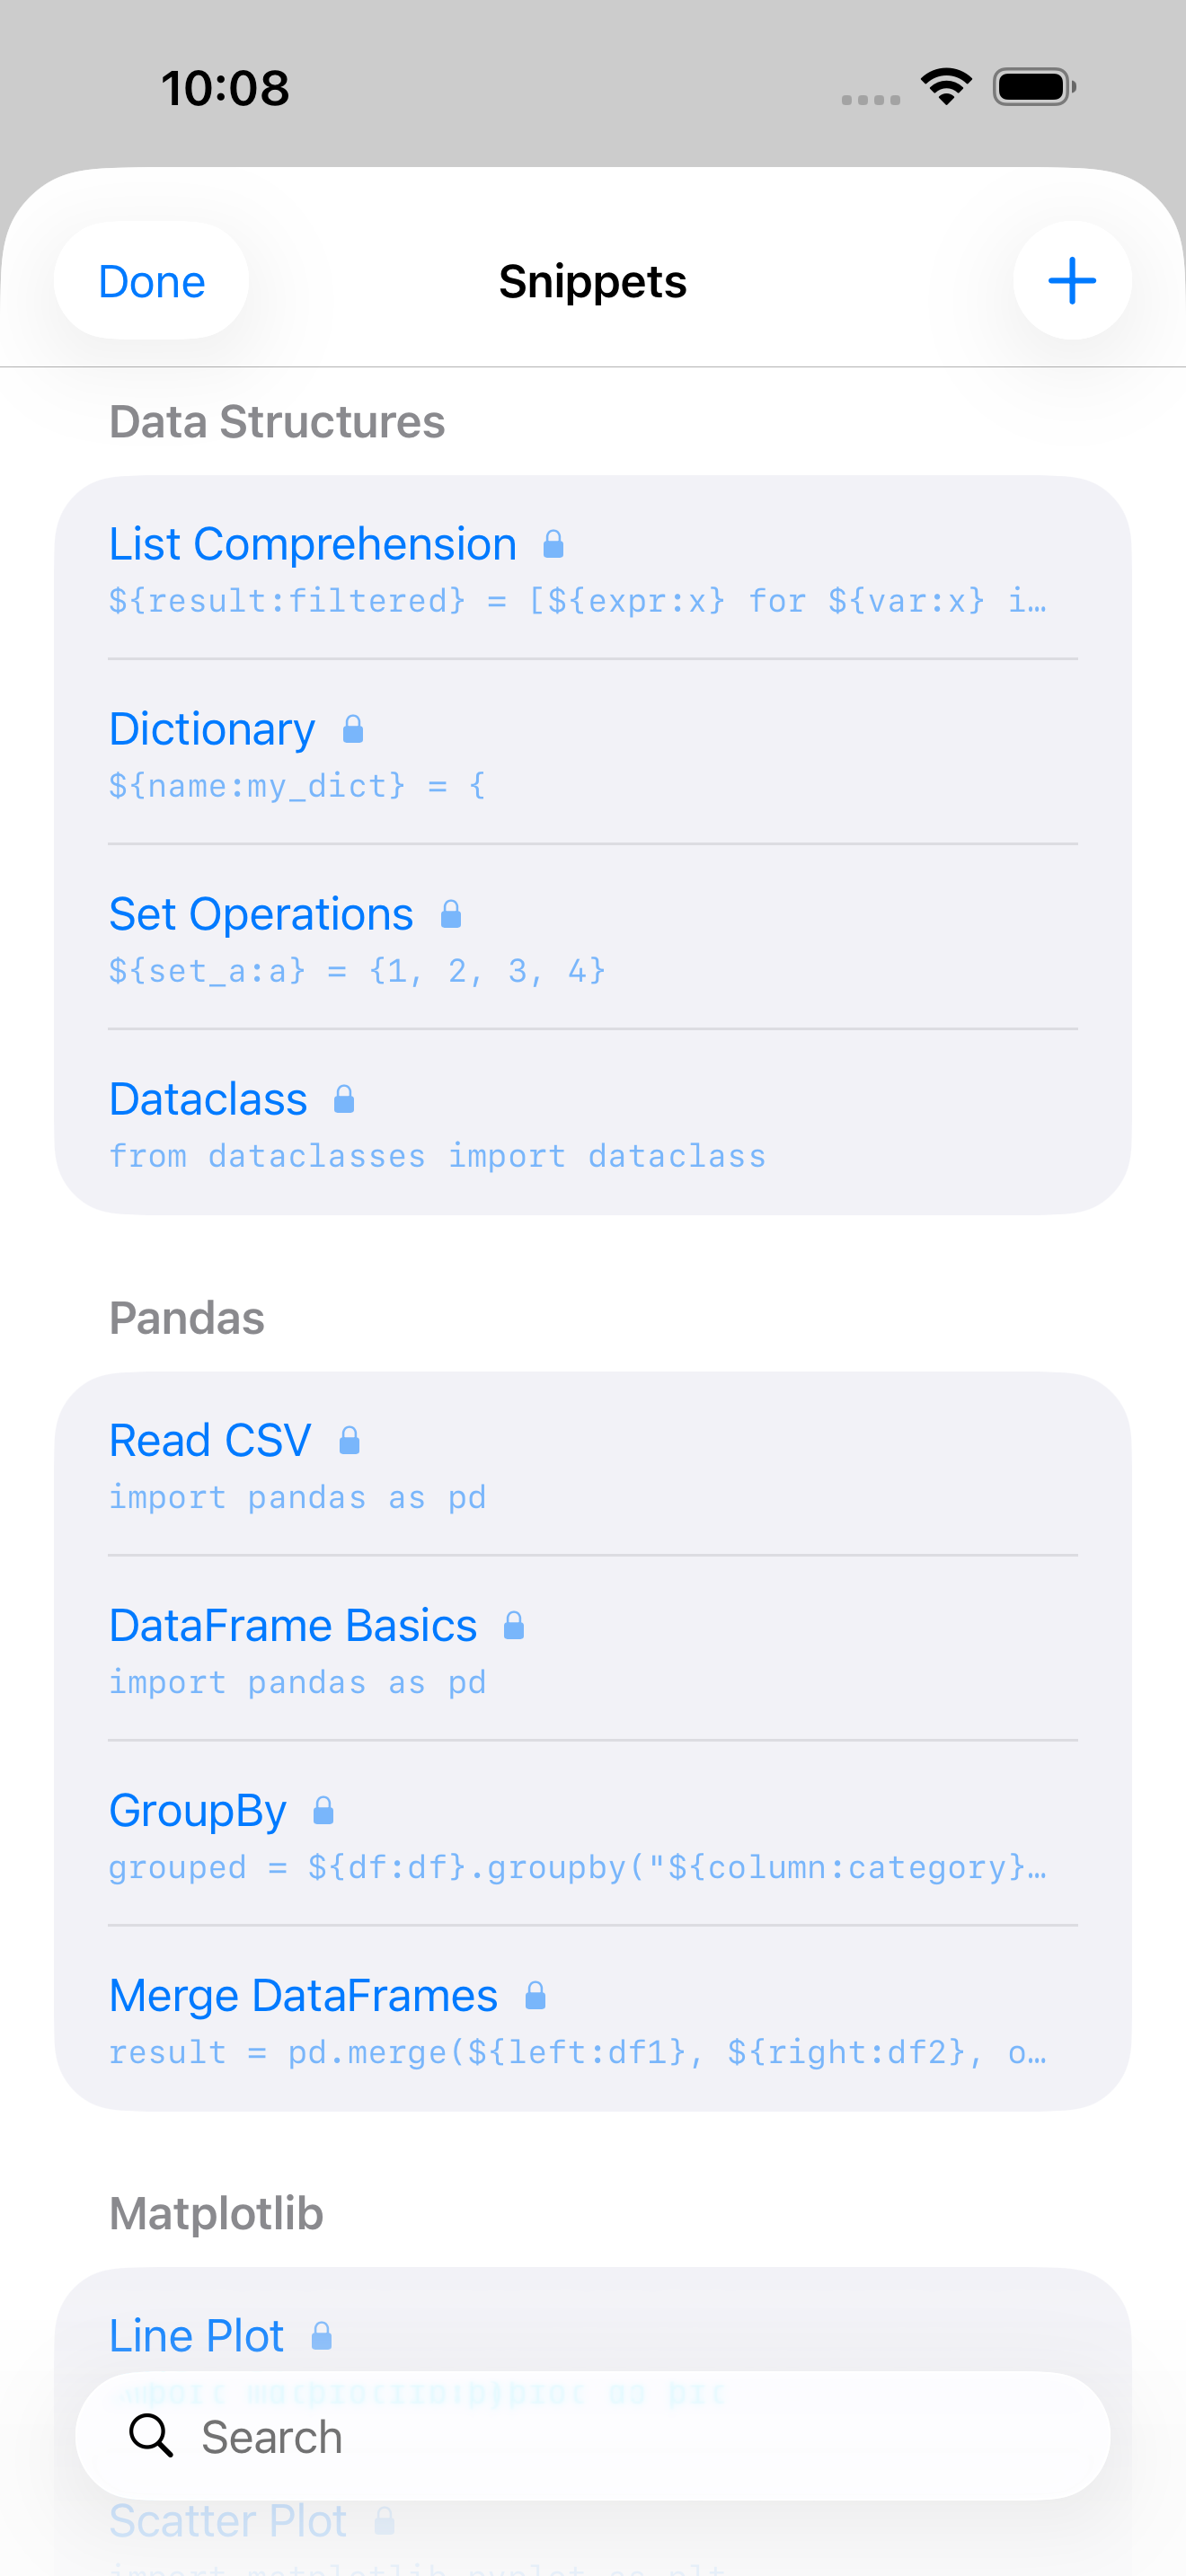
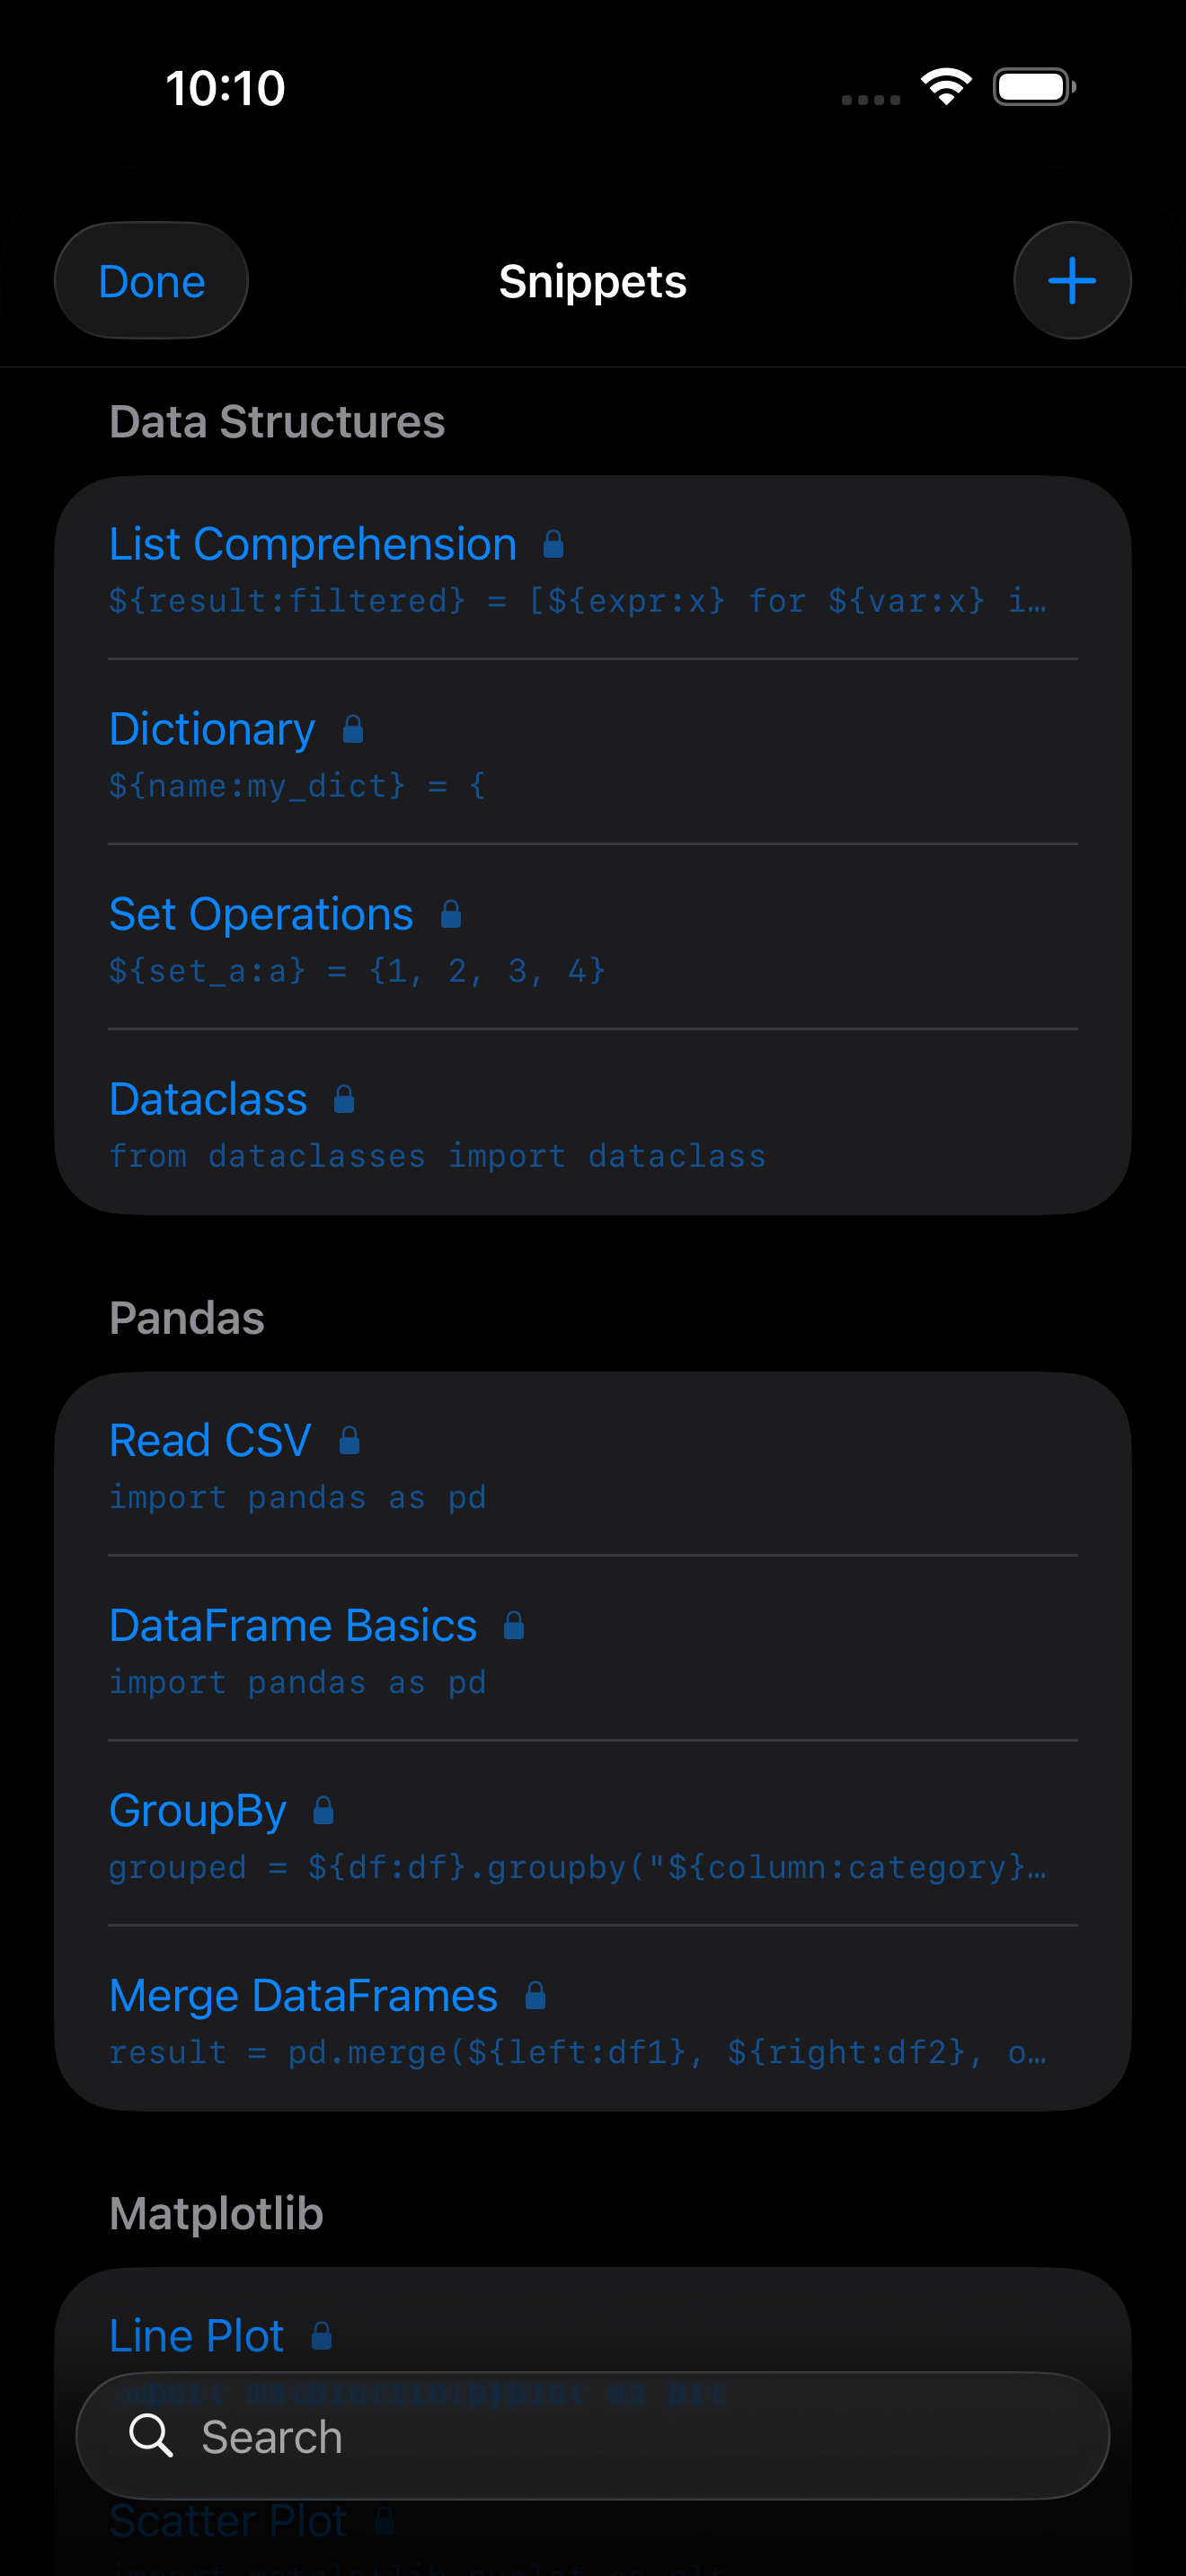
When you want a quick starting point, the Snippets feature provides pre-built Python code templates organized by category. Open it from the … menu (Editor actions) and browse templates covering common patterns like creating DataFrames, plotting, writing classes, working with files, and more.
Each snippet uses placeholder syntax. After inserting one, you can quickly fill in the variable names and values relevant to your task. You can also create your own custom snippets for code patterns you use frequently.
Snippets are a great way to learn Python patterns too. Insert one, read through it, and experiment with modifying it to see what changes.
Multi-file Tabs
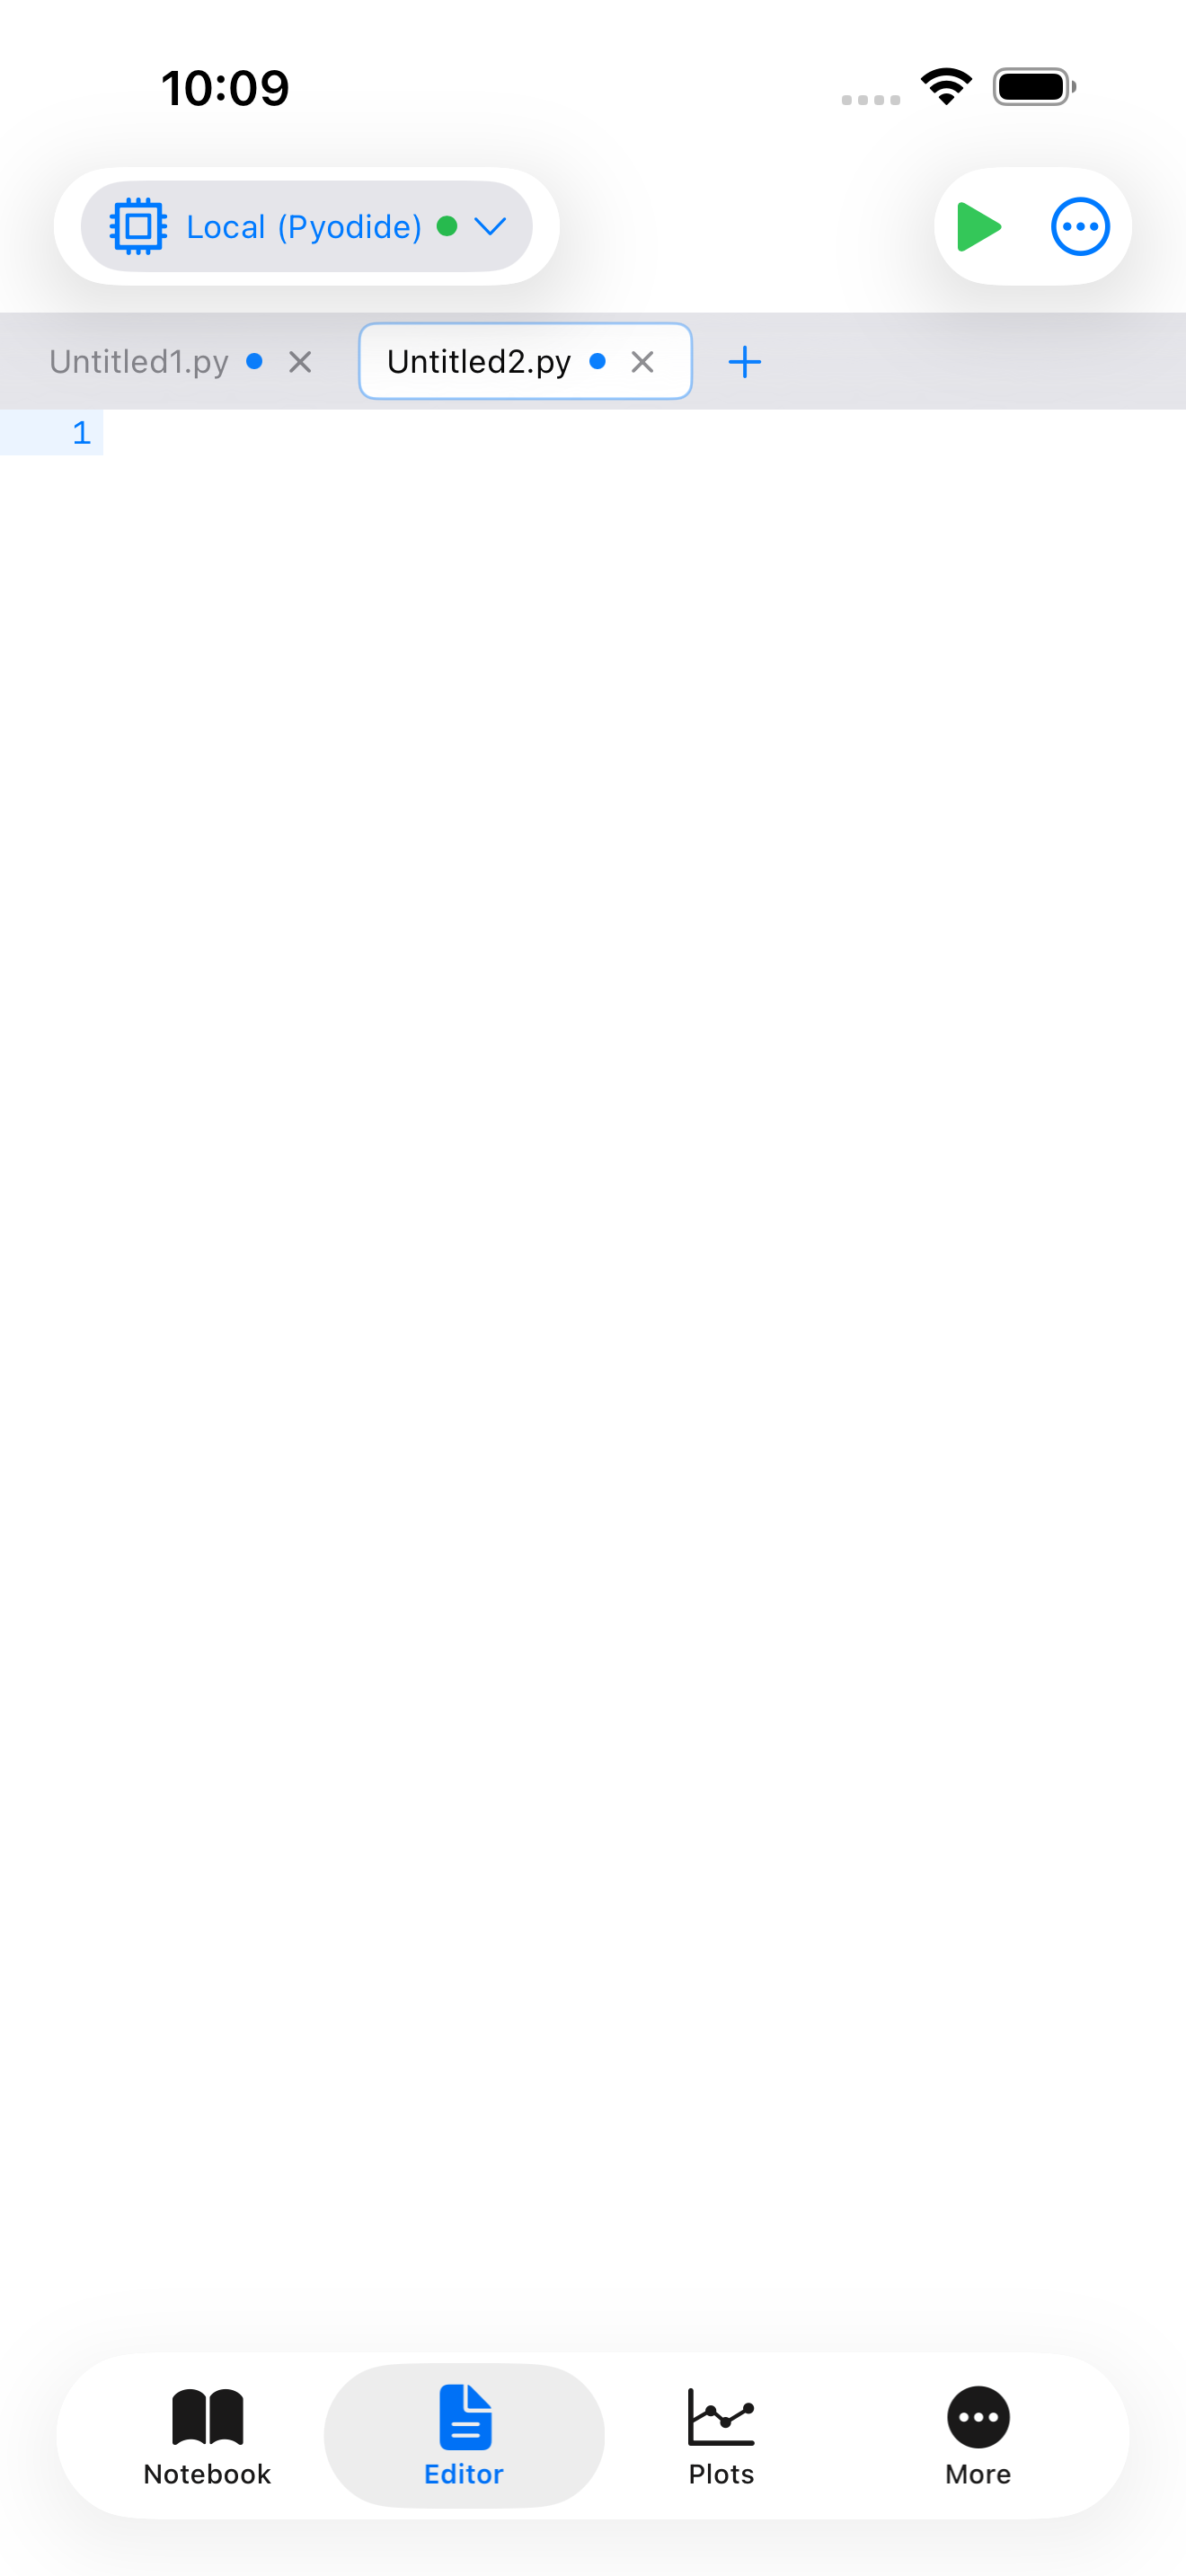
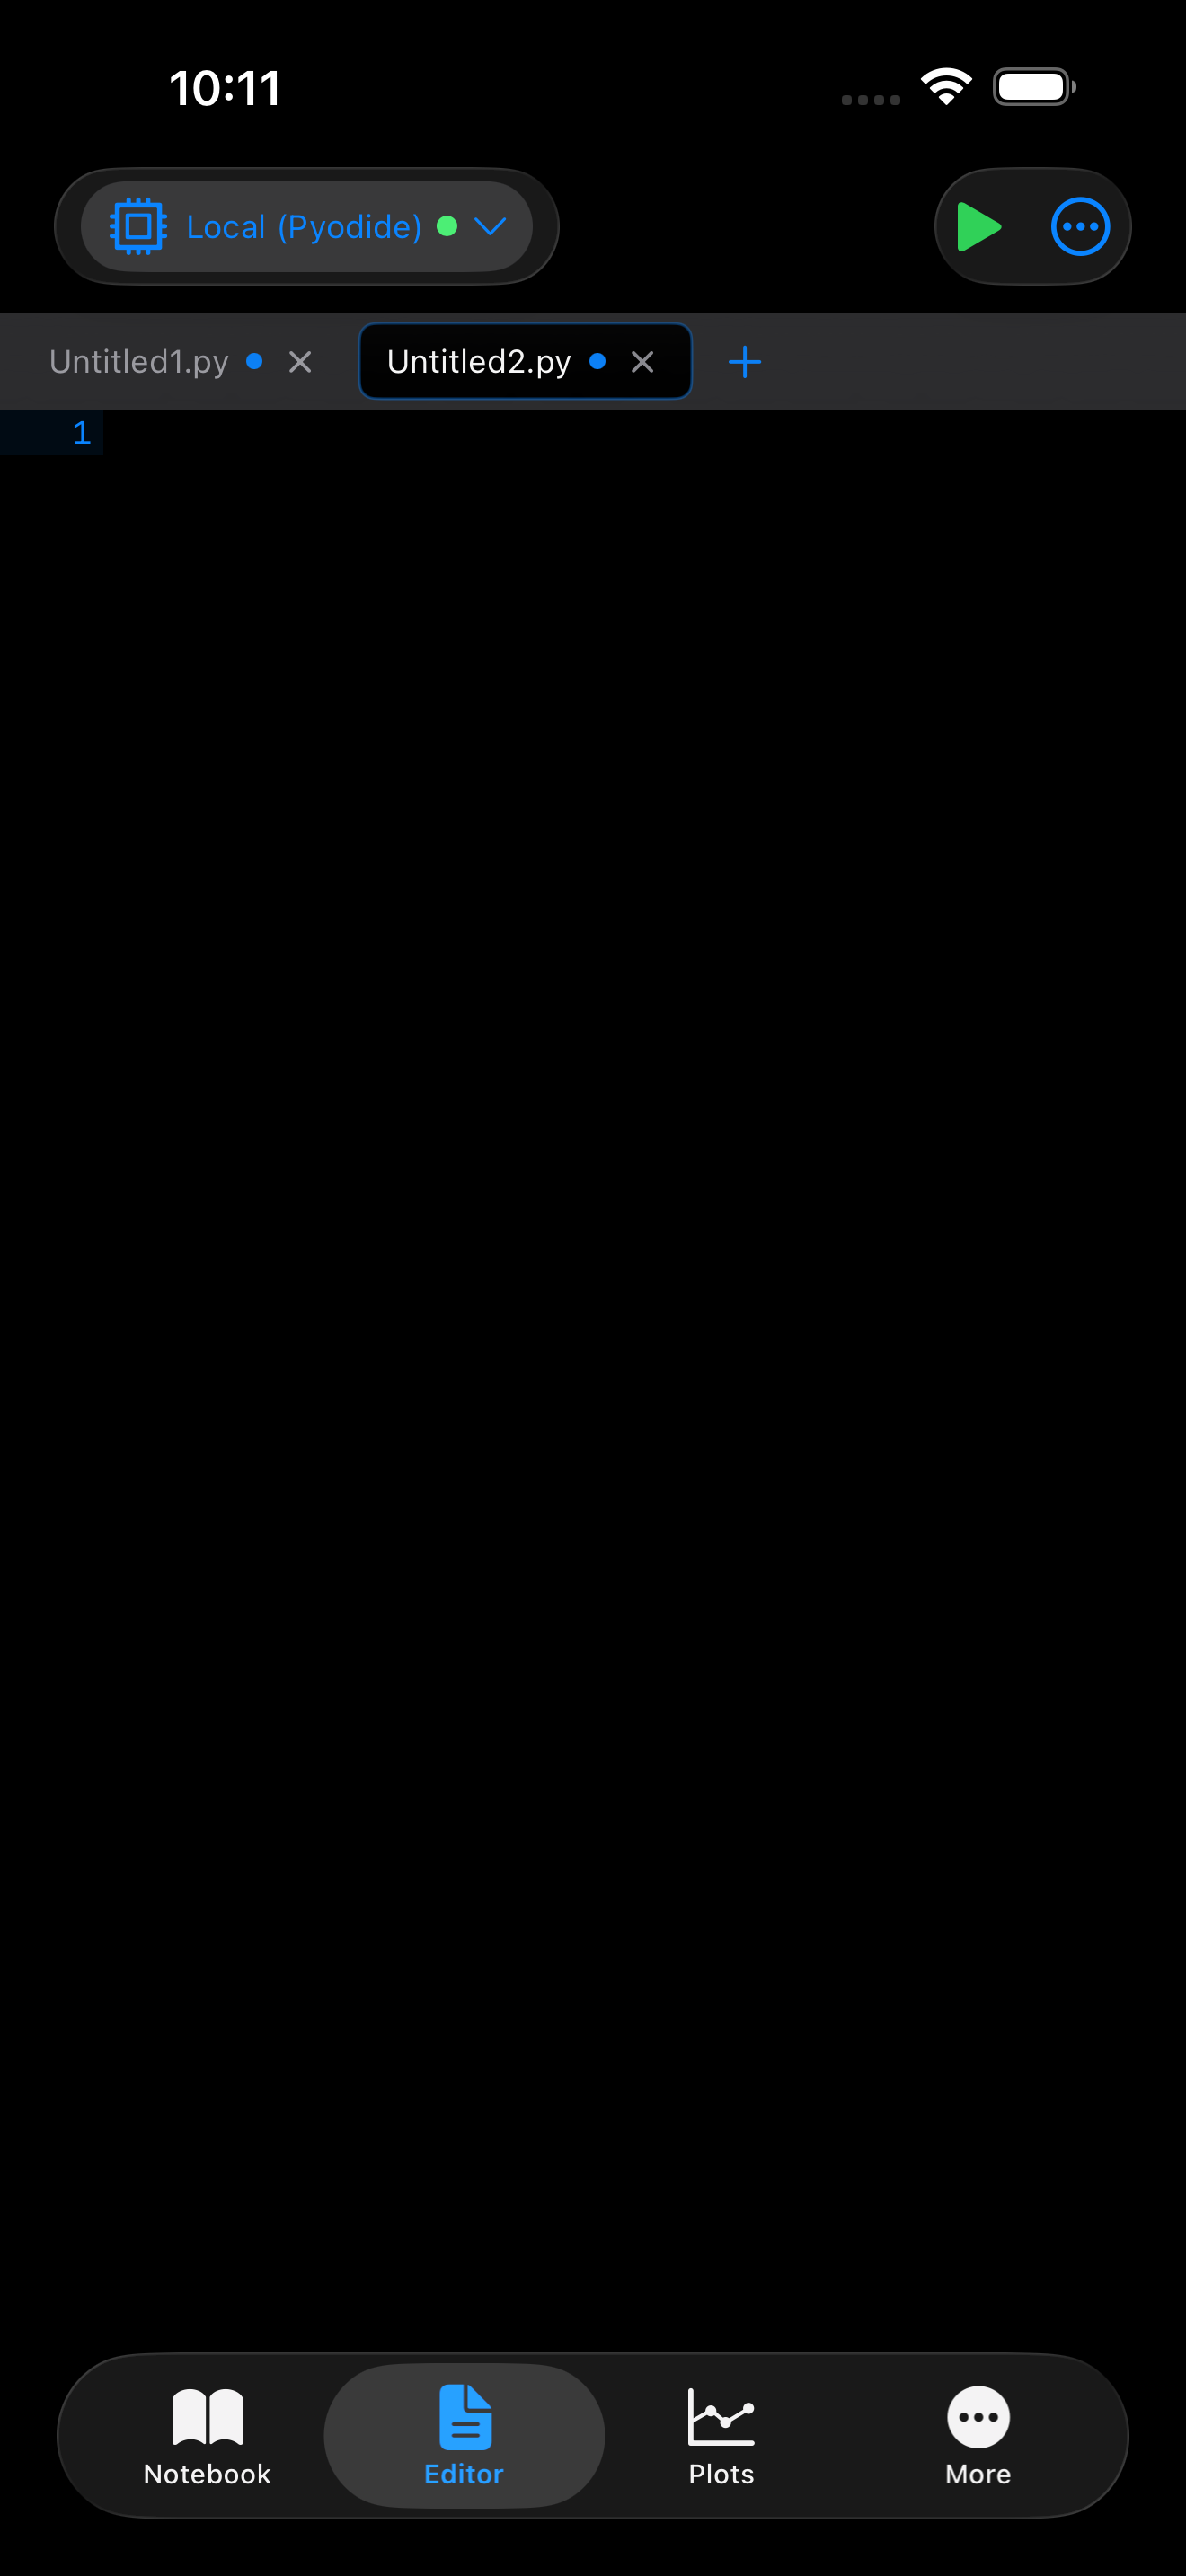
The Editor supports multiple open files through a tab bar at the top of the screen. Tap a tab to switch to that file, tap the x on a tab to close it, and tap the + button to create a new empty tab. A blue dot on a tab indicates unsaved changes.
For file operations, tap the document icon in the top-left toolbar to open the File menu:
- New Tab: creates a fresh, empty editor tab
- Open…: opens the iOS file picker so you can load any
.pyor text file from Files, iCloud Drive, or other storage providers - Open Recent: quickly reopen files you have worked on before
- Save: saves the current tab (you will be prompted for a filename if the file is new)
- Export to Gist: shares your code as a GitHub Gist
Files are saved as .py scripts in the app’s project storage. You can also find them in the Files tab.
Running Your Code
There are two ways to execute code from the Editor, and the run button color tells you which mode you are in:
- Green play button: runs your entire script from top to bottom. This is what you get when no text is selected.
- Blue play button: runs only the selected text. Select a portion of your code (by long-pressing and dragging), and the play button turns blue to indicate it will run just that selection.
Here is an example script you might write and run:
def fibonacci(n):
    """Generate first n Fibonacci numbers."""
    fib = [0, 1]
    for i in range(2, n):
        fib.append(fib[-1] + fib[-2])
    return fib

result = fibonacci(10)
print(result)
Output from your script appears in the Output panel at the bottom of the Editor. You can resize this panel by dragging the handle at its top edge, collapse it by tapping the chevron, or double-tap the divider to toggle it open and closed.
Running a selection is incredibly useful for debugging. If your script is not producing the result you expect, select just one section at a time to see where things go off track.
Script Dependencies (PEP 723)
A script can say which packages it needs in a comment block at the top, using the format described in PEP 723:
# /// script
# requires-python = ">=3.11"
# dependencies = [
#     "requests<3",
#     "pyyaml",
# ]
# ///

import yaml
This is the same block uv run and other single-file script tools read, so a script you paste in from a gist, a blog post, or a colleague arrives carrying its own dependency list rather than failing on an ImportError a few lines in.
When you tap Run, Pyodios reads the block and checks which of those packages are actually missing. If they are all present, the script just runs and you see nothing. If some are missing, a banner appears naming them:
- Install fetches them with
micropip, then runs your script. - Not Now runs the script without installing, which will usually raise the
ImportErrorthe script was written to avoid.
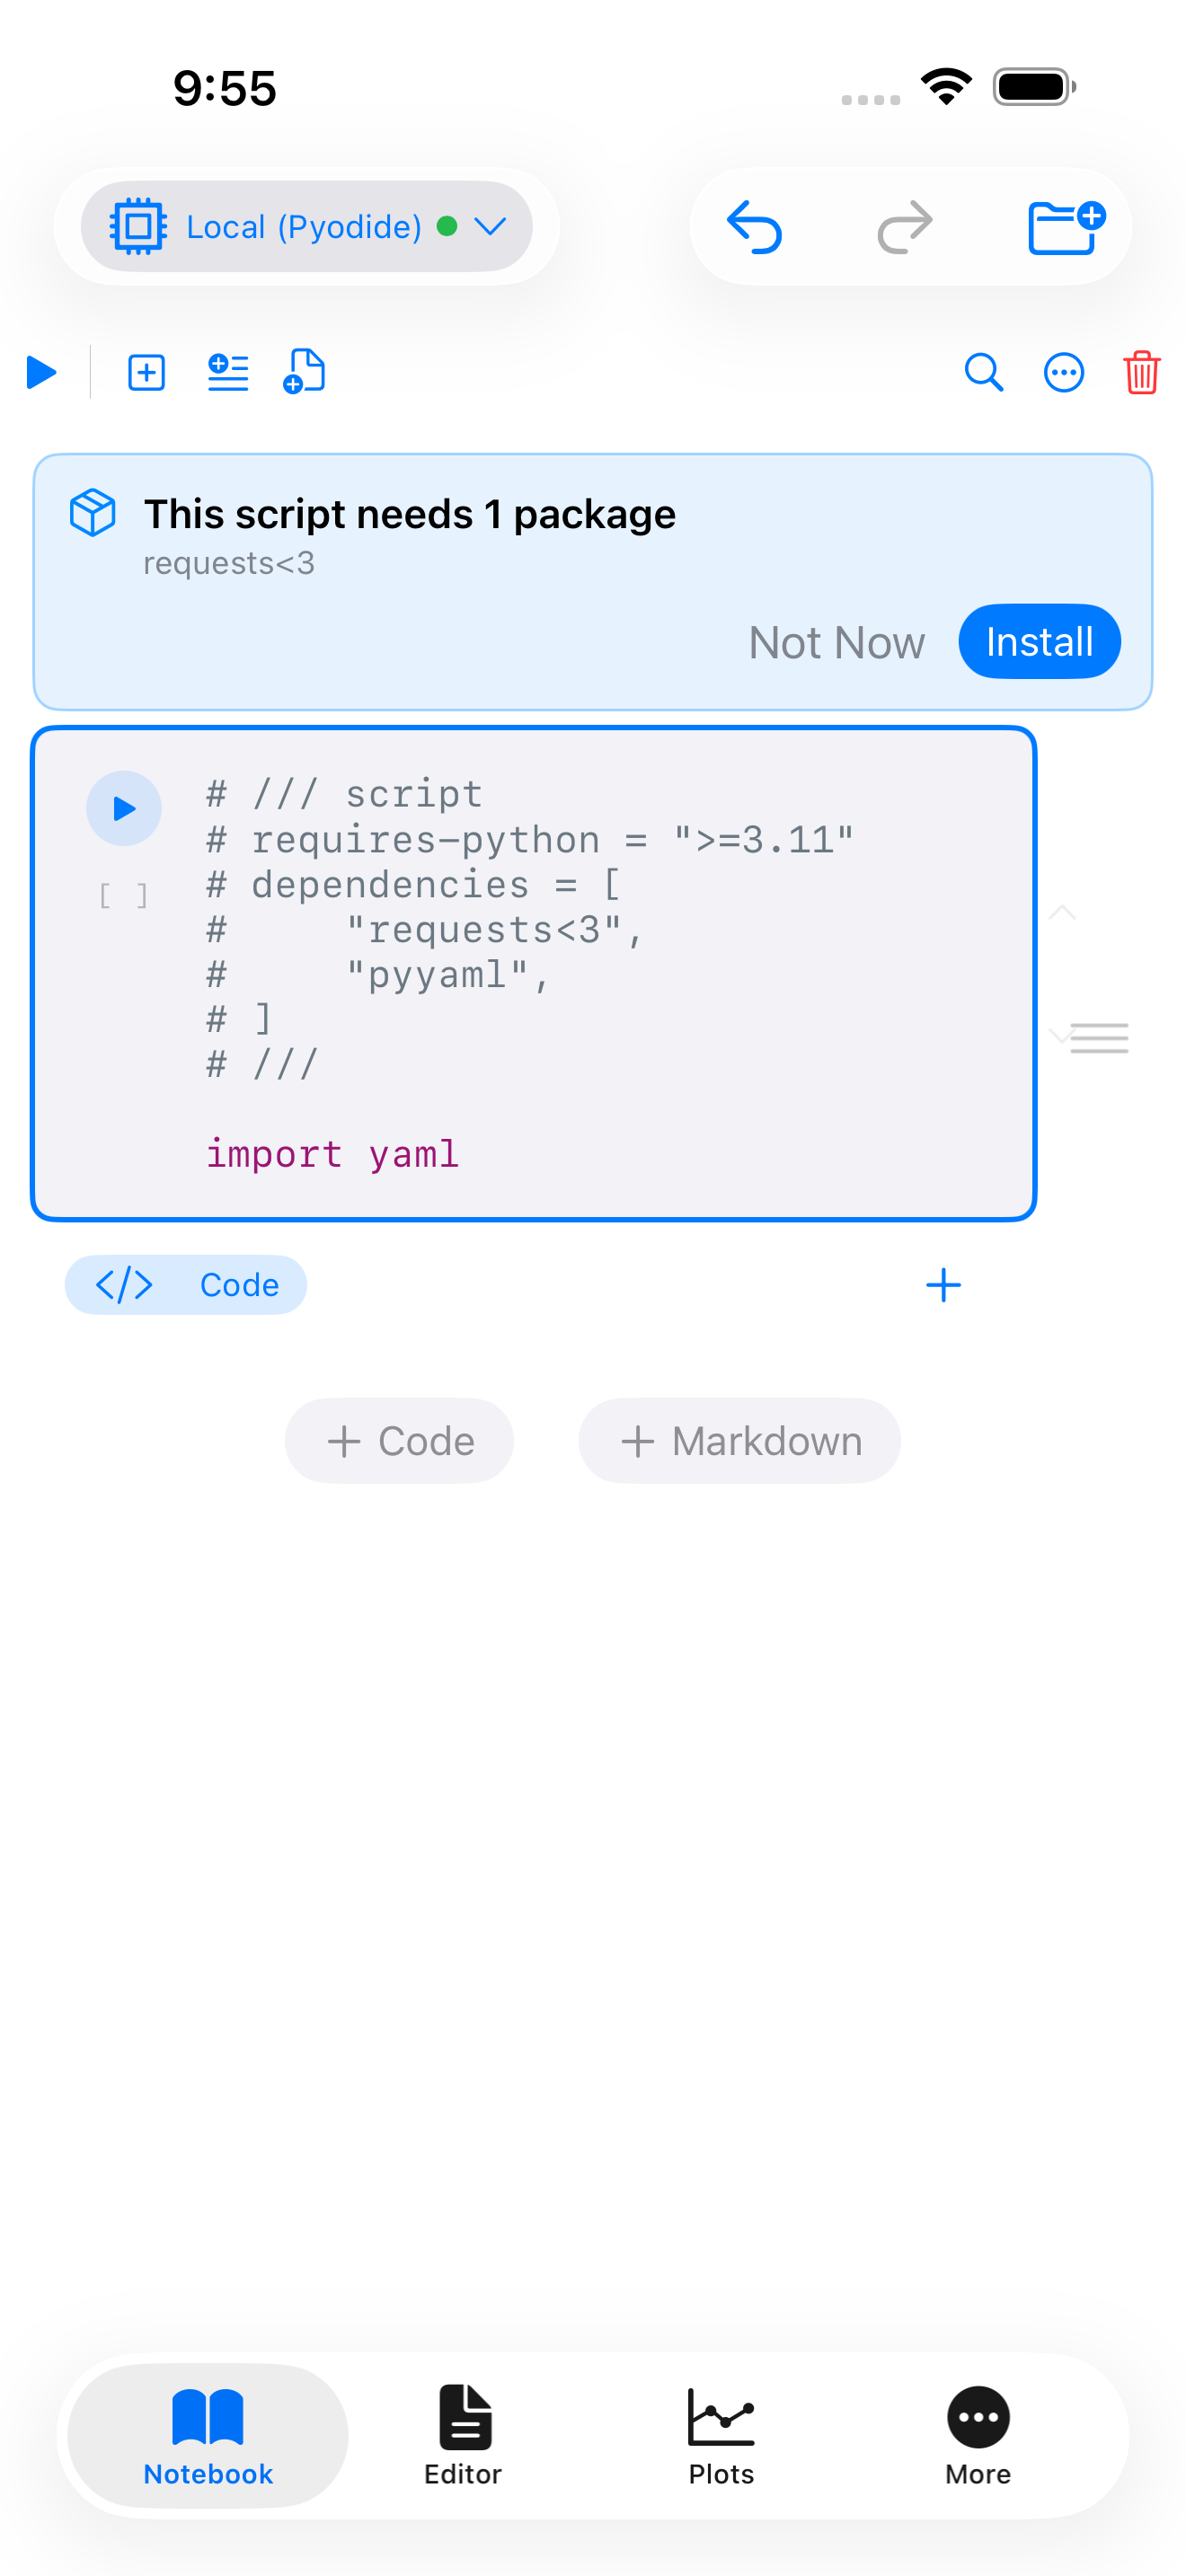
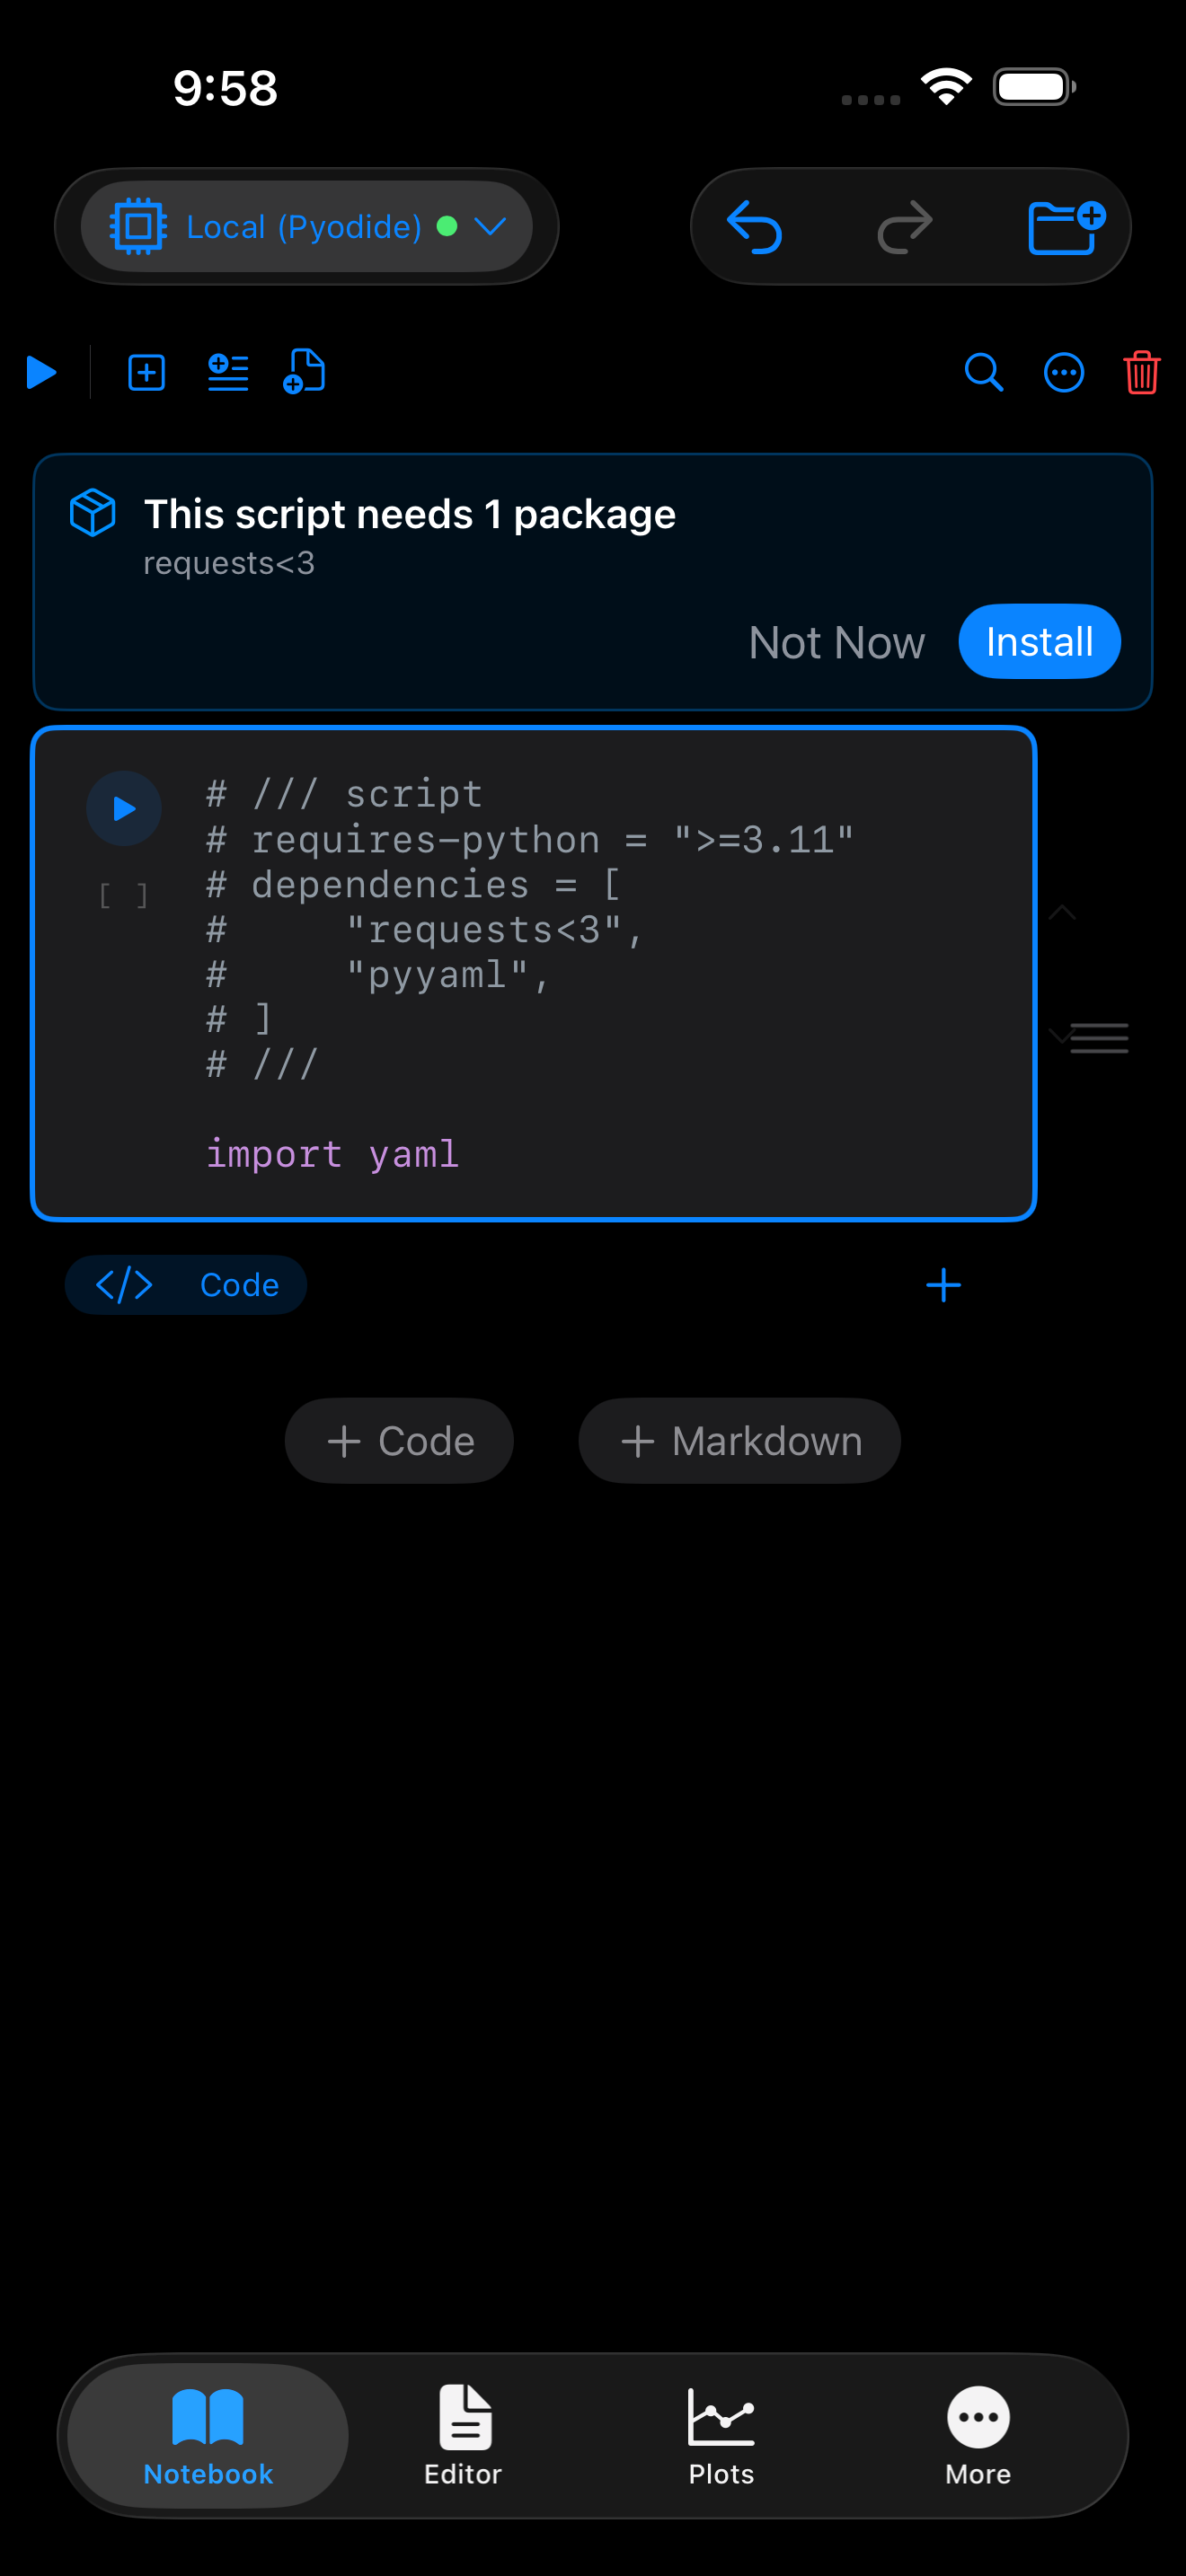
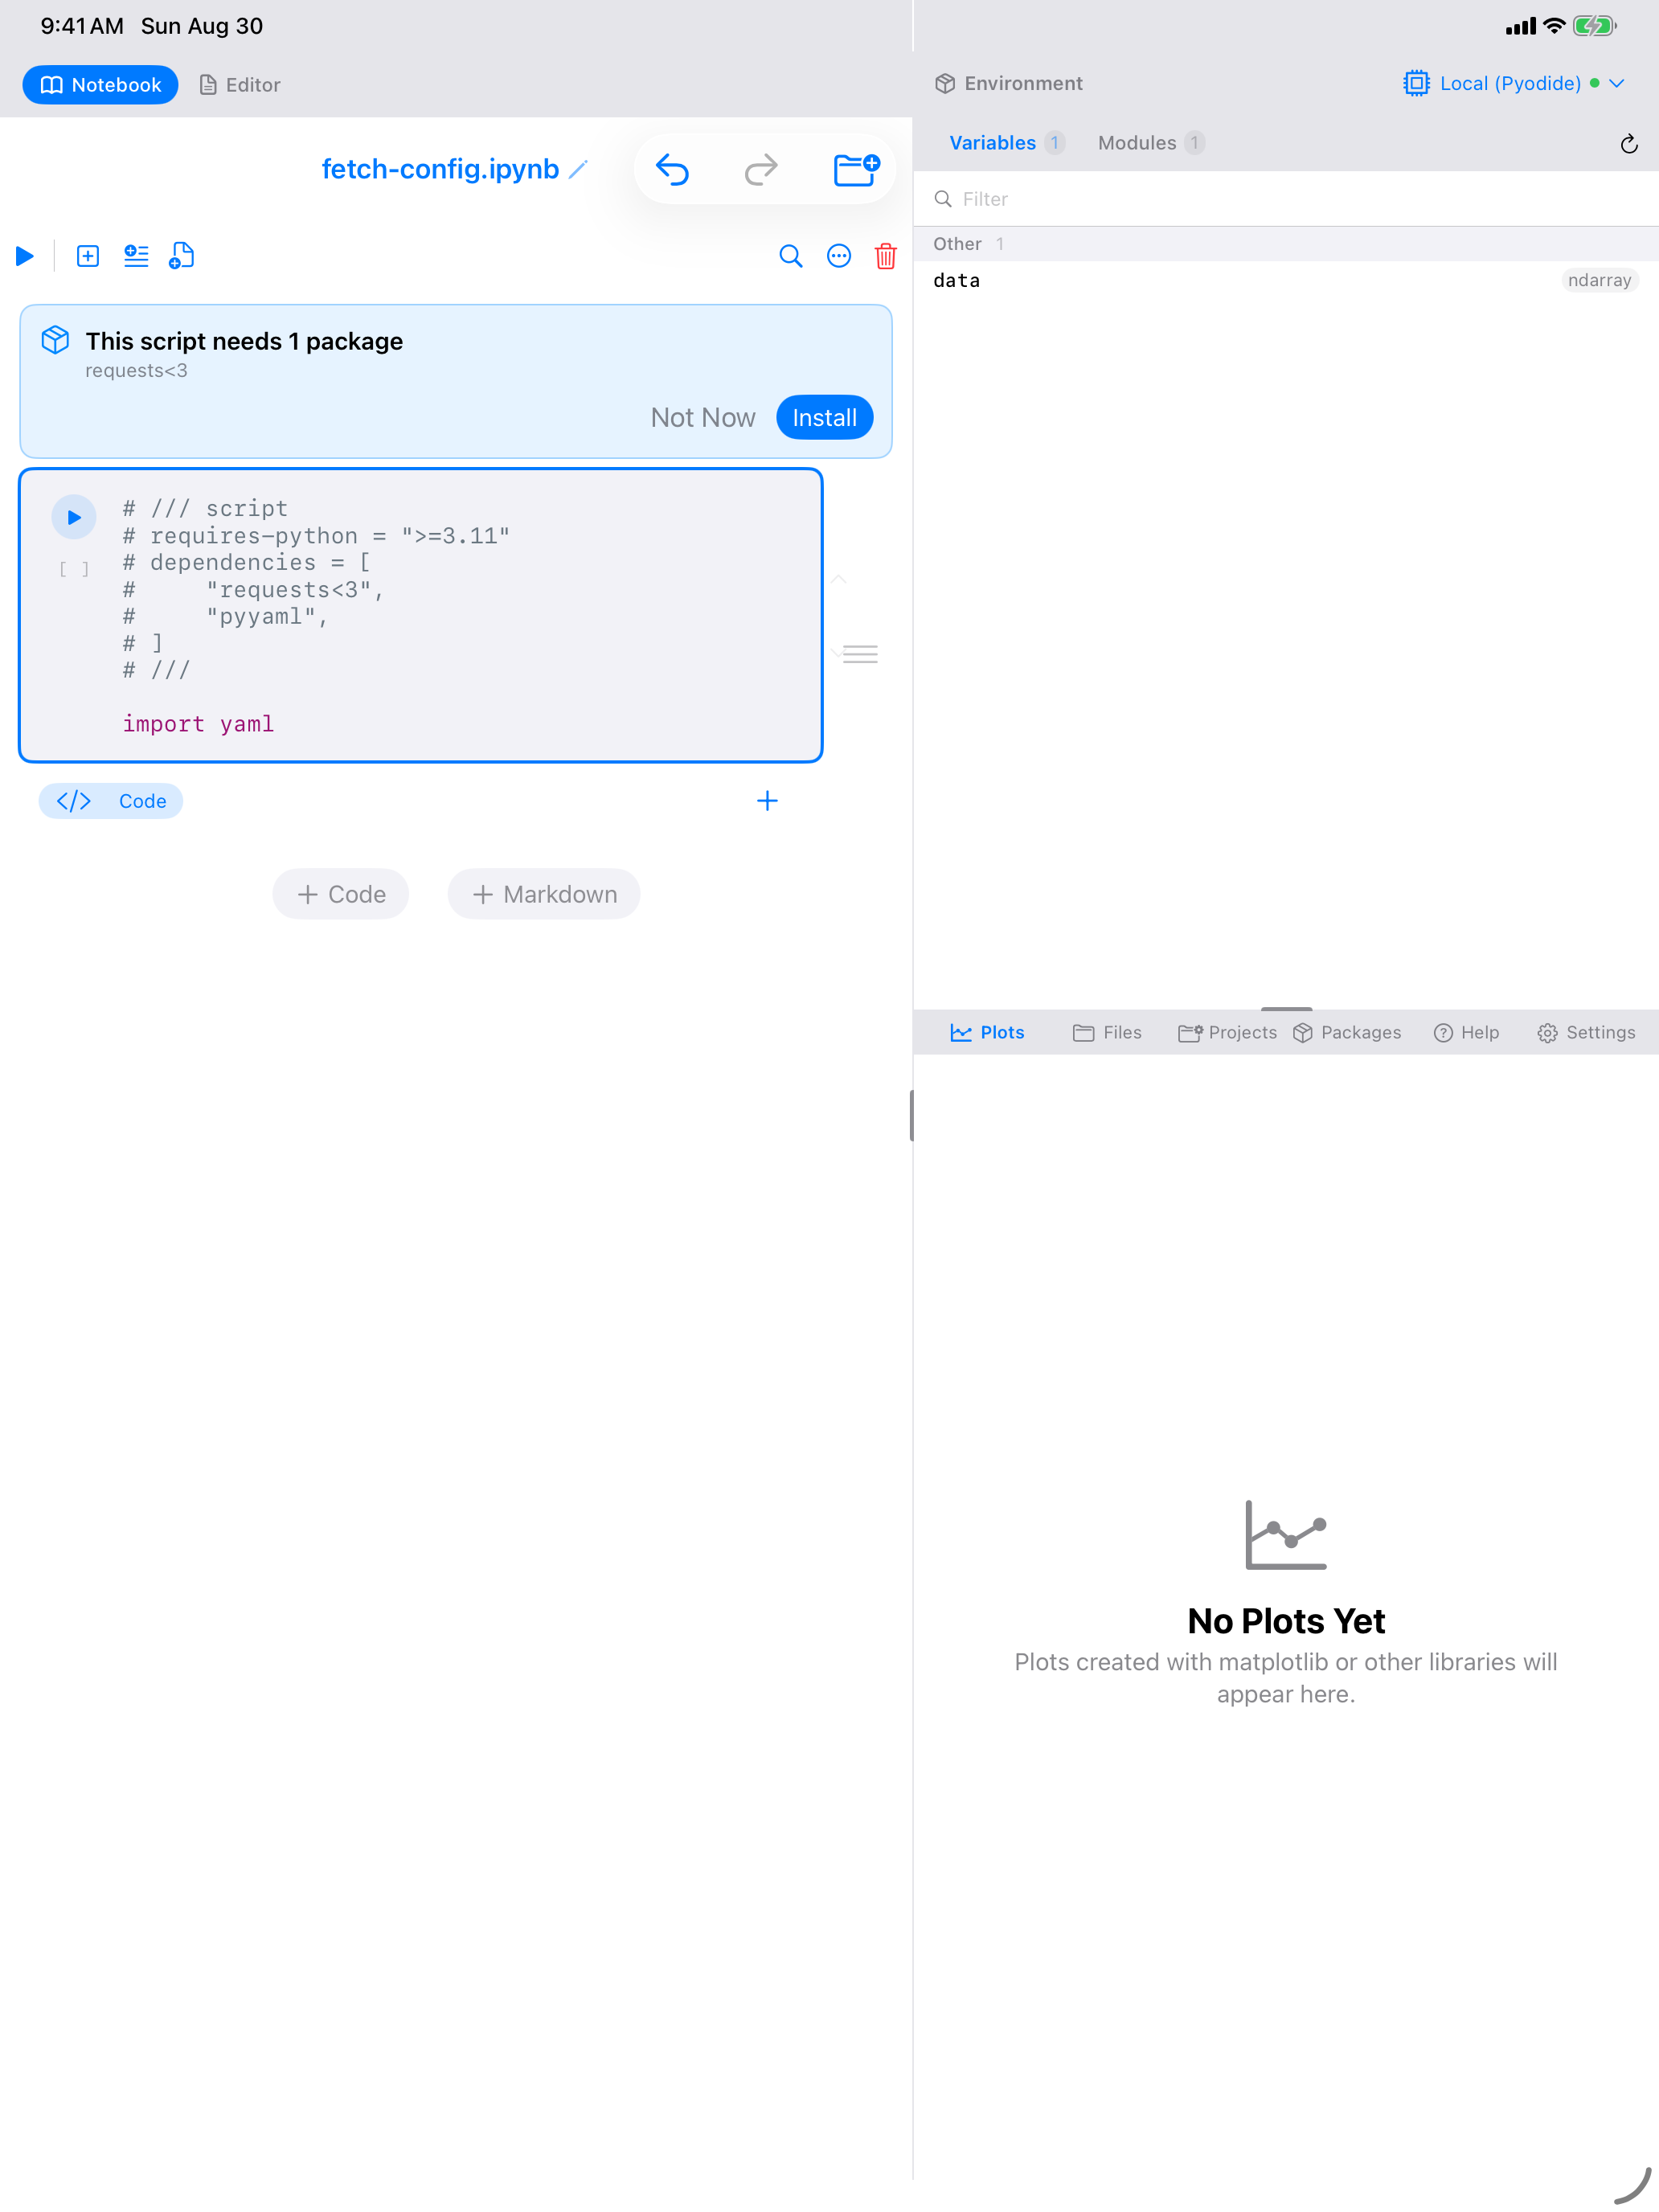
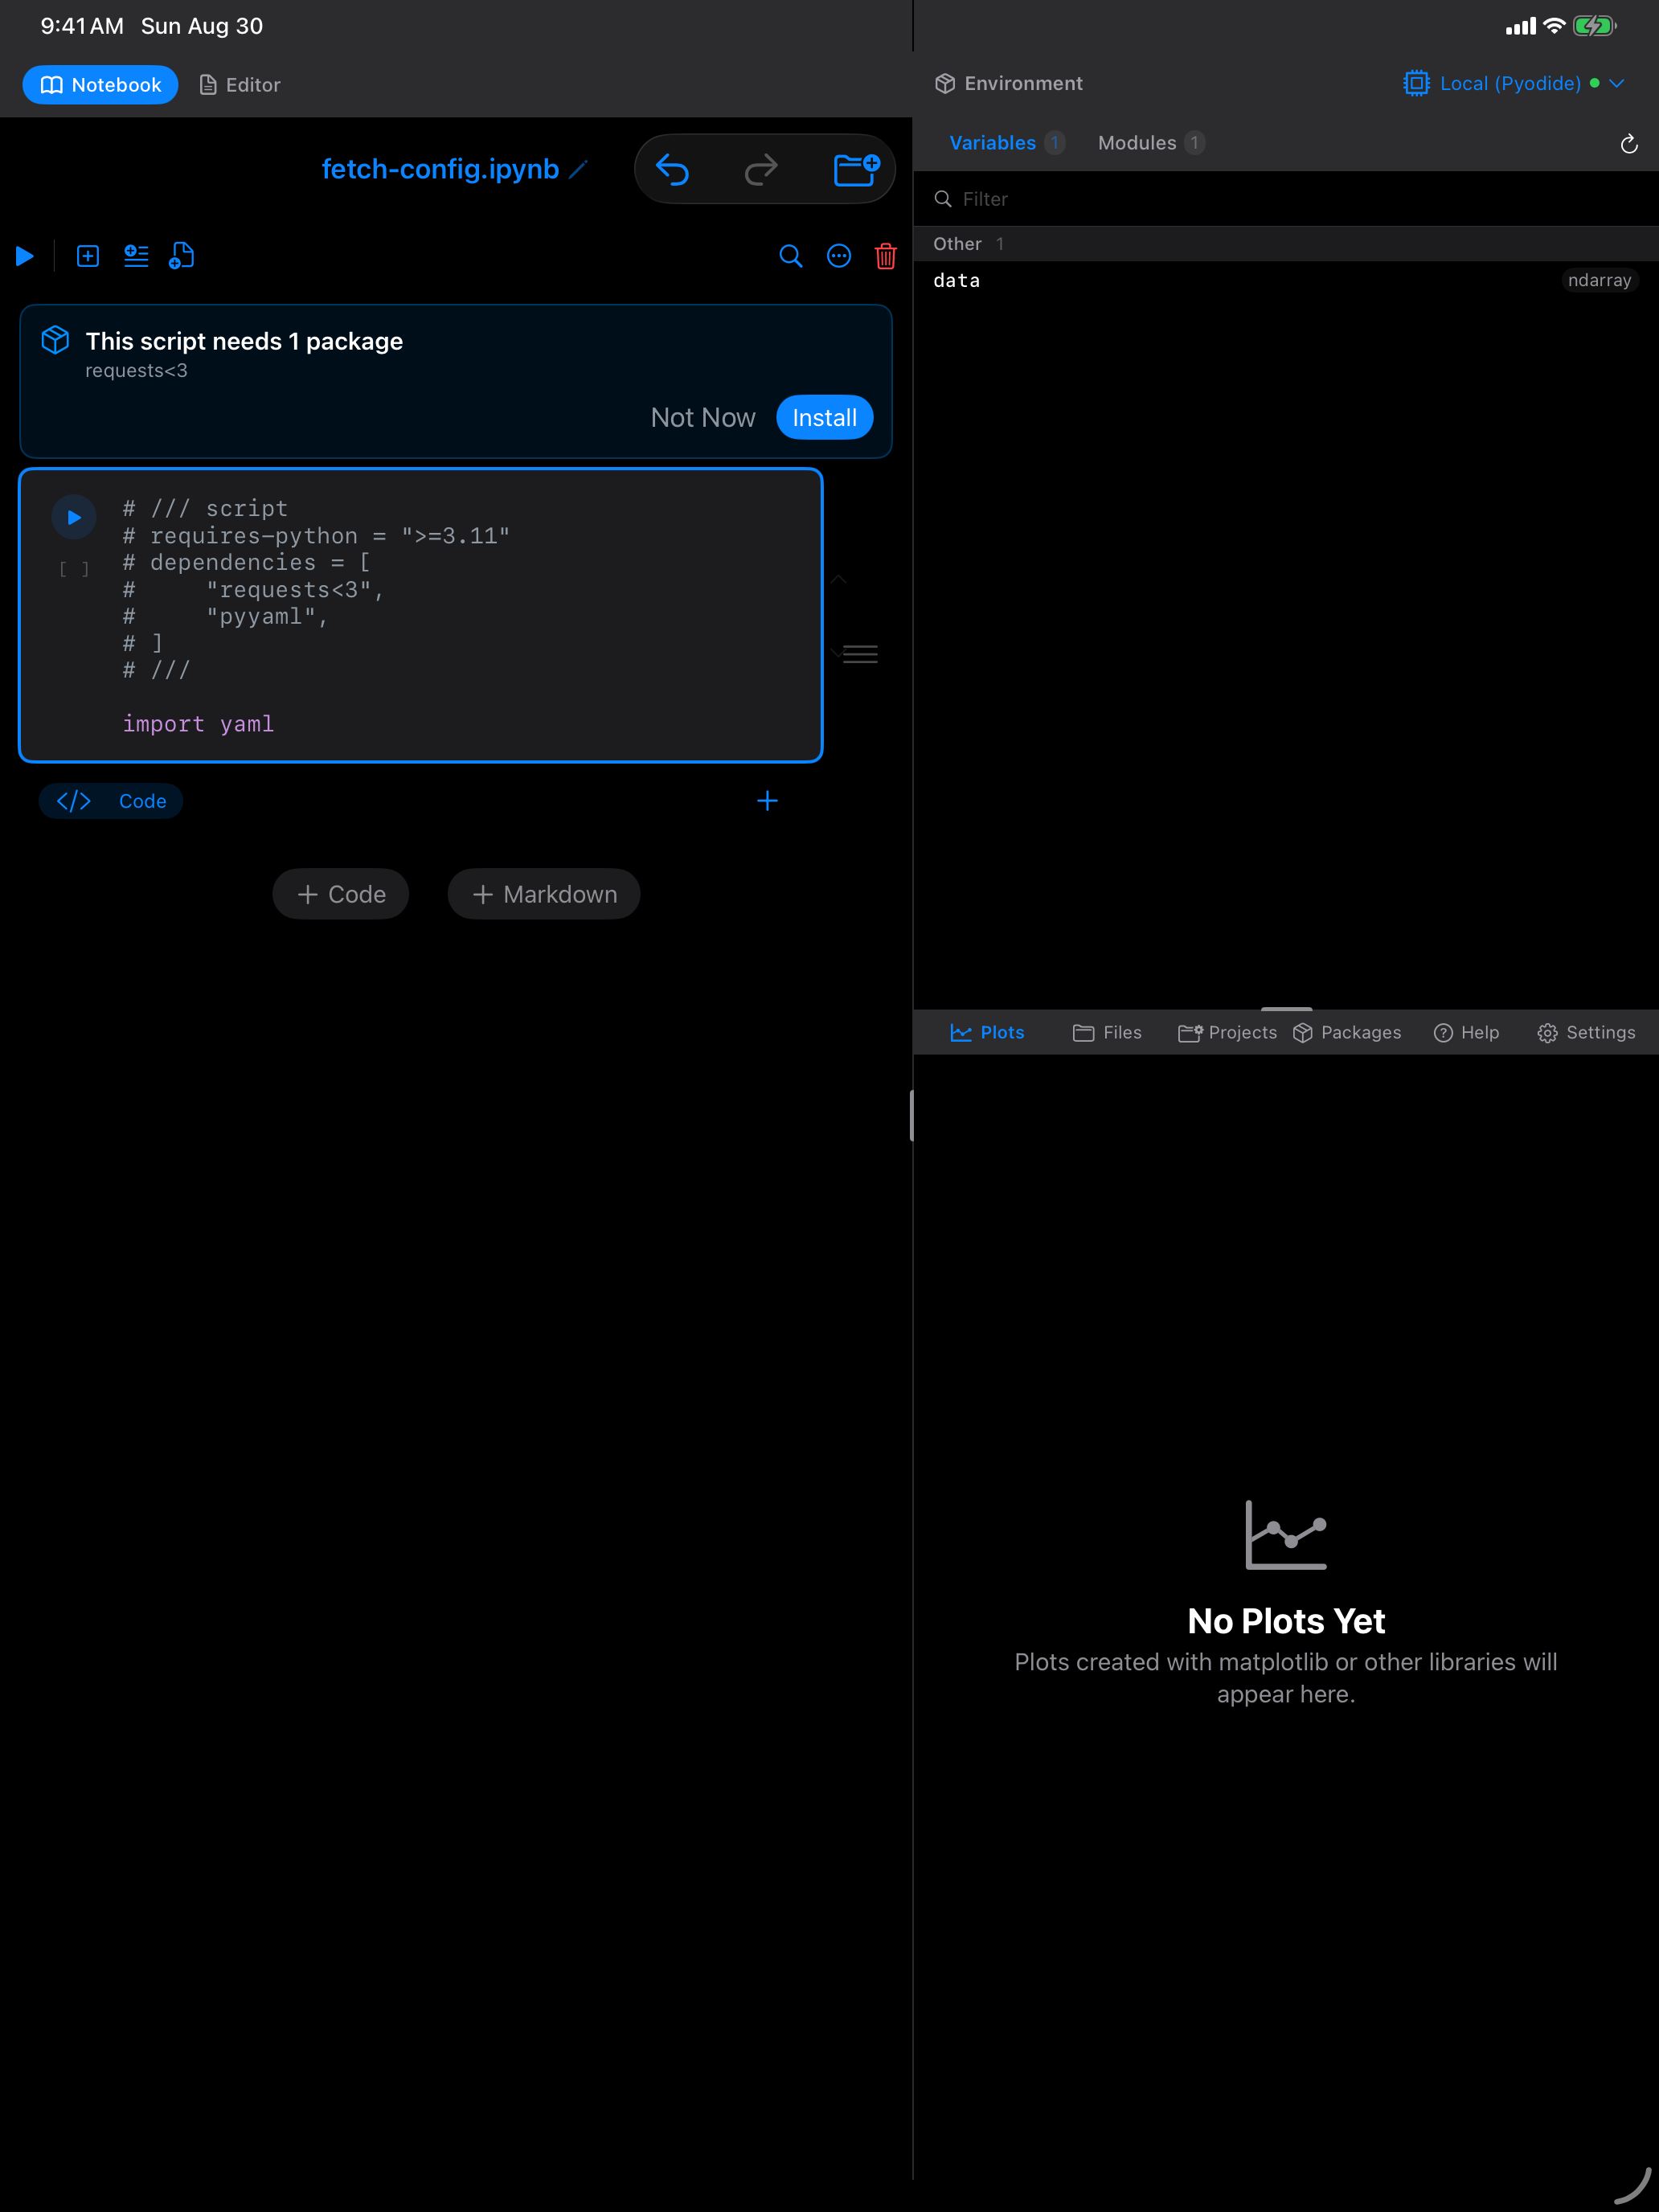
The banner is the same in the Editor and in a notebook cell; the capture above is a notebook cell. Note that requests<3 is shown exactly as the script wrote it, constraint included, which is also how it is passed on.
Install runs the same thing you would type yourself:
import micropip
await micropip.install(["requests<3", "pyyaml"])
so there is nothing special about the packages it fetches, and installing them by hand beforehand means the banner never appears. See Packages.
Reading the block is local, and the check only asks Python what is already installed. Opening or running a script that declares dependencies never starts a download on its own, so a script from someone else cannot fetch anything without you agreeing to it.
Version constraints are honoured: requests<3 is passed to micropip as written, so you do not silently get a version the script said it could not use.
The block also works at the top of a notebook cell, so a script pasted into a cell behaves the same way it does as a file. Run All is the exception: it skips the prompt, because stopping partway through would leave the notebook half-executed. Run that one cell on its own to get the offer.
requires-python
requires-python is advisory. Pyodios ships one interpreter, currently CPython 3.14 compiled to WebAssembly, and you cannot switch it, so a script asking for something else is not blocked from running. Instead the banner adds a line telling you what the script expected, which usually explains an error that would otherwise be puzzling.
Supported packages
Anything micropip can install: packages in the Pyodide distribution, and pure-Python wheels from PyPI. Packages with compiled extensions that have not been built for WebAssembly cannot be installed, whatever the block says. See Packages for the full picture.
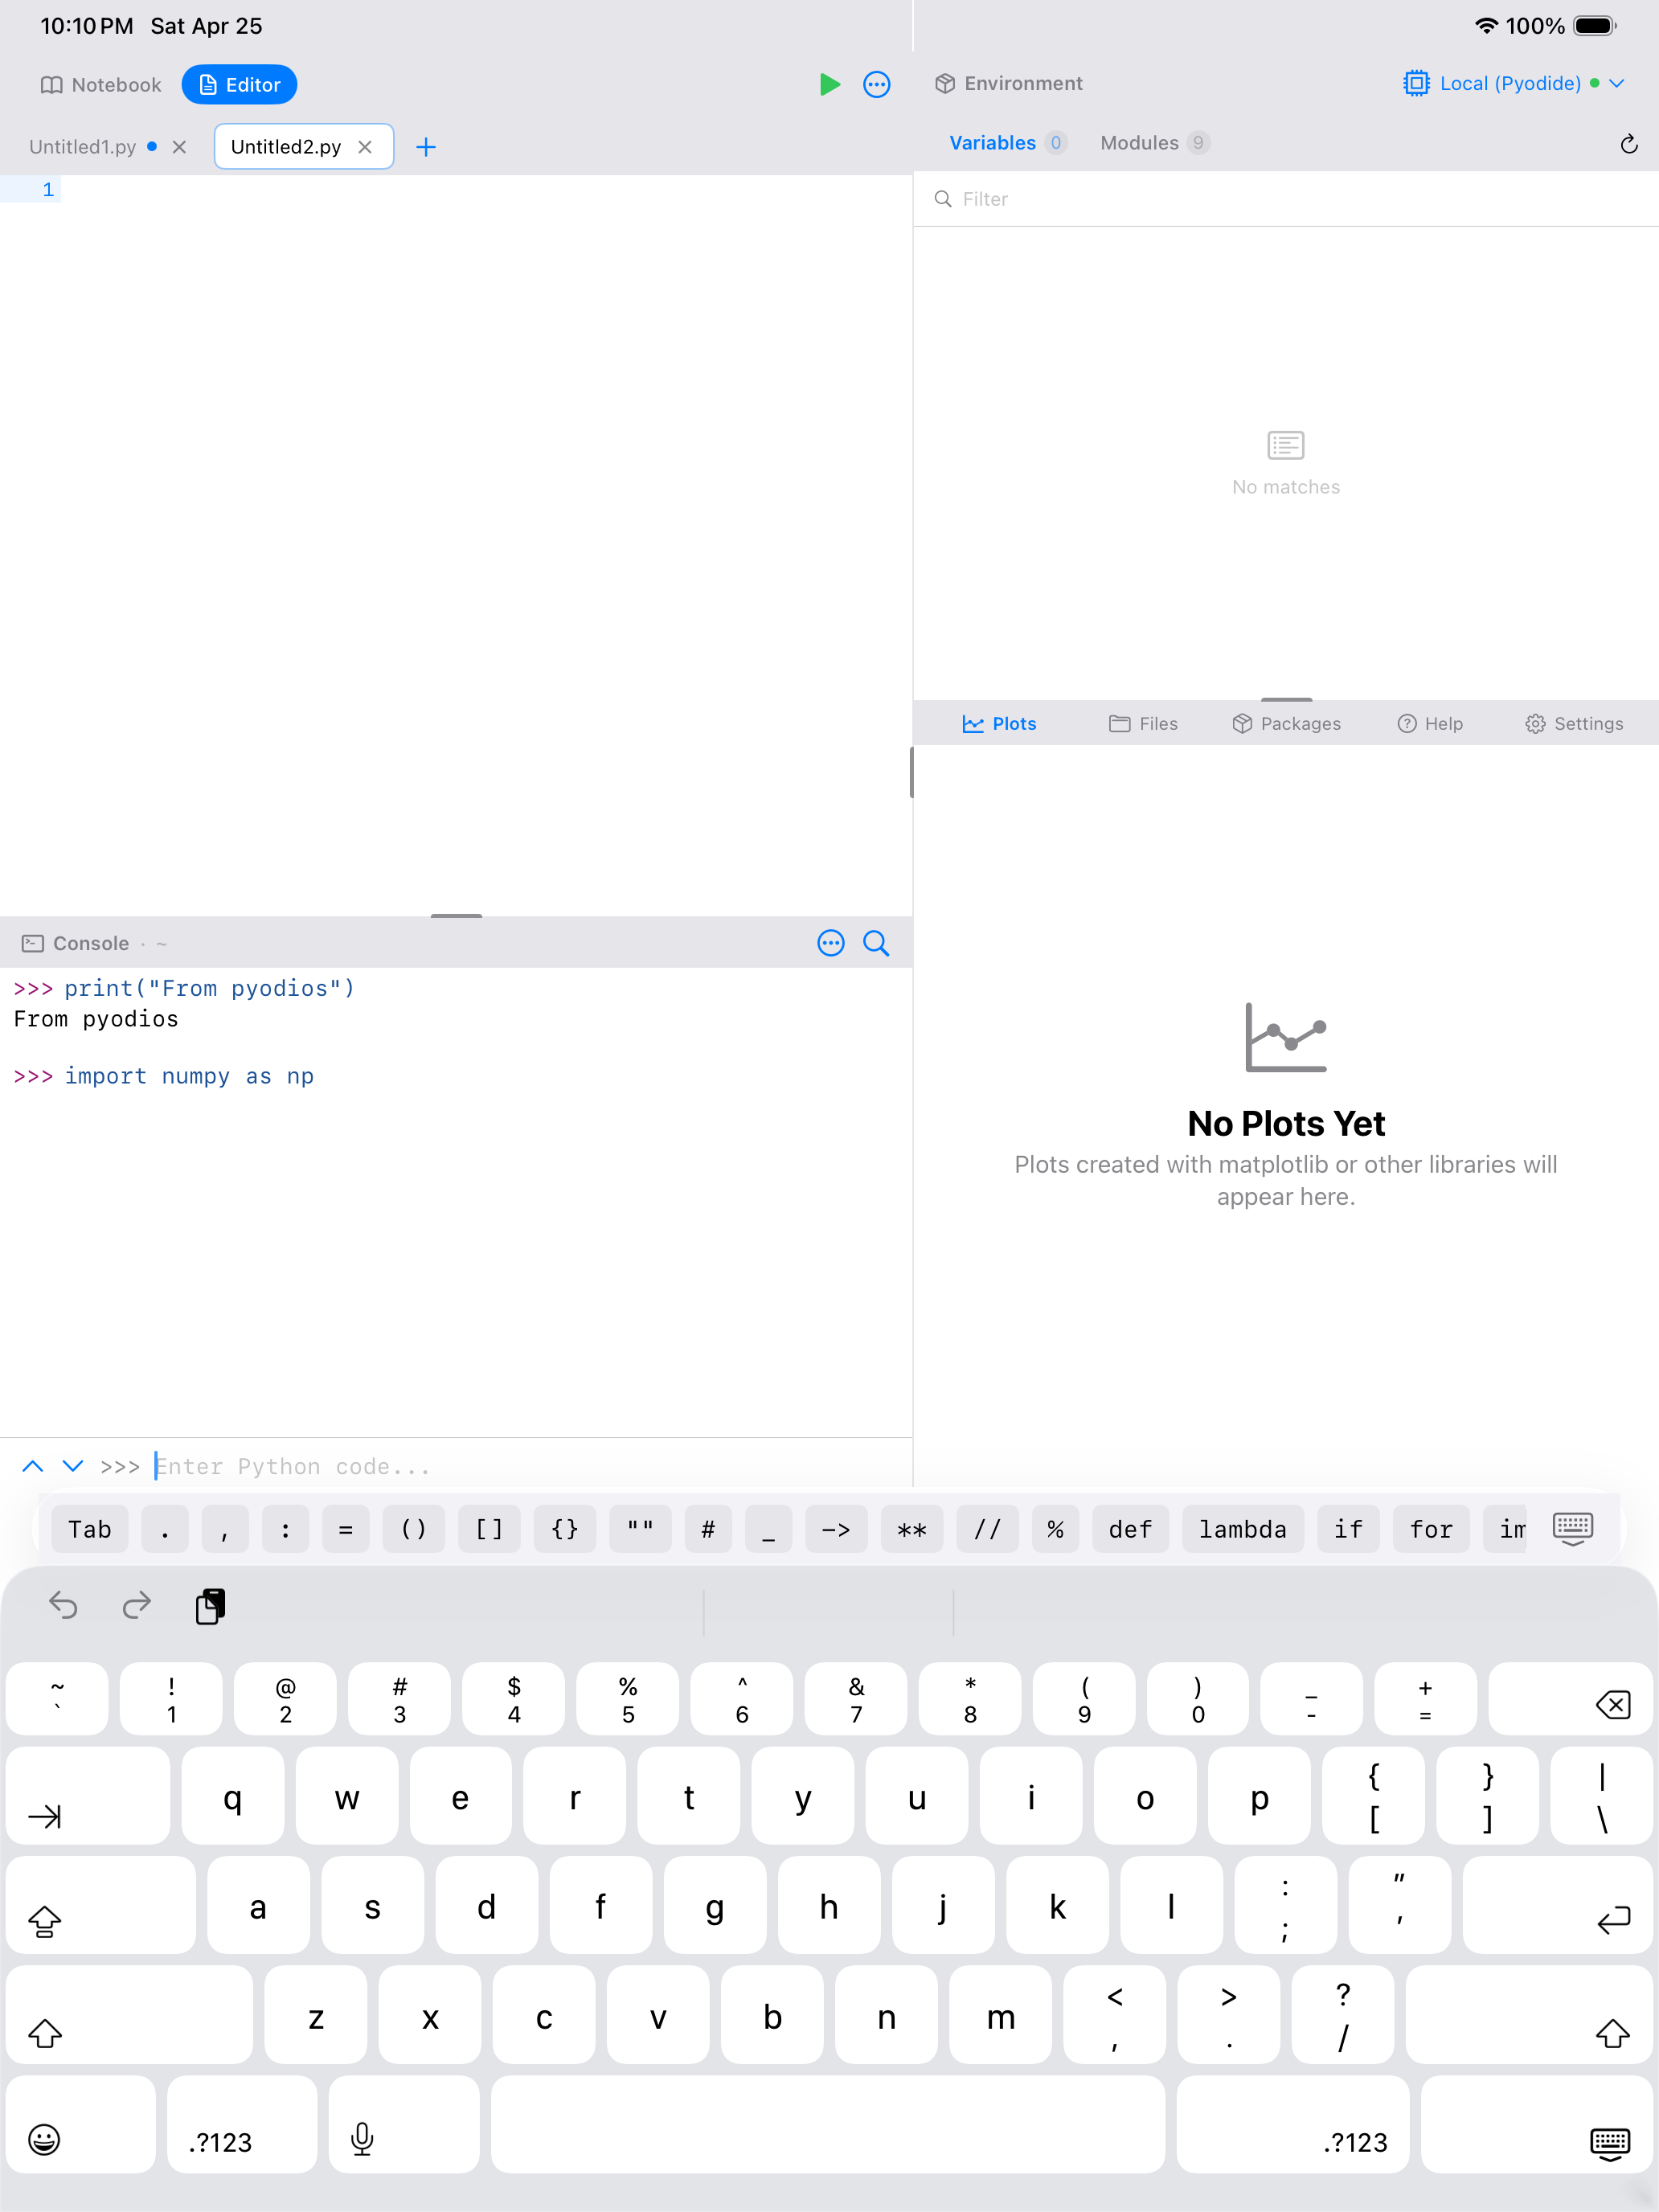
The Python Keyboard Toolbar
When the keyboard is open, a scrollable toolbar appears just above it with buttons for common Python symbols and operators. This saves you from hunting through the iOS symbol keyboard for characters you use constantly in Python:
- Tab: inserts four spaces for indentation
=: the assignment operator:: used for slices, dict literals, and block starters( )[ ]{ }"": matched pairs that insert both characters at once#: comment prefix_: underscore, common in Python variable namesdef: quickly insert thedefkeywordimport: quickly insert theimportkeyword
There is also a dismiss keyboard button at the far right of the toolbar so you can quickly hide the keyboard and see more of your code.
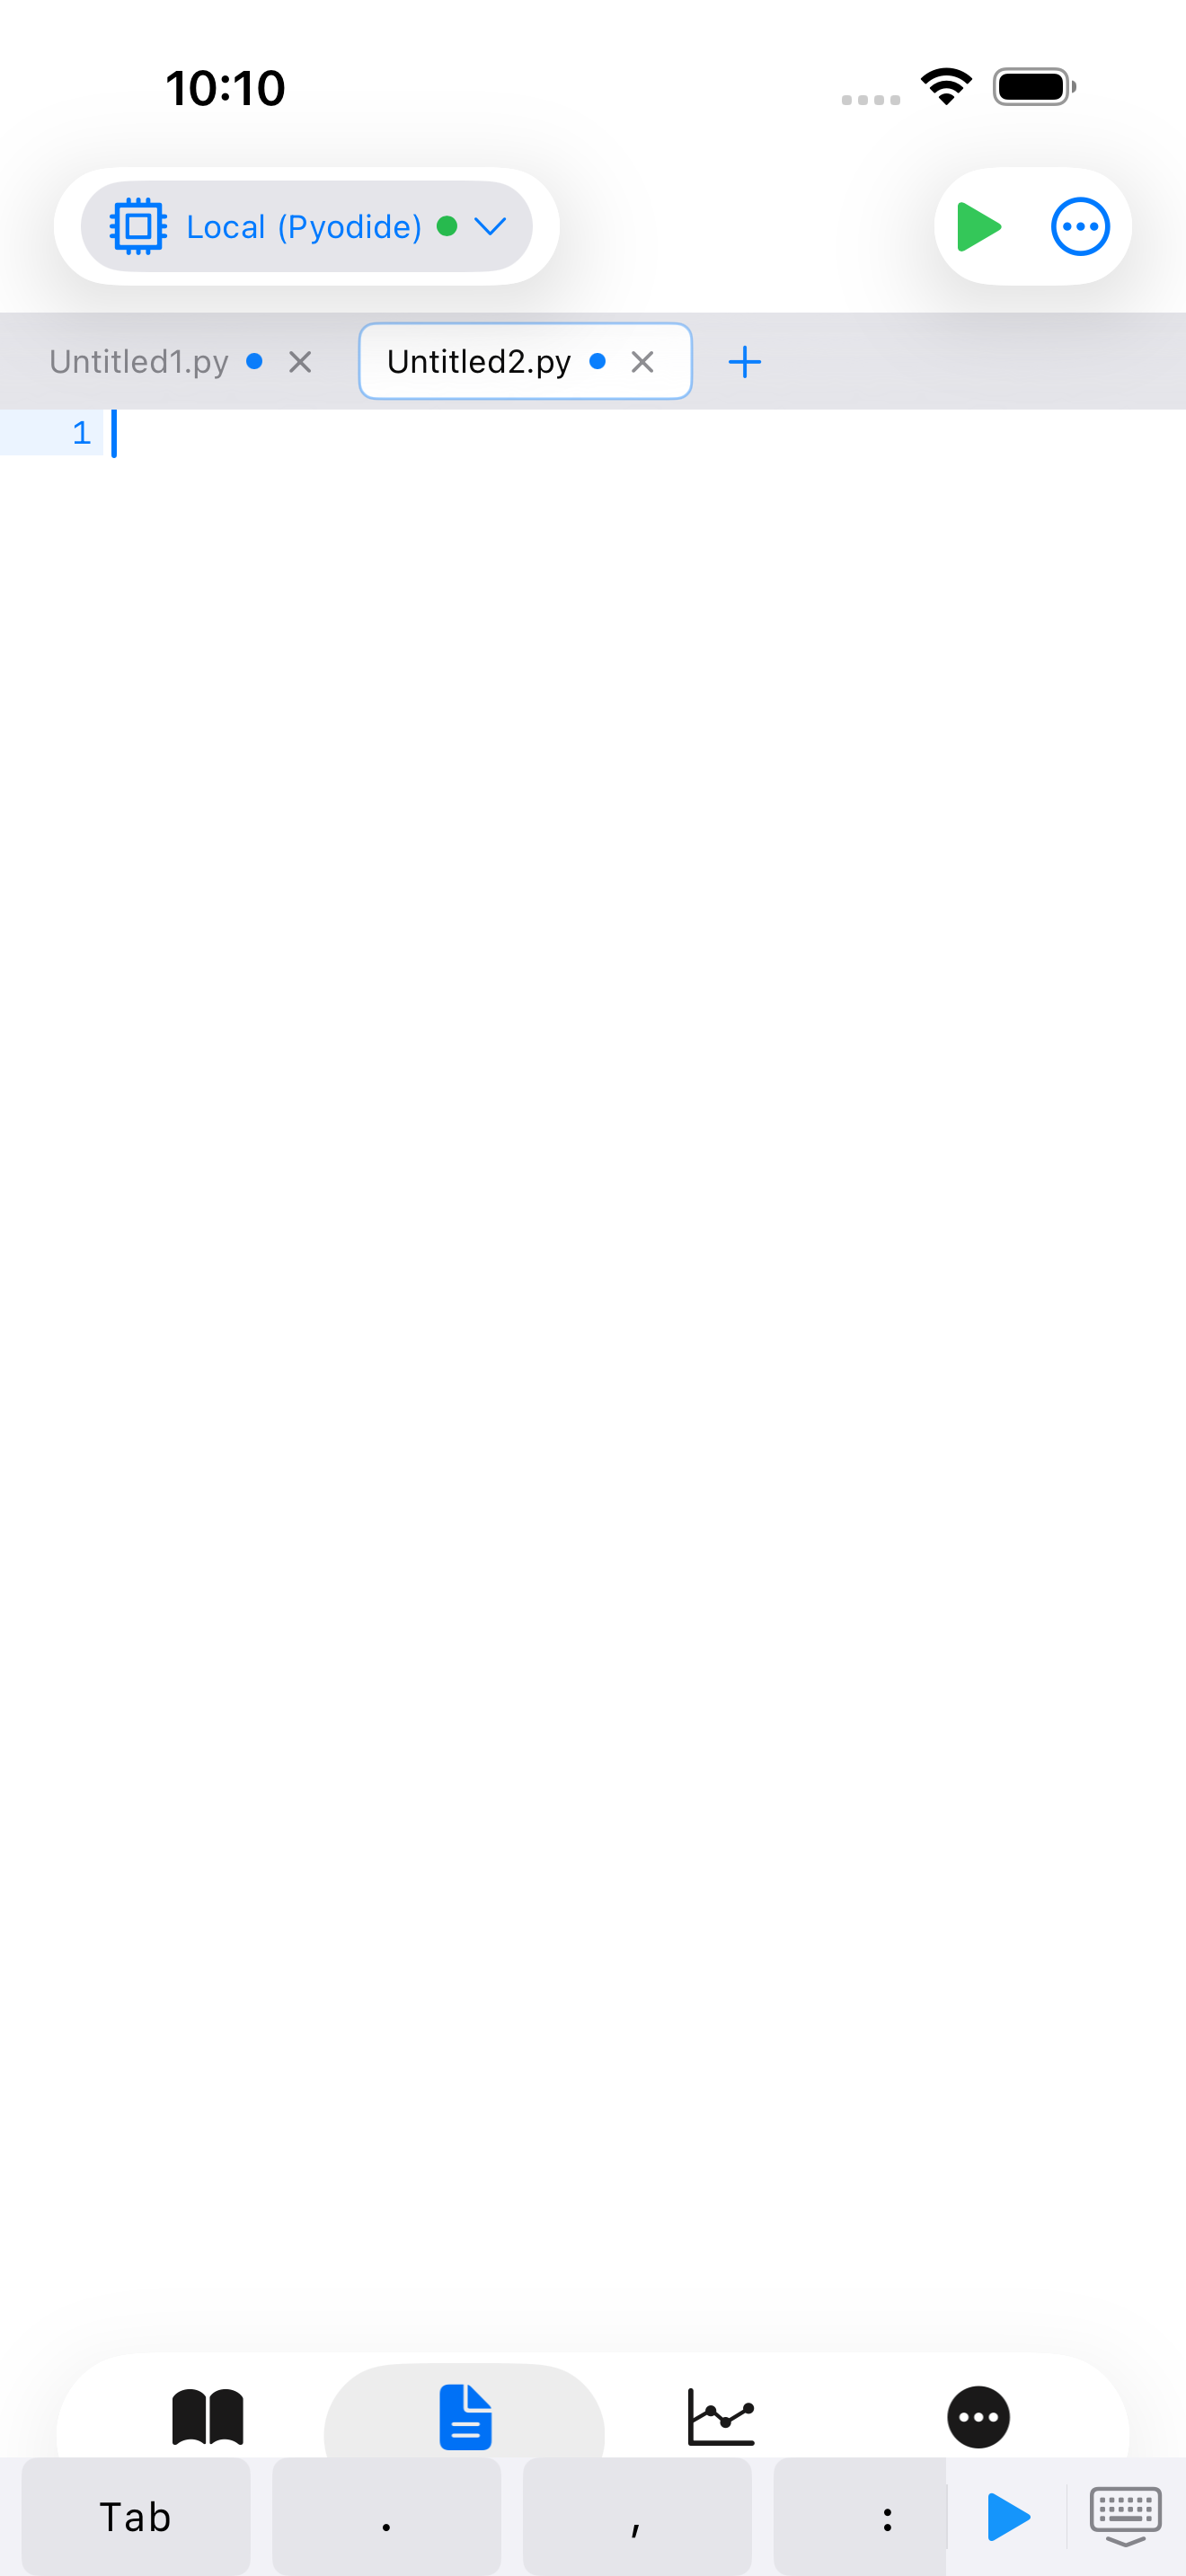
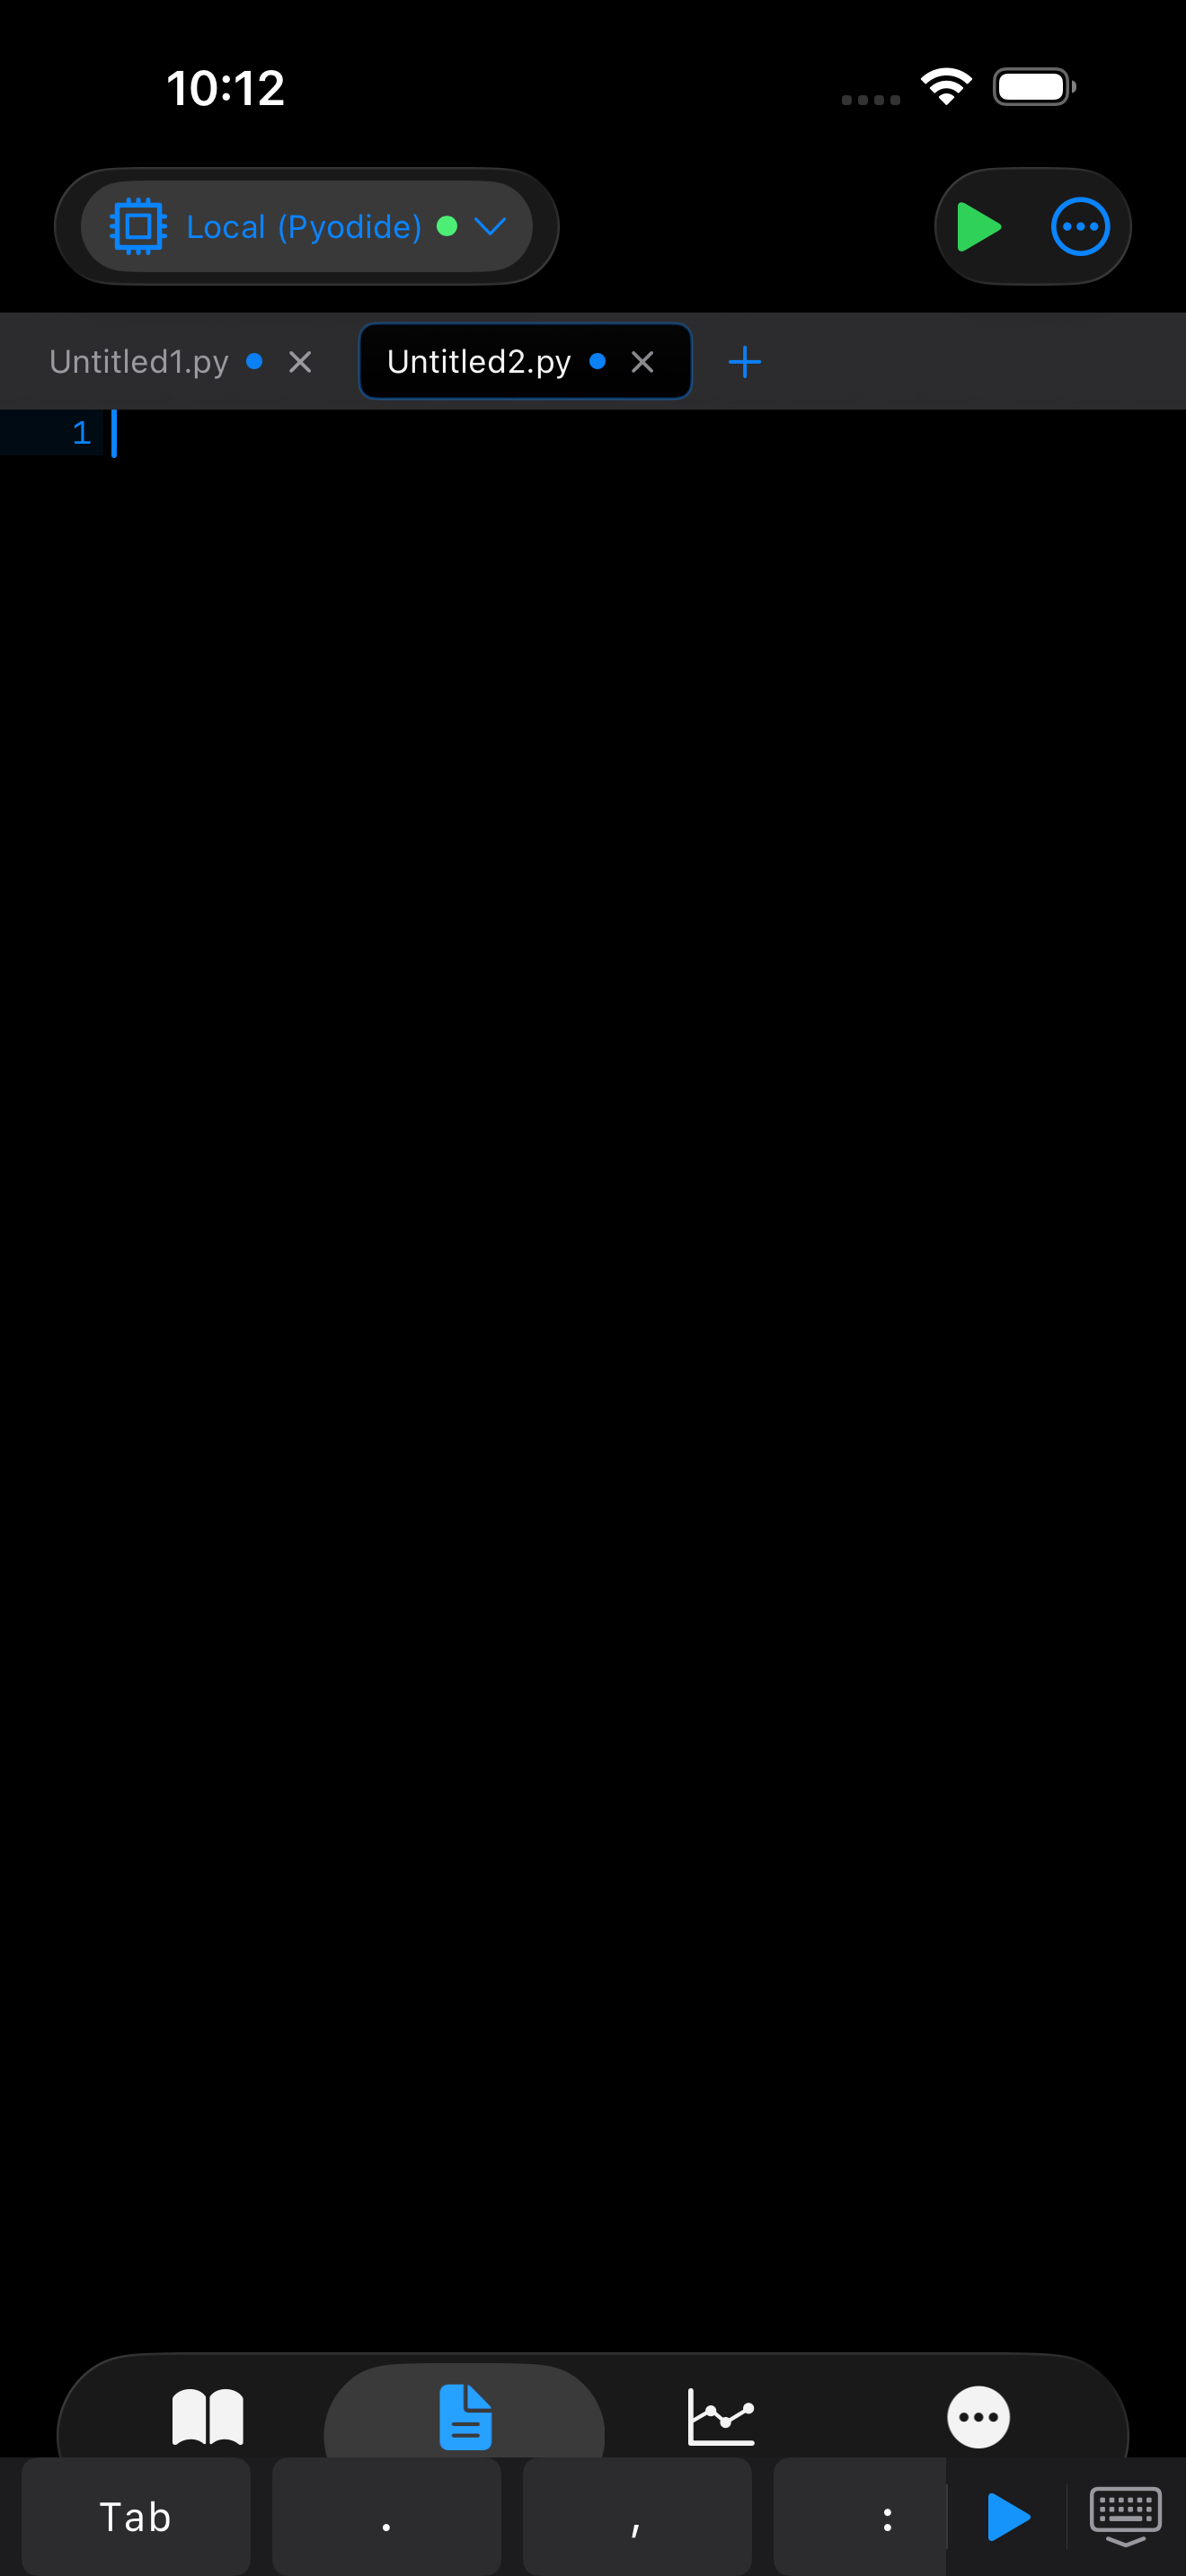
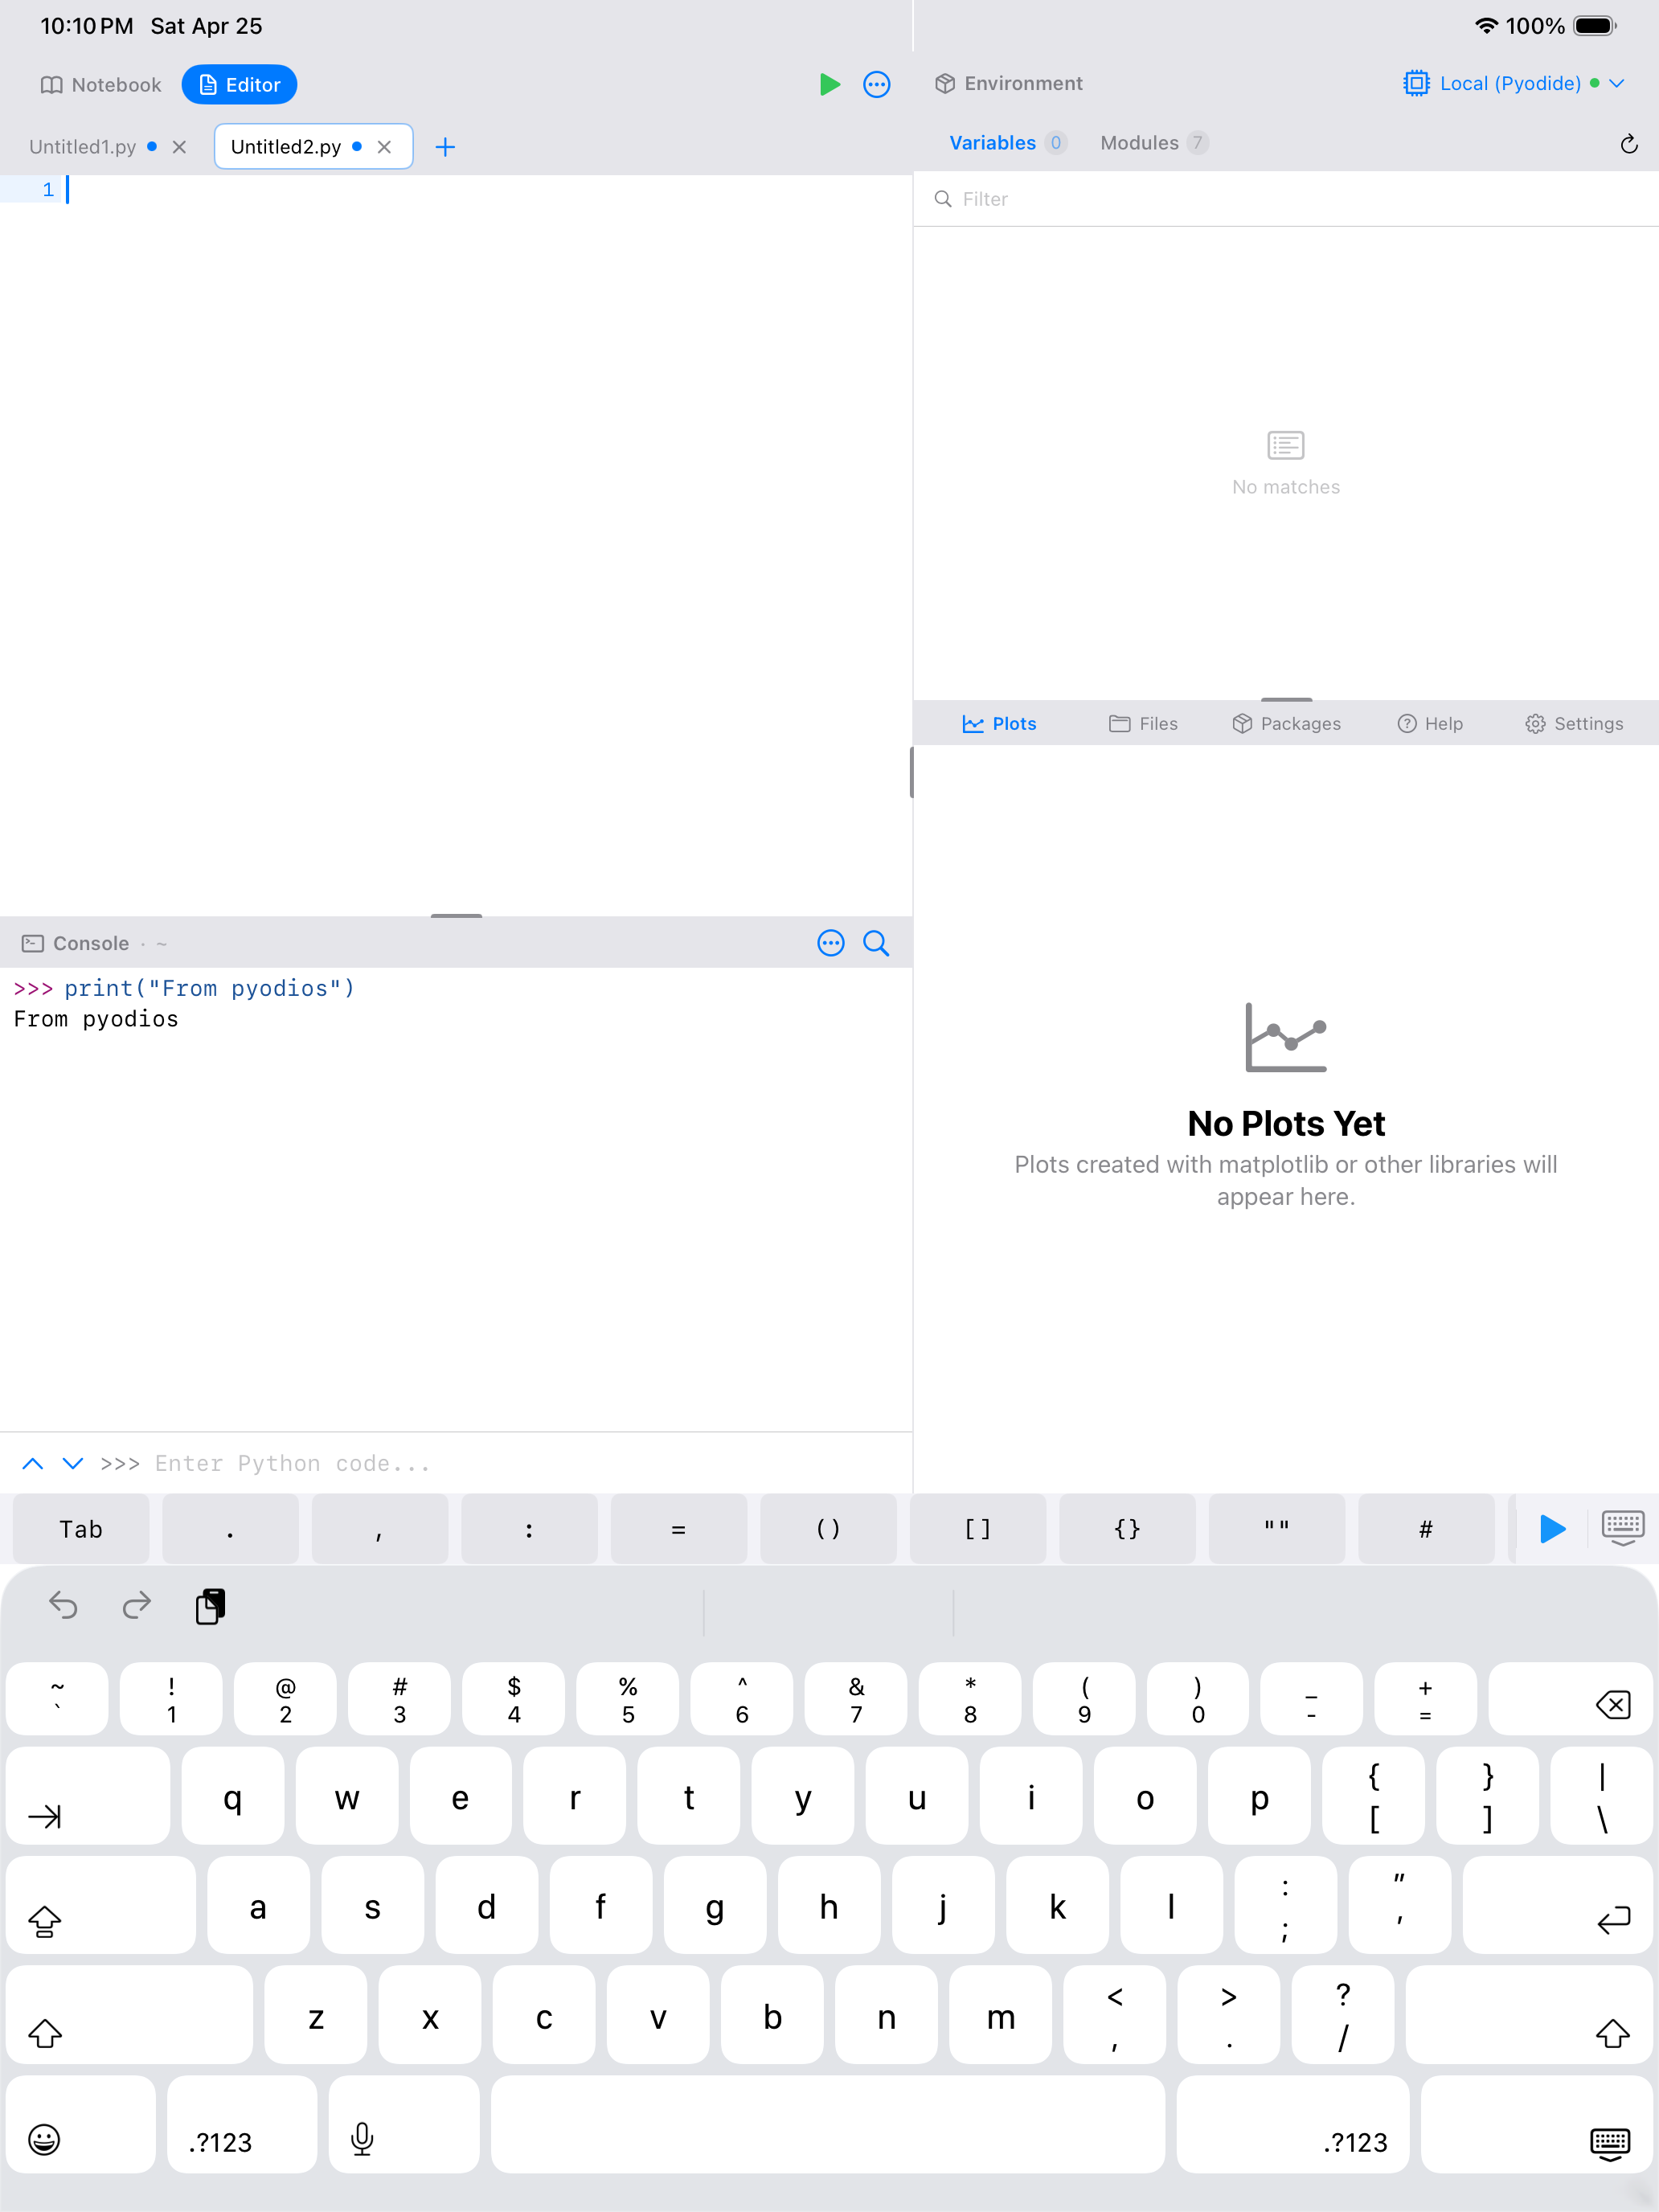
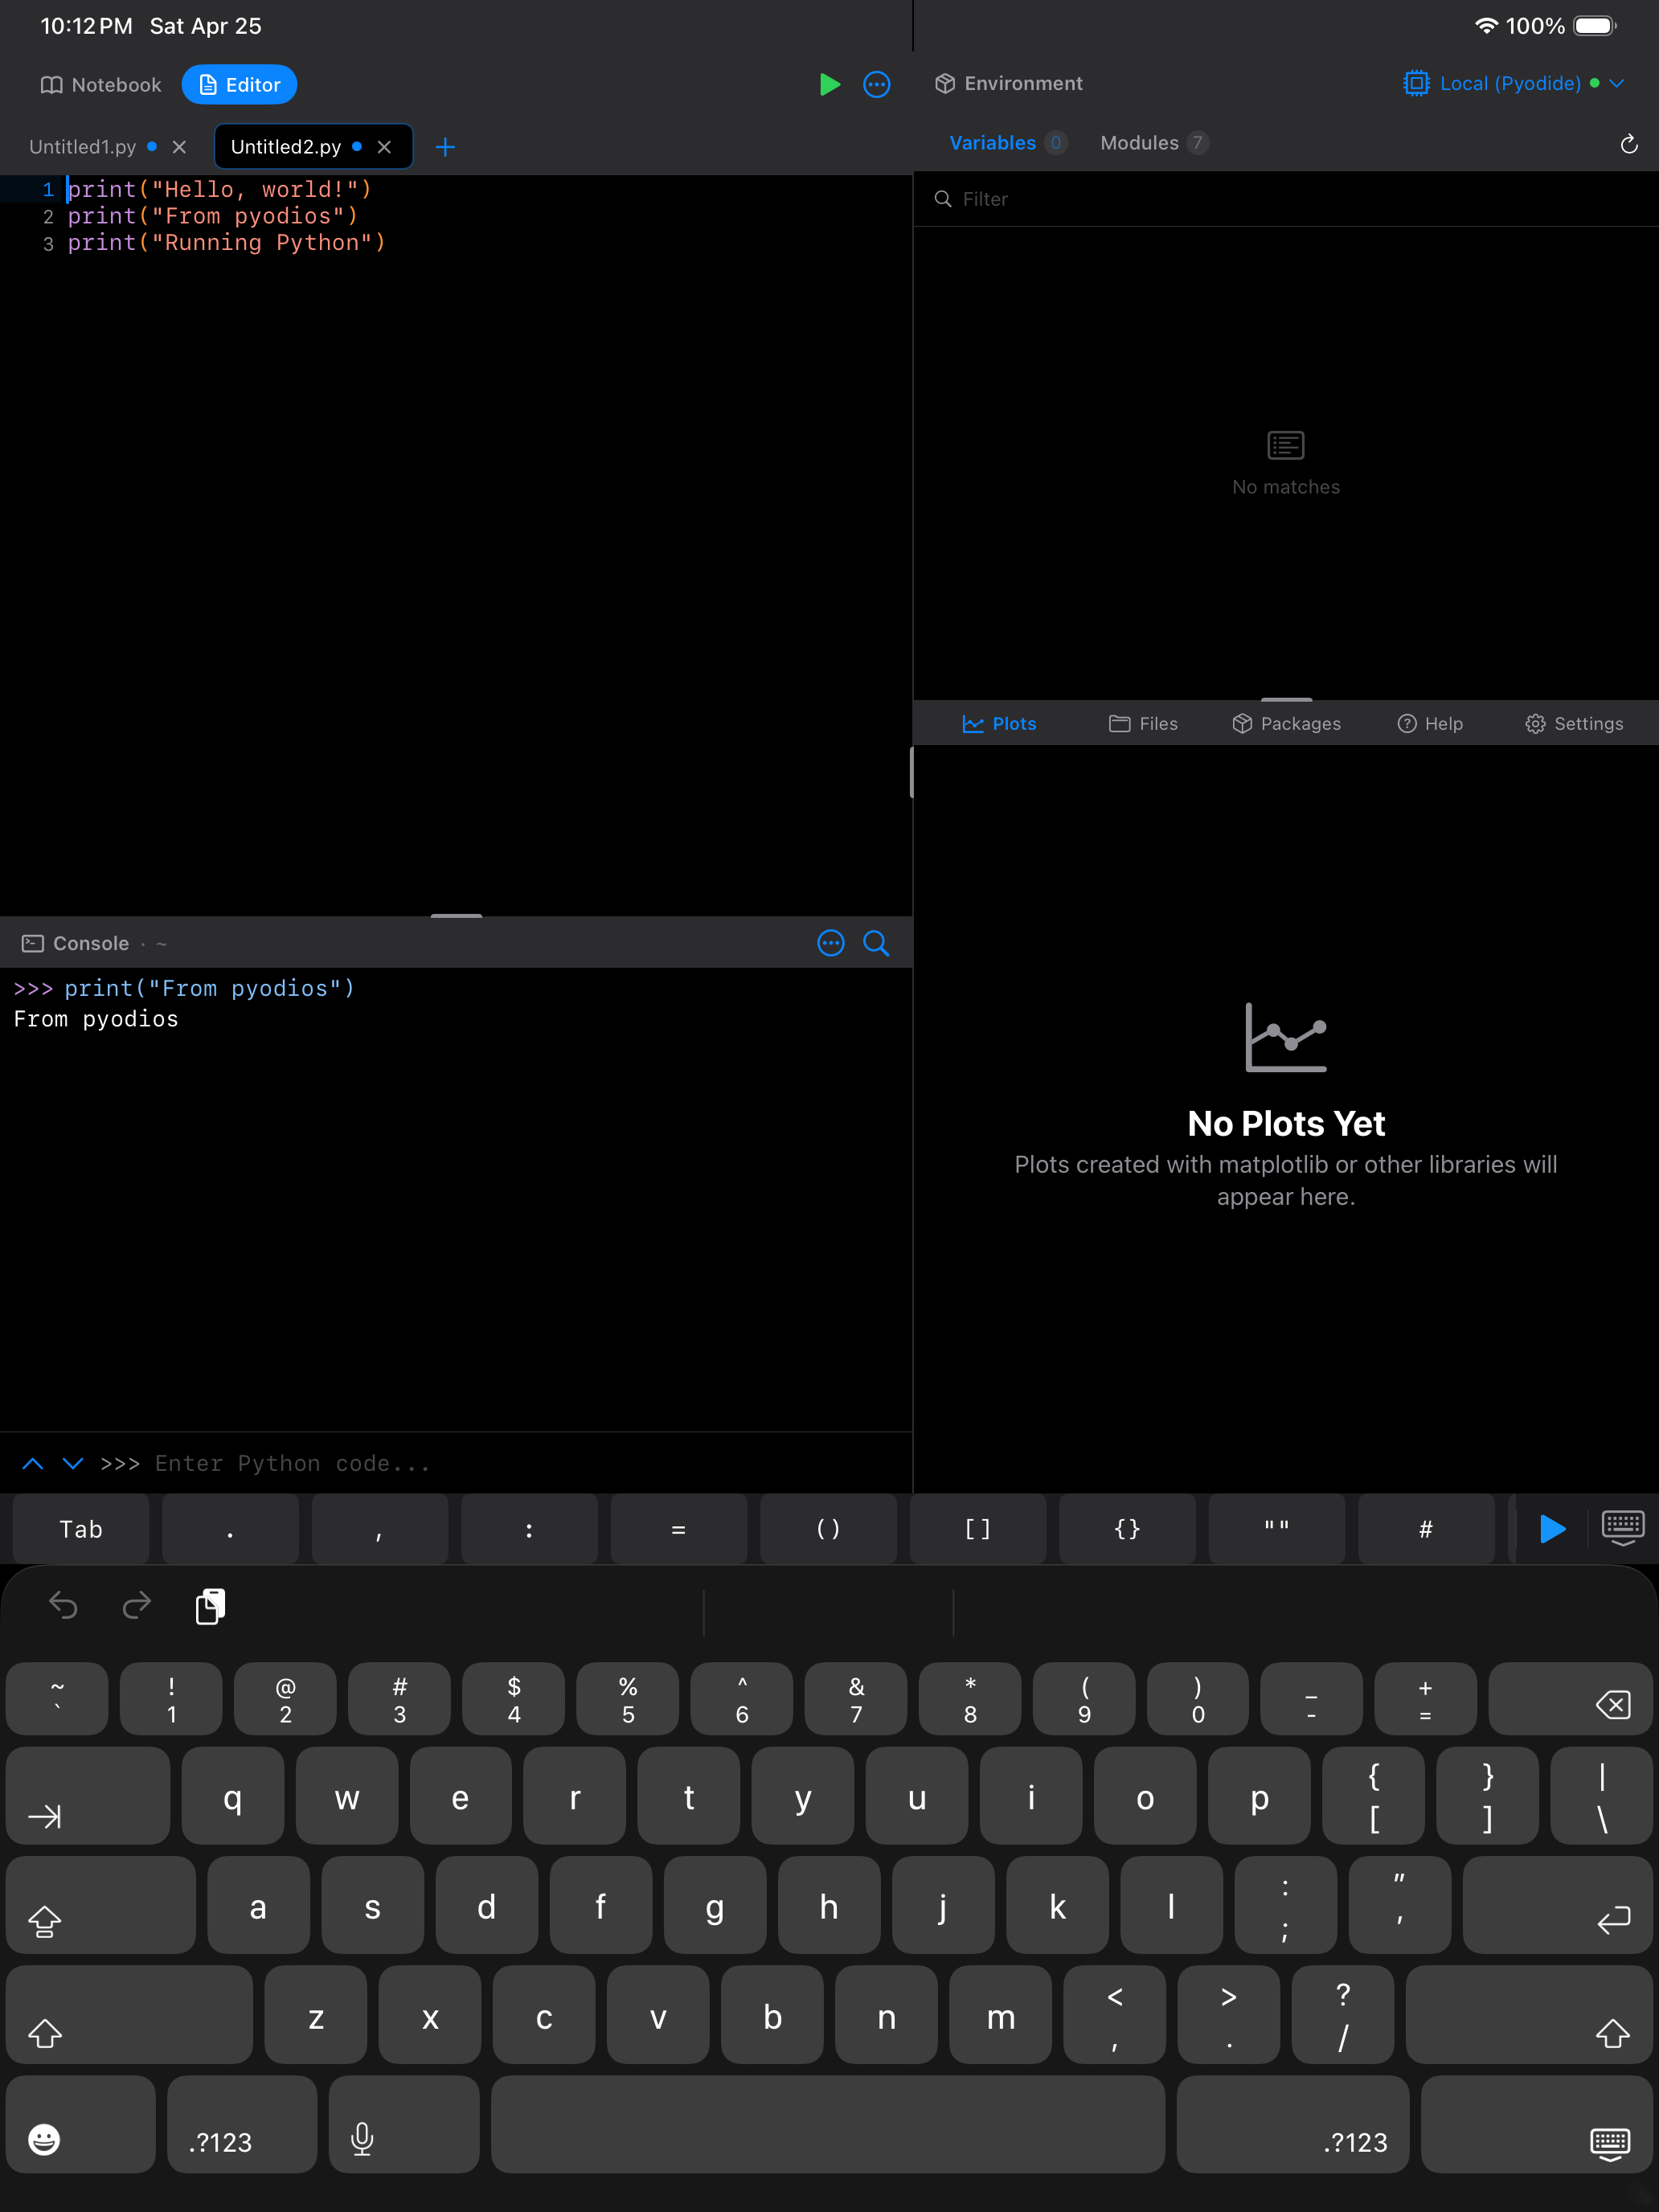
You can customize which buttons appear on the Python keyboard accessory under Settings > Editor > Keyboard Toolbar. Add, remove, or reorder buttons so the symbols you use most are within one tap.
File Operations
The File menu (tap the document icon in the toolbar) gives you full control over your scripts:
- New Tab: start a fresh file
- Open: load an existing
.pyfile from anywhere accessible to iOS Files - Open Recent: re-open recently edited files
- Save / Save As: save to the app’s storage or to an external location
- Rename File…: change the name of the file you are editing
- Export to Gist: share your code as a GitHub Gist for easy sharing and collaboration
Renaming a file
Rename File… in the File menu renames whatever is open in the current tab. If the file has been saved, it is renamed on disk, so the tab and the file in the Files browser stay in step. If you have not saved yet there is no file to rename, so the new name is applied to the tab and used the first time you save. The prompt tells you which of the two is about to happen.
If you leave the extension off, .py is added. Renaming onto a name that already exists in the same folder is refused rather than overwriting it.
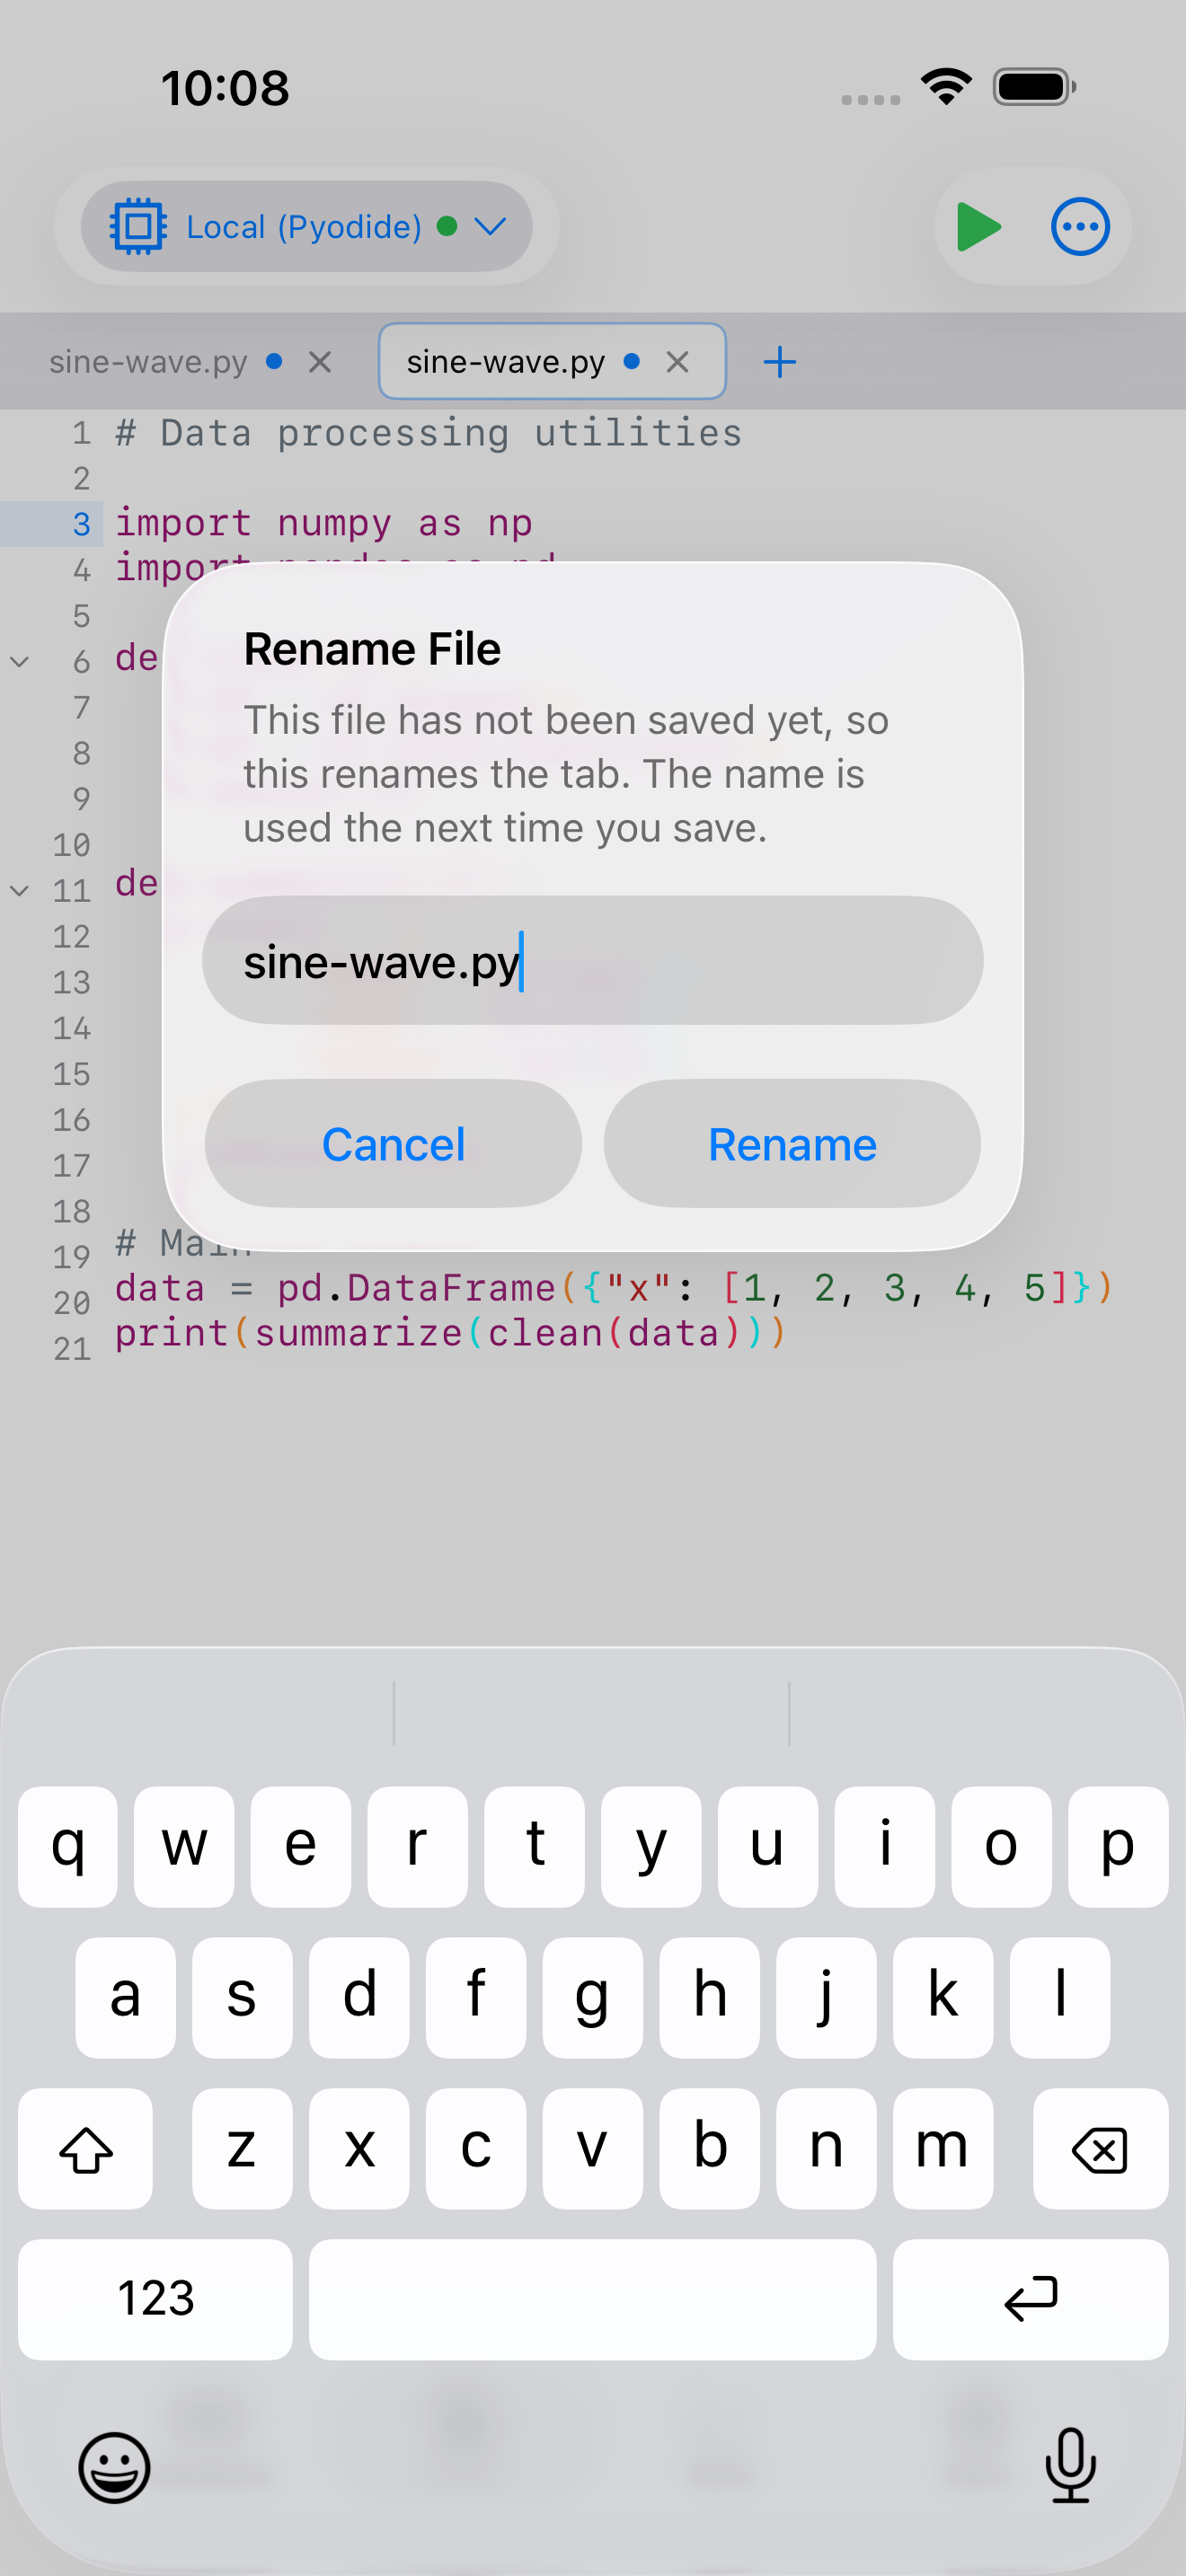
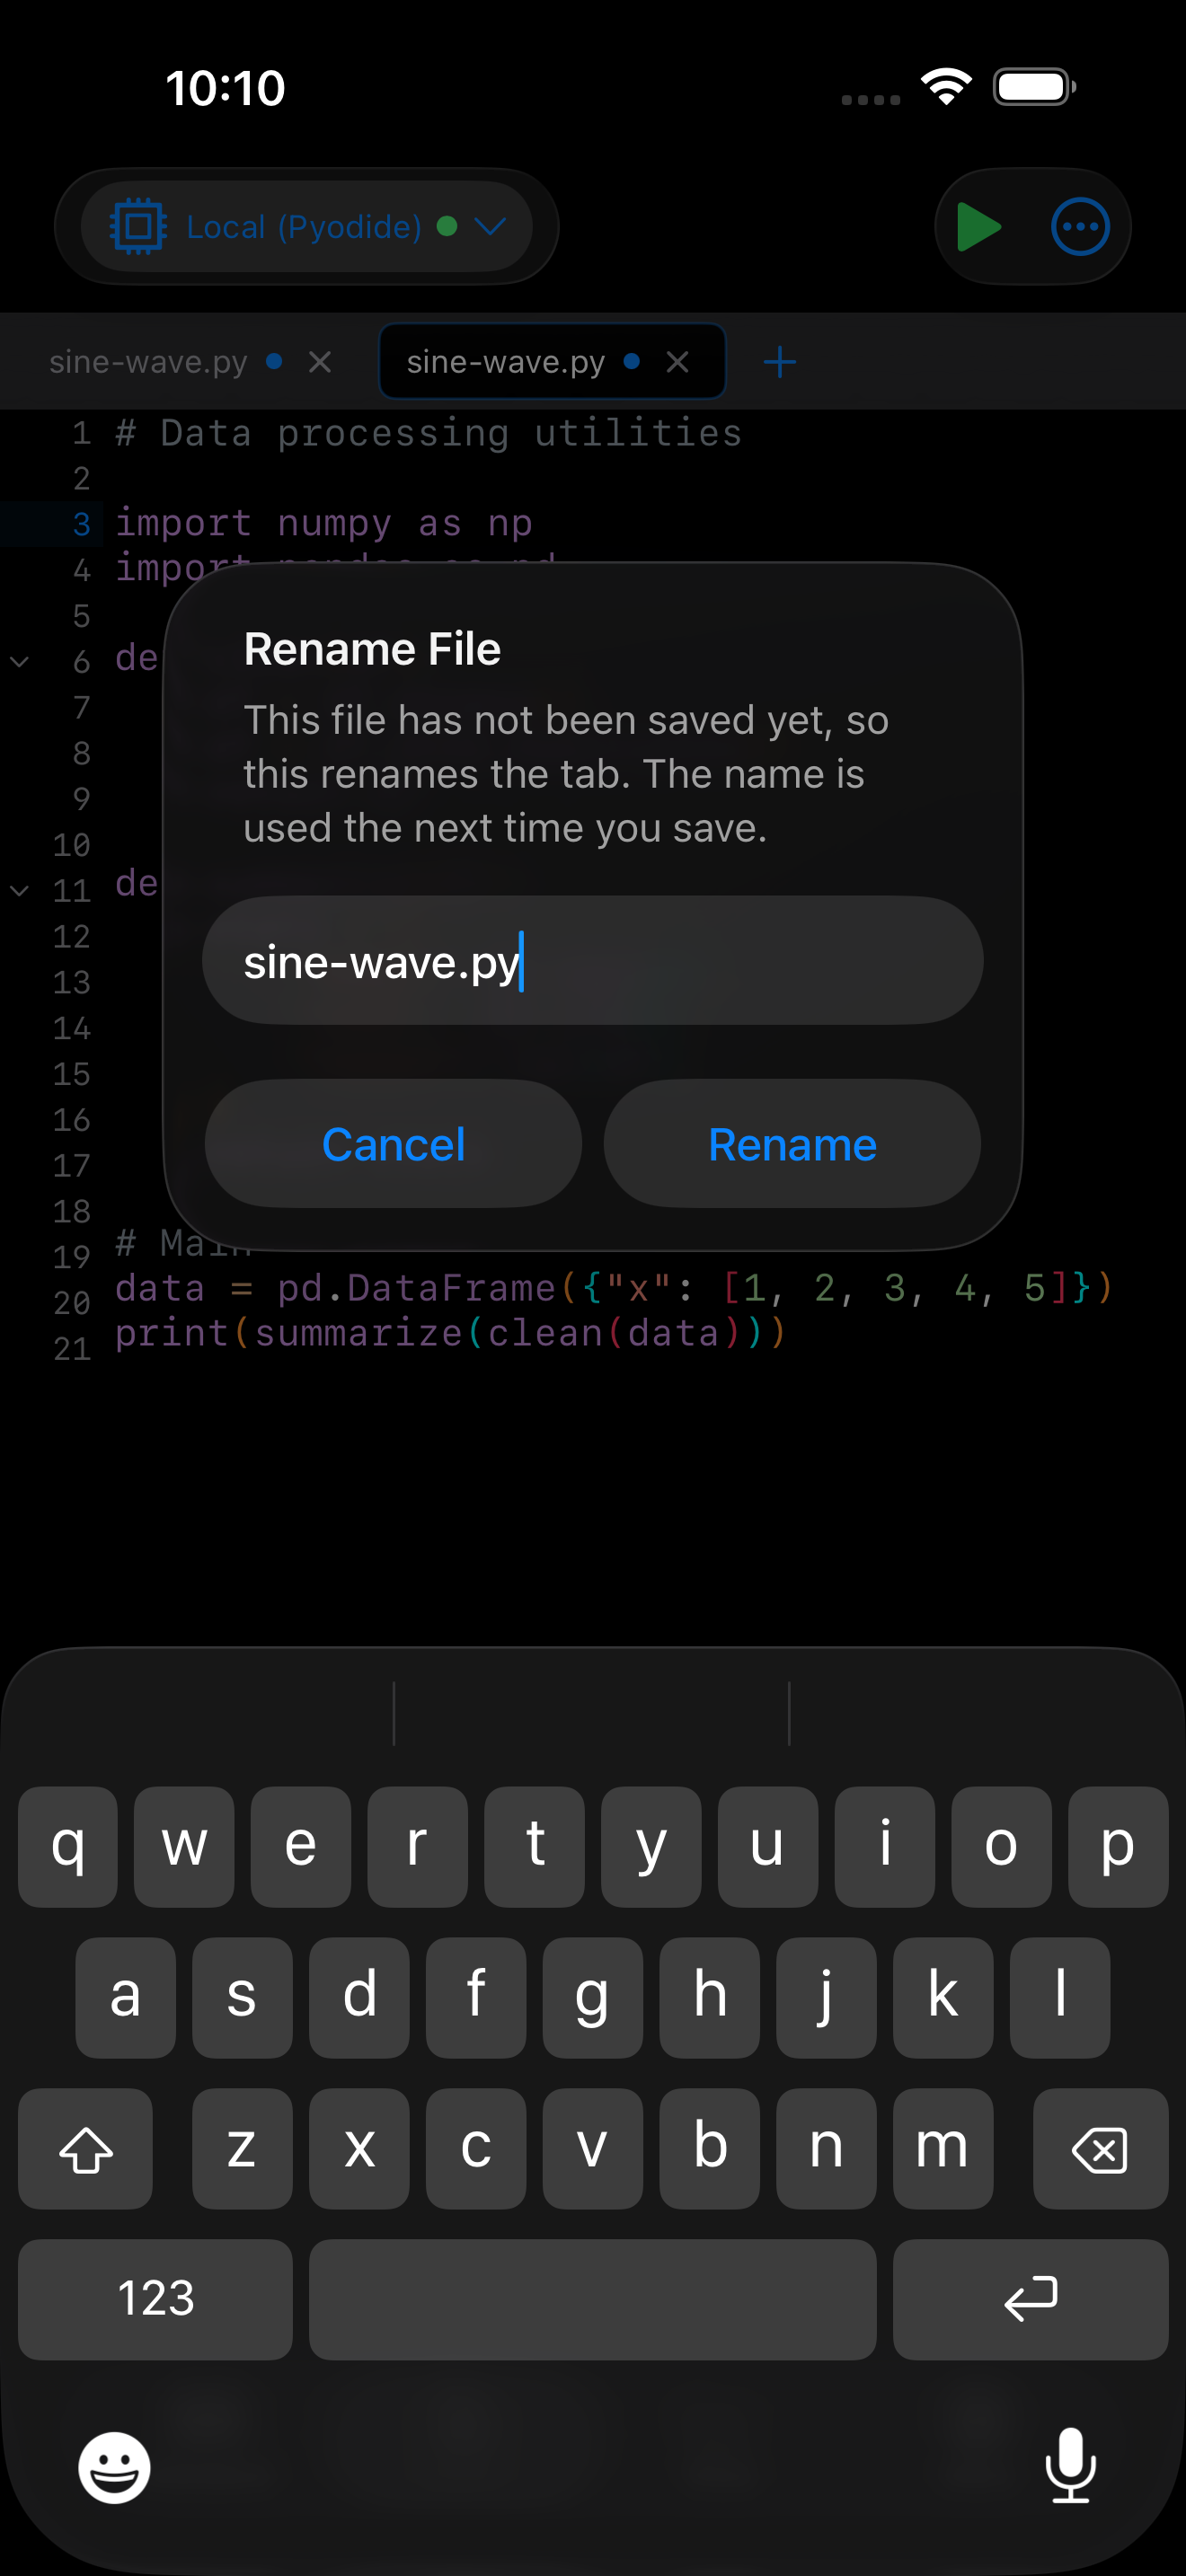
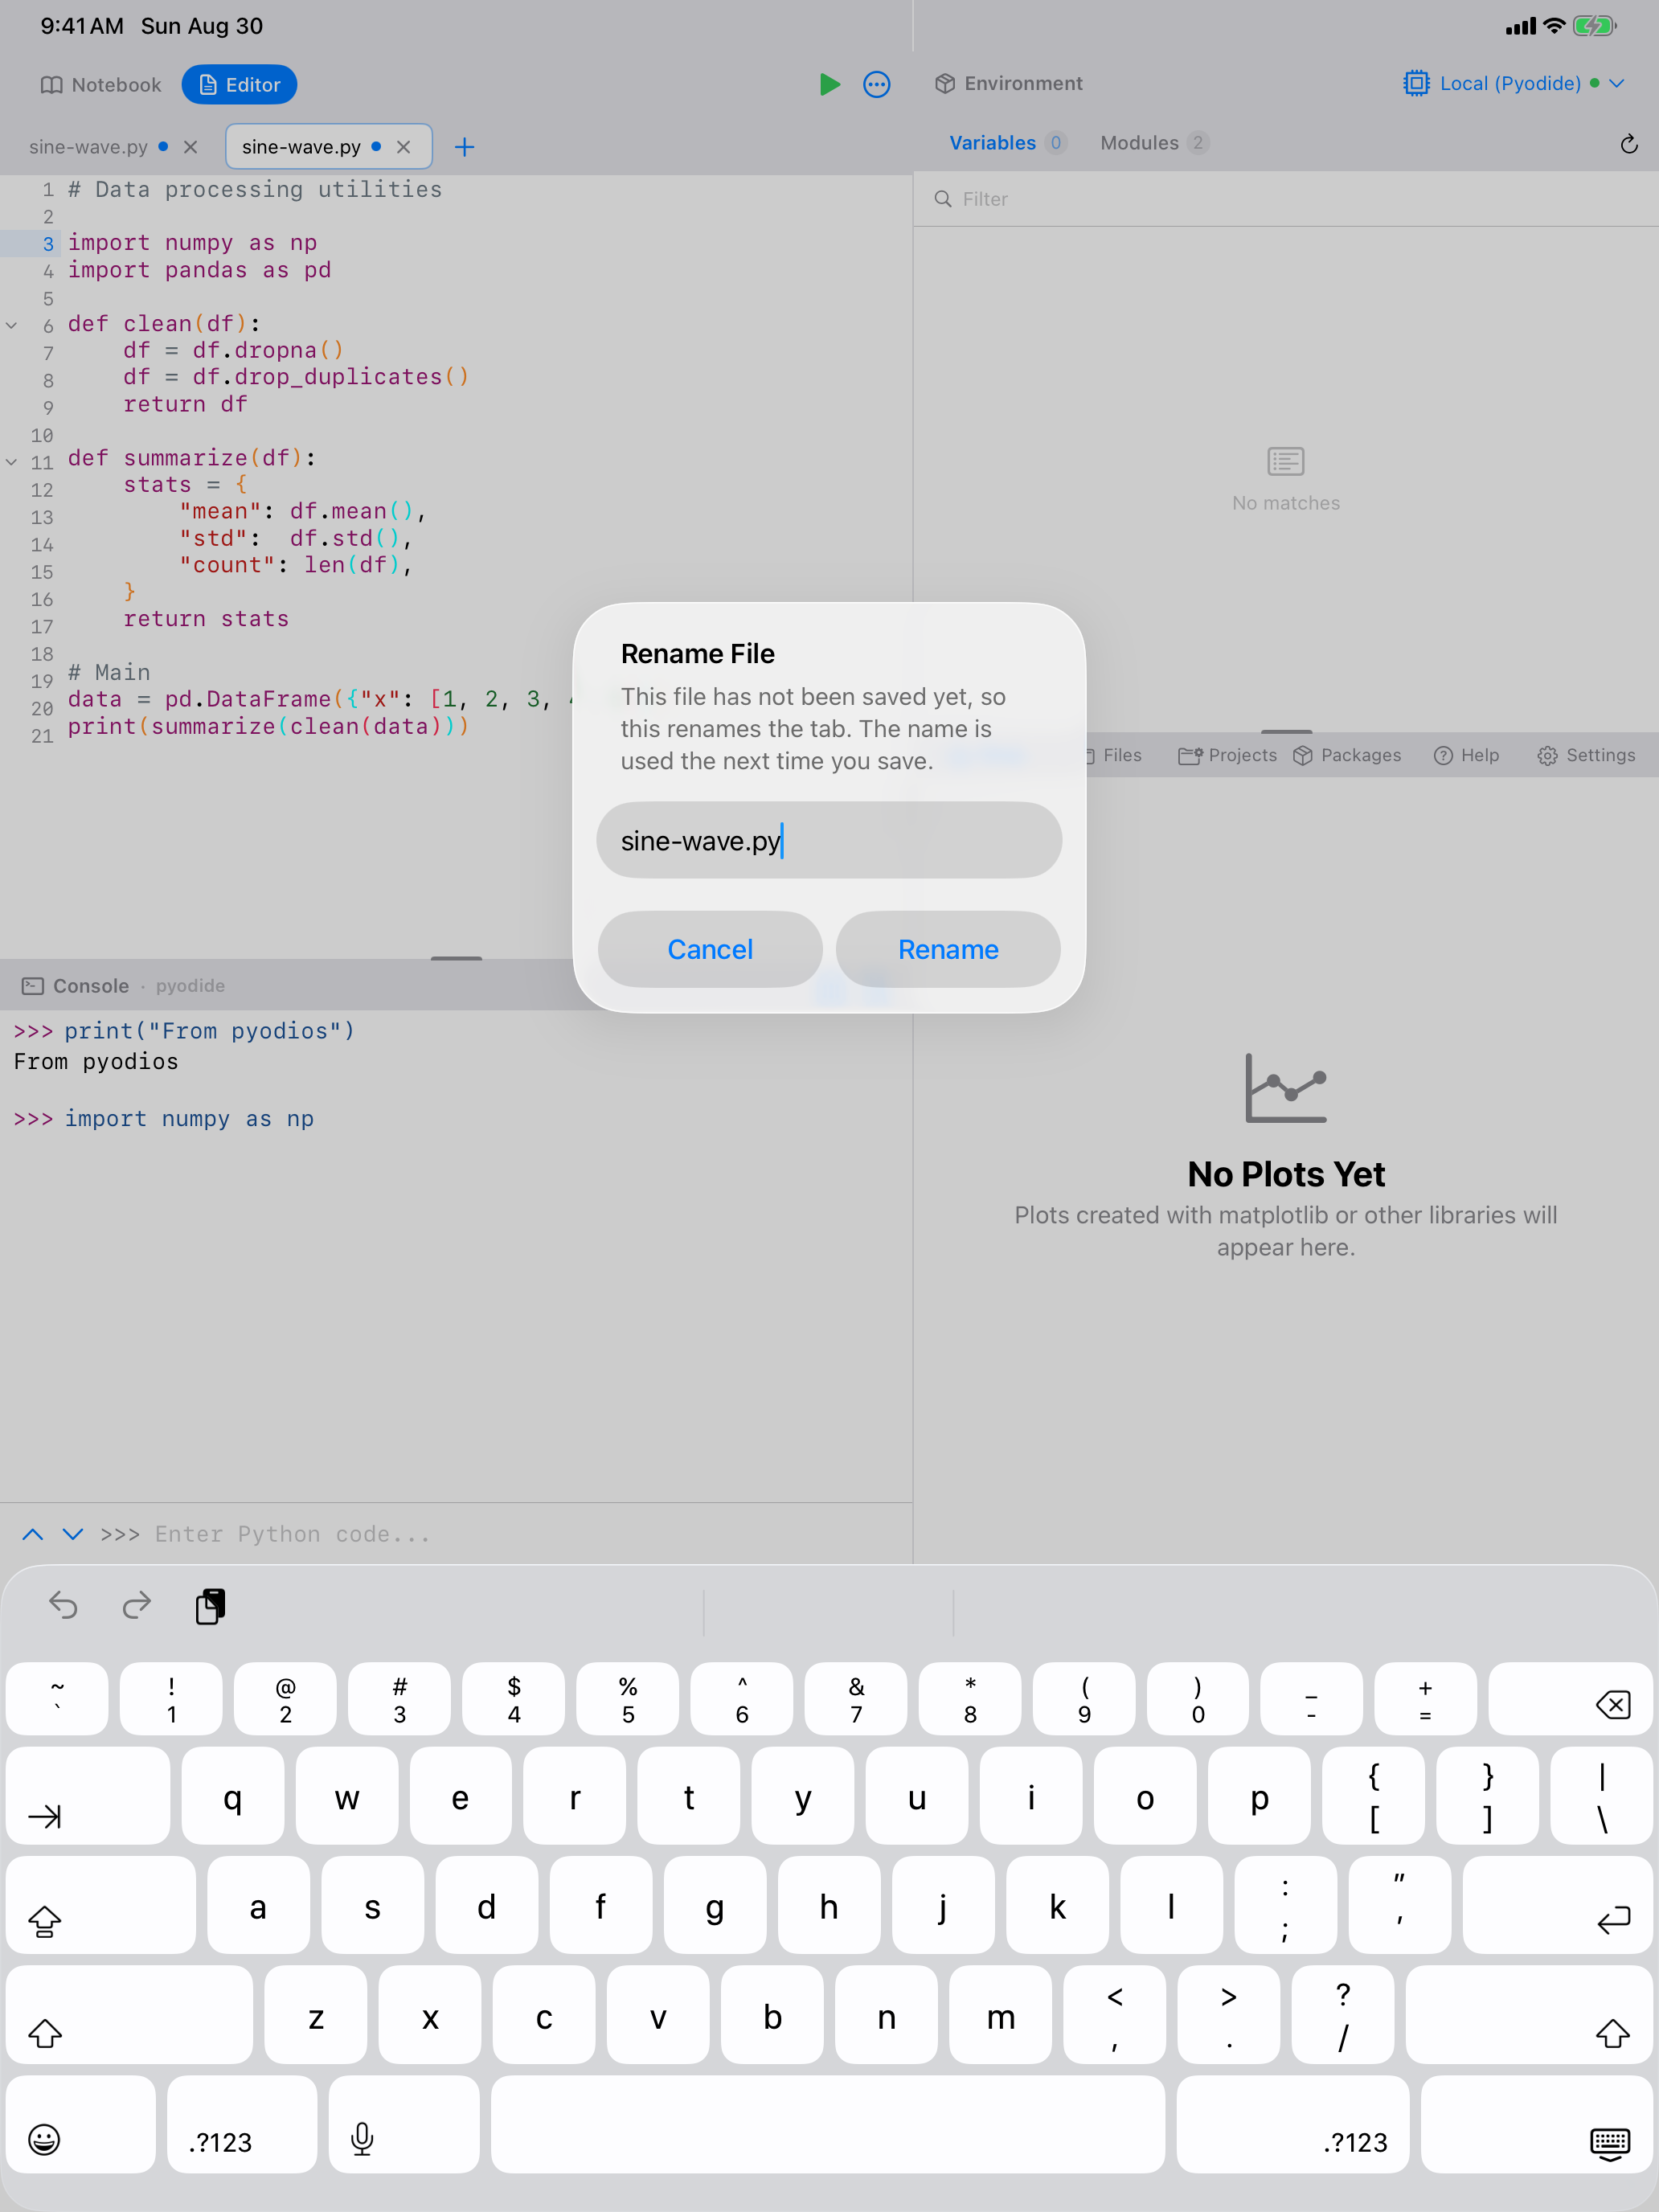
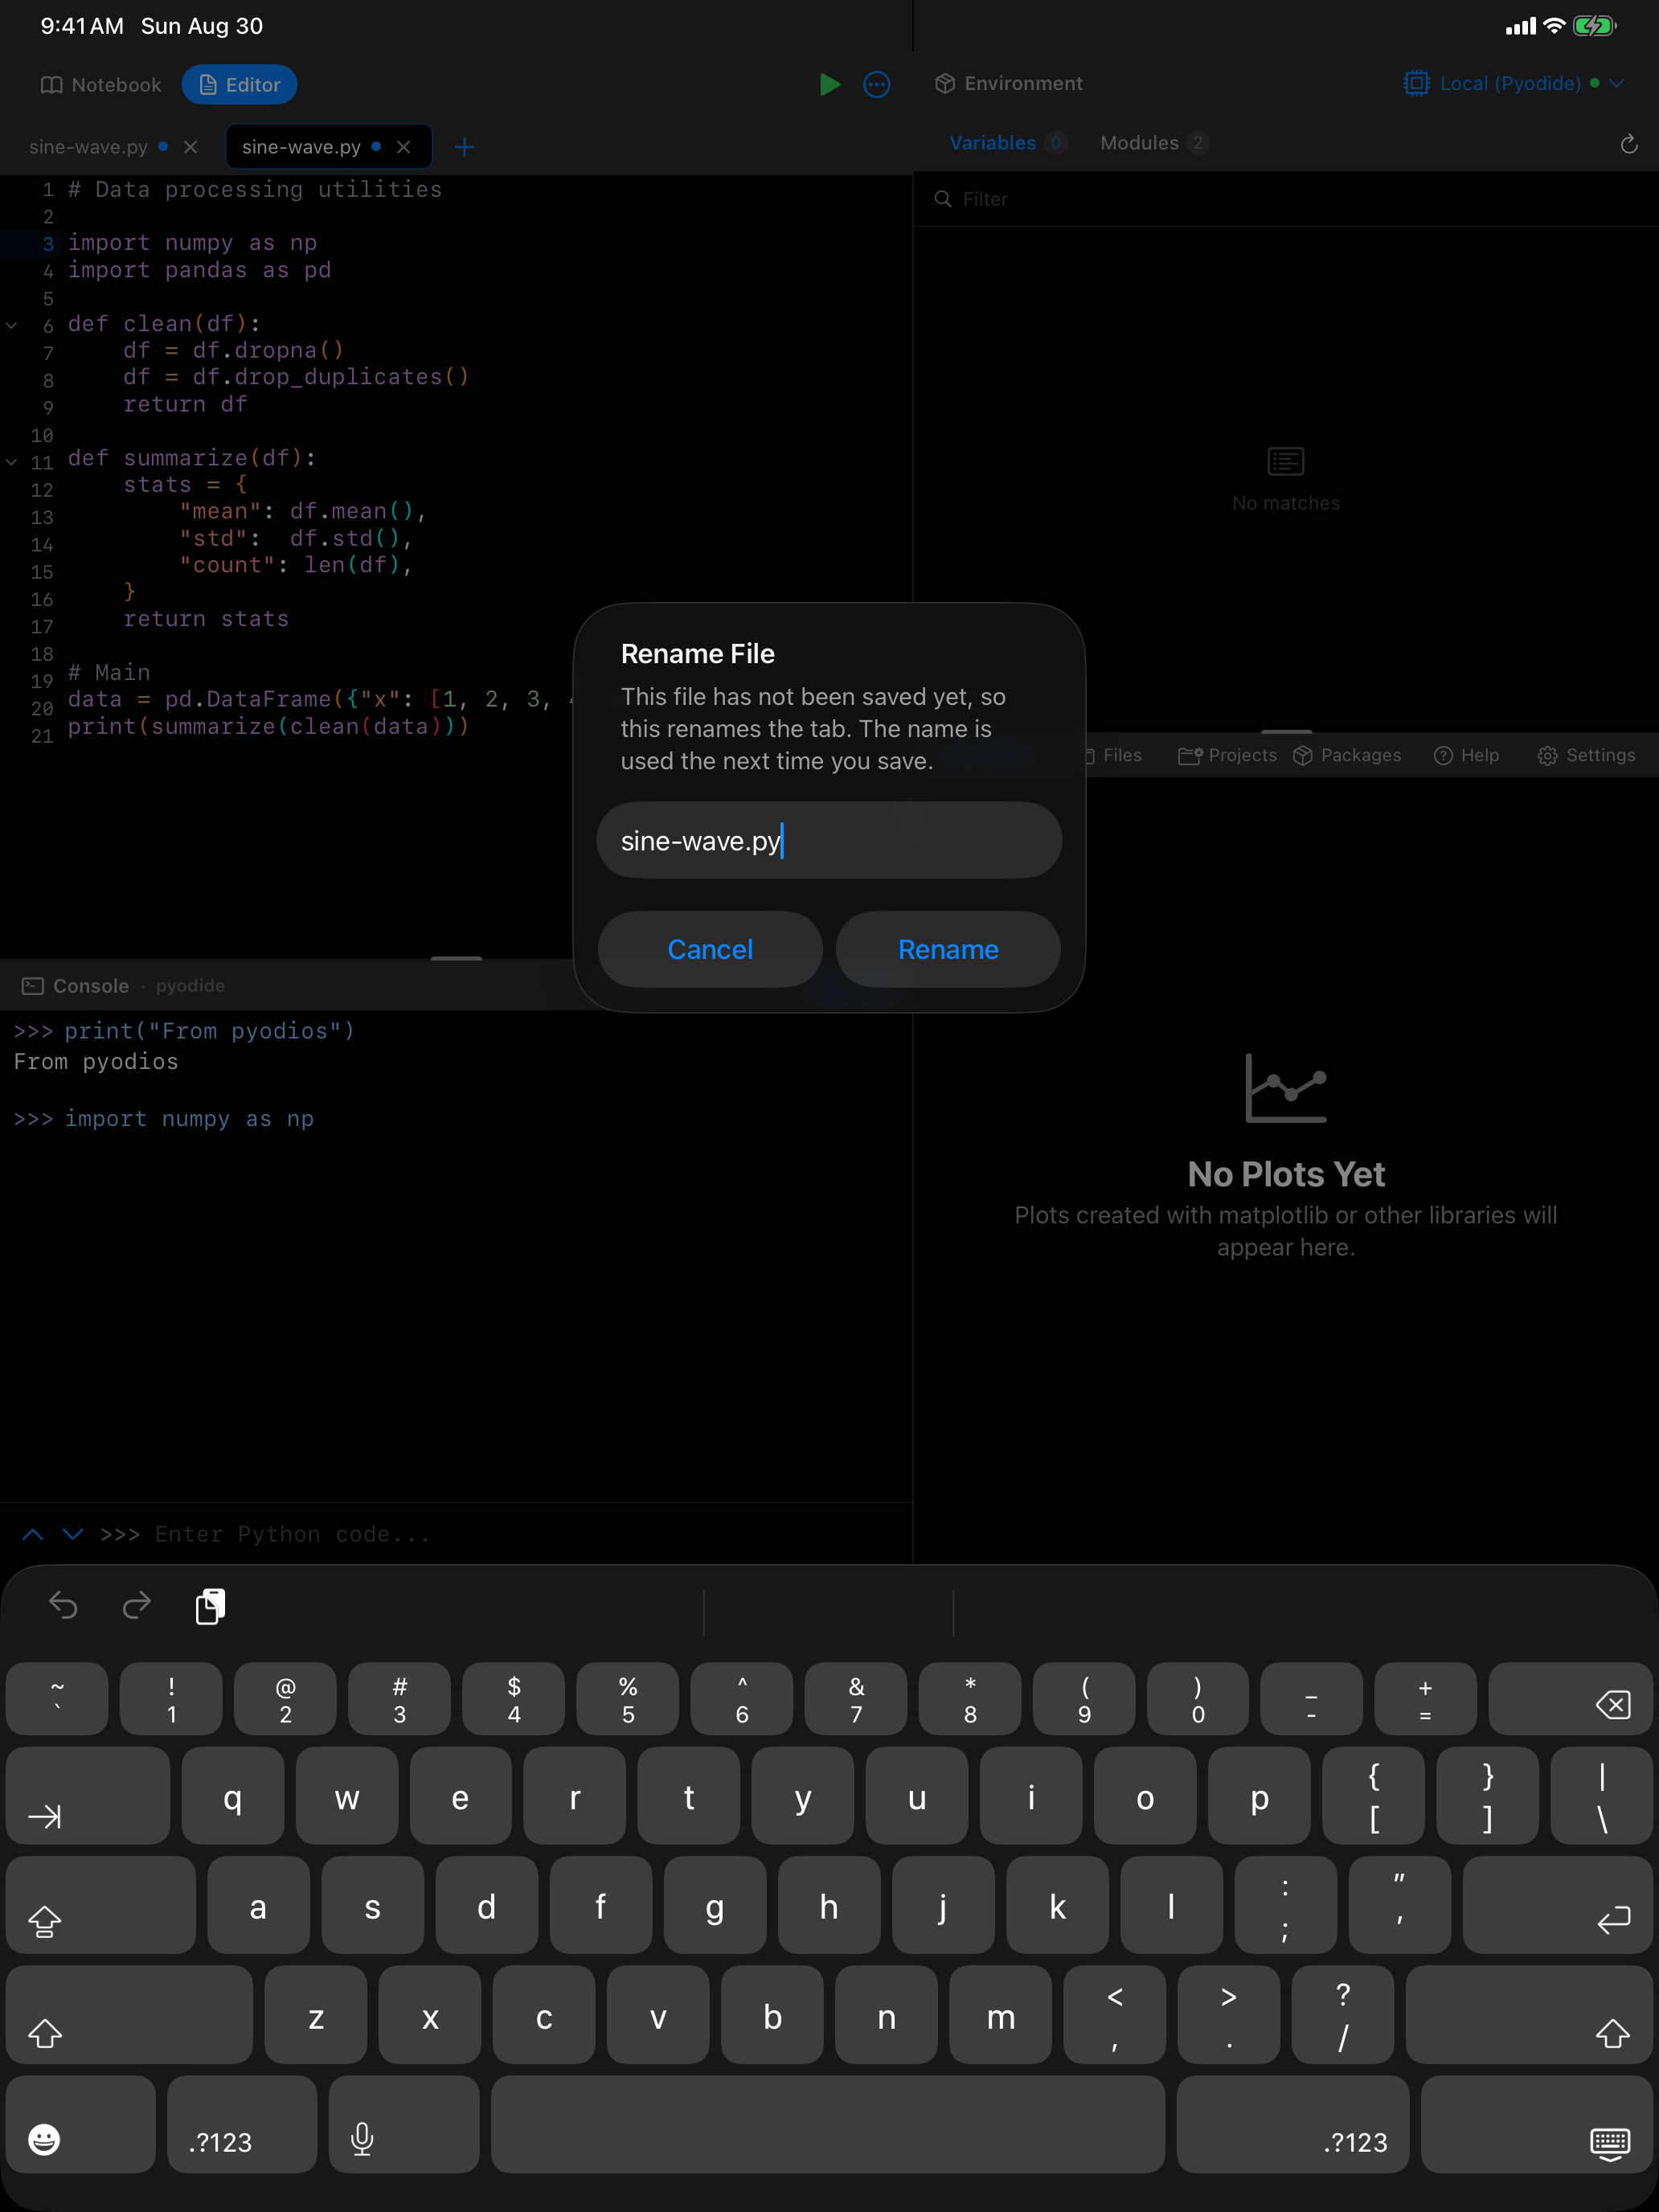
The rename follows everywhere at once. The file moves on disk, the Files browser updates without needing a refresh, and the copy Python is working with inside the active project is renamed too, so open("report.py") works immediately and the old name stops resolving. That last part matters: Python works on a copy of your project rather than reading your files directly, so before this a renamed file left Python still seeing the old name with the old contents.
You can also rename from other places, whichever is closer to hand:
- Files tab: swipe left on a file, or long-press it, and choose Rename
- Notebook: tap the pencil beside the notebook’s name
- Projects: swipe or long-press a project and choose Rename
iPad Features
On iPad, you can open the Editor in a detached window using iPadOS multi-window support. Long-press a file in the Files tab and choose Open in New Window, or use Window > New Editor Window from the menu bar with a hardware keyboard. This lets you have the notebook open in one window and the editor in another, or two editor windows side by side. You can also use the Split Editor feature to view two files side by side within a single editor window, and standard iPad Split View / Slide Over works too for running Pyodios alongside Safari or Notes.
With an external keyboard on iPad, you can use Cmd+R to run your script, Cmd+S to save, Cmd+F to find, and Cmd+Z / Cmd+Shift+Z for undo/redo.